
Canon PowerShot A630 Back Panel Replacement

Alicia Burns and 3 other contributors
Last updated on Mar 21, 2020
Views: 2K
View statistics:
- Past 24 Hours:
- 2
- Past 7 Days:
- 18
- Past 30 Days:
- 103
- All Time:
- 1,976
Comments: 2
2 comments on steps.
Completed: 1 2
1 person has marked this guide "completed." Will you be next?
2 people have marked this guide "completed." Including you — great job!
Favorites: 0 1
No one has favorited (and subscribed to) this guide. Will you be the first?
1 person has favorited (and subscribed to) this guide — and that's you!
Better Introduction
Improve this guide by completing or revising its introduction.
What you need
Tools
-
Spudger4.9


-
-
-
Open the battery door by sliding the tab on the battery door while pushing the battery door away from the camera.
-
Remove batteries.
 Ask FixBot
-
-
-
Remove the three indicated .2mm screws using a Phillips #00 screwdriver.
-
Gently pull off side-panel to remove it.
-
-
-
Remove the indicated .2mm screw using a Phillips #00 screwdriver.
-
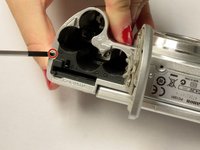
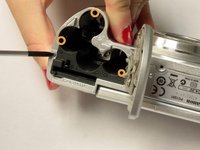
Remove the three .2mm screws located on the internal side of the top panel within the battery chamber using a Phillips #00 screwdriver.
-
-
-
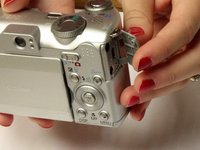
Open 'DIGITAL A/V OUT' door on camera.
-
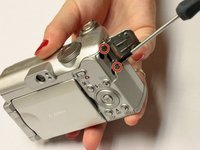
Remove the two indicated .2mm screws using a Phillips #00 screwdriver.
-
-
-
Grip the sides of the top panel and gently pull to separate the top panel from the camera body.
-
-
-
-
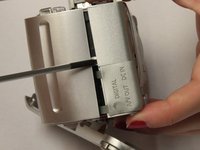
Gently pull the front and back panels apart, and use a Phillips #00 screwdriver to remove the screw connecting the panels.
-
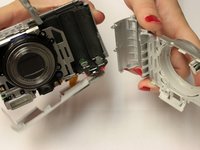
Gripping the top and bottom, gently pull the front panel away from the camera body to remove it.
-
-
-
-
-
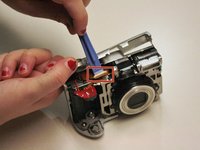
Use the spudger to gently pull back the retaining clip and pull the ribbon out.
-
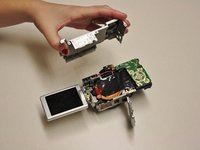
The top panel should now be completely detached from the camera.
-
-
-
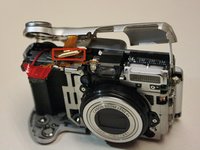
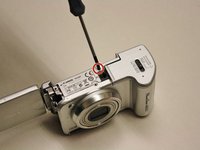
Remove .2 mm screw using a #00 Philips screwdriver.
-
Gently pry off back panel to remove it.
-
-










To reassemble your device, follow these instructions in reverse order.
Cancel: I did not complete this guide.
One other person completed this guide.

Team

Clemson, Team 2-5, Benson Fall 2014 Member of Clemson, Team 2-5, Benson Fall 2014
CLEM-BENSON-F14S2G5
4 Members
108 Guides authored
