
Canon PowerShot A620 Camera Housing Replacement

Jaime Abraham and 4 other contributors
Last updated on Mar 20, 2020
Views: 2.6K
View statistics:
- Past 24 Hours:
- 4
- Past 7 Days:
- 22
- Past 30 Days:
- 101
- All Time:
- 2,583
Comments: 1
1 guide comment.
Go to guide commentsCompleted: 2 3
2 people have marked this guide "completed." Will you be next?
3 people have marked this guide "completed." Including you — great job!
Favorites: 0 1
No one has favorited (and subscribed to) this guide. Will you be the first?
1 person has favorited (and subscribed to) this guide — and that's you!
Needs Better Images
Better photos will improve this guide. Help out by taking, editing, or uploading new ones!
Better Introduction
Improve this guide by completing or revising its introduction.
What you need
Tools

-
-
-
Slide the tab on the battery door while pushing the battery door away from you. The battery door should pop open.
 Ask FixBot
-
-
-
Insert AA batteries according to the diagram printed on the camera.
-
Close the battery door.
-
-
-
-
-
Unscrew the three Phillips #00 1.6x3mm screws on the side.
-
Lift loose panel from the case.
-
Unscrew the two Phillips #00 1.6x3mm screws that were previously hidden beneath the panel.
-
-
-
Unscrew the two Phillips #00 1.6x3mm screws on the bottom panel.
-
-
-
Open the battery door.
-
Unscrew the four Phillips #00 1.6x3mm screws in the battery compartment.
-
-
-
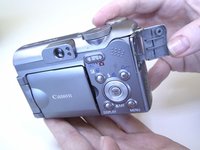
Lift the terminal cover on the side of the camera.
-
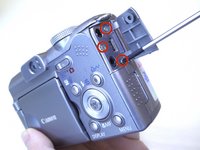
Unscrew the three Phillips #00 1.6x3mm screws beneath the terminal cover.
-
-
-
-
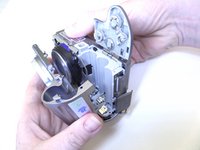
Gently pull the terminal cover to separate it from the camera.
-
-
-
Slide the memory card cover down.
-
Unscrew the Phillips #00 1.6x3mm screw beneath the memory card cover.
-
-




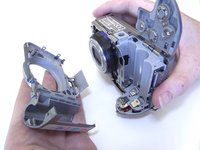


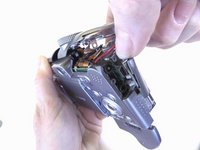
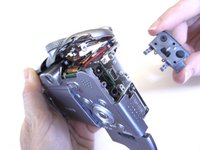


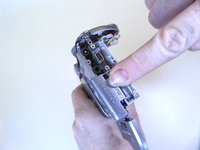
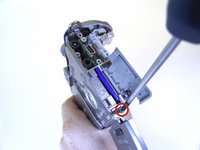
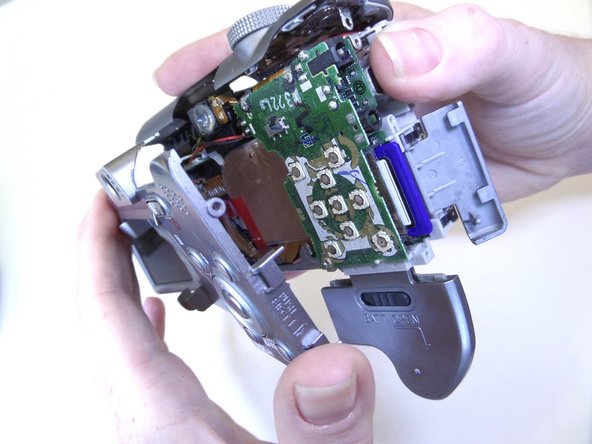

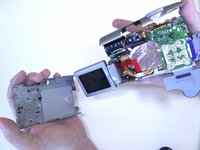
To reassemble your device, follow these instructions in reverse order.
Cancel: I did not complete this guide.
2 other people completed this guide.

Team

CSU Fullerton, Team 1-1, Bruce Fall 2014 Member of CSU Fullerton, Team 1-1, Bruce Fall 2014
CSUF-BRUCE-F14S1G1
3 Members
36 Guides authored
1 Guide Comment
Ottima spiegazione: é tutto facile quando la spiegazione é semplice ed univoca. Ma redigere istruzioni semplici é un'arte che non tutti possiedono.
