
Canon PowerShot A550 LCD Screen Replacement

Precilla Tang and 4 other contributors
Last updated on May 28, 2014
Views: 4.5K
View statistics:
- Past 24 Hours:
- 1
- Past 7 Days:
- 20
- Past 30 Days:
- 110
- All Time:
- 4,465
Comments: 0
No one has left comments on this guide. Will you be first?
Go to guide commentsCompleted: 3 4
3 people have marked this guide "completed." Will you be next?
4 people have marked this guide "completed." Including you — great job!
Favorites: 0 1
No one has favorited (and subscribed to) this guide. Will you be the first?
1 person has favorited (and subscribed to) this guide — and that's you!
Introduction
Go to step 1 ↓The Canon PowerShot A550 features a 2.0 inch low-temperature polycrystalline silicon TFT color LCD screen with 86,000 megapixels. This component is necessary for photographing and viewing your pictures. This guide will teach you how to replace your LCD screen if it becomes broken or cracked.
What you need
Tools


-
-
-
Unscrew a total of 6 4.45 mm phillips head screws using a #00 phillips head screwdriver.
-
There are 2 screws on the left side (when looking at the front of the camera).
-
There are 3 screws on the bottom
-
There is 1 screw on the right side
 Ask FixBot
-
-
-
Turn to the bottom of the camera.
-
Open the memory card cover by sliding the "CARD/BATT." button up, and then pulling the cover to the left.
-
-
-
This is what the SD card/battery compartment looks like when opened.
-
Remove one 4.45mm phillips head screw from the SD card/battery compartment using a #00 phillips head screwdriver.
-
-
Tool used on this step:Tweezers$4.99
-
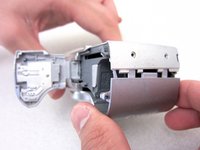
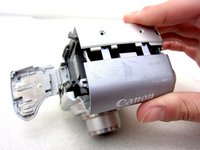
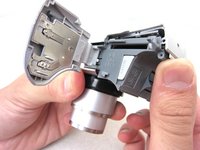
Start from the battery compartment and remove the back cover.
-
Remove the connecting ribbon from the body of the camera using a pair of tweezers.
-
-
-
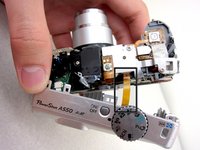
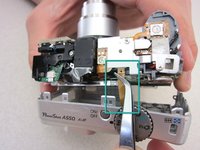
Once the ribbon connecting the back cover is removed, the back of the camera body should look like this.
-
-
-
-
-
-
Use a #00 phillips head screwdriver to remove 2 3.34mm phillips screws holding the LCD screen in place.
-
-
-
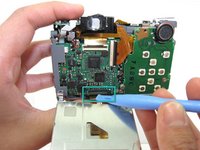
Use an iPod Opening Tool to lift the brown portion of the connector to unlock it.
-
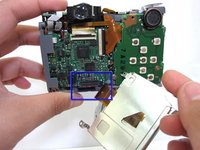
Slide the data cable out of the connector.
-
-







To reassemble your device, follow these instructions in reverse order.
Cancel: I did not complete this guide.
3 other people completed this guide.

Team

Cal Poly, Team 8-6, Regan Spring 2011 Member of Cal Poly, Team 8-6, Regan Spring 2011
CPSU-REGAN-S11S8G6
4 Members
96 Guides authored
