
Canon PowerShot A540 LCD Screen Replacement

Carley Fuller and 4 other contributors
Last updated on May 7, 2024
Views: 1.8K
View statistics:
- Past 24 Hours:
- 3
- Past 7 Days:
- 54
- Past 30 Days:
- 150
- All Time:
- 1,817
Comments: 1
1 guide comment.
Go to guide commentsCompleted: 2 3
2 people have marked this guide "completed." Will you be next?
3 people have marked this guide "completed." Including you — great job!
Favorites: 0 1
No one has favorited (and subscribed to) this guide. Will you be the first?
1 person has favorited (and subscribed to) this guide — and that's you!
Introduction
Go to step 1 ↓If your LCD screen is cracked, broken, unresponsive, or otherwise damaged, you may need to replace it. After removing the back cover, you will have access to the LCD screen to replace it.
What you need
Tools


-
-
-
Turn off the camera.
-
Turn the camera upside-down and press the tab to release the battery cover. Remove the batteries.
 Ask FixBot
-
-
-
Turn the camera upside down to view the "Card/Batt. Open" Cover.
-
Use a Phillips head #000 screwdriver to remove the three (3) 4.0 mm screws.
-
-
-
Open "Card/Batt. Open" Cover.
-
Remove the one (1) 5.0 mm screw with the Phillips head #000 screwdriver.
-
-
-
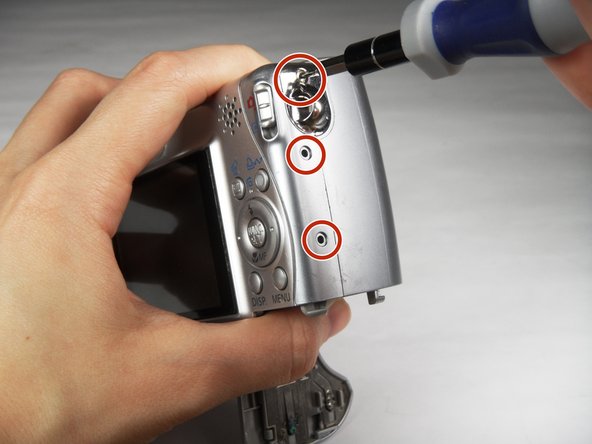
Turn the camera to the right side of the LCD screen.
-
Remove the three (3) 4.0 mm screws with the Phillips head #000 screwdriver.
-
-
-
Gently remove the back cover.
-
Start at the bottom at the corner of the "Card/Batt. Open" Cover.
-
Then move onto the other edges and the top.
-
-
-
-
-
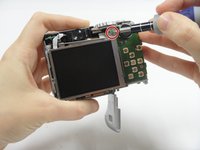
Turn the camera to view the back.
-
Remove the one (1) 3.0 mm screw on the top right corner of the screen.
-
-
Tool used on this step:Tweezers$4.99
-
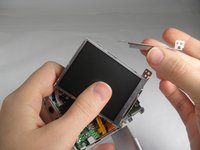
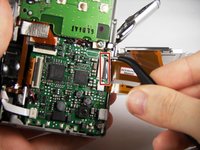
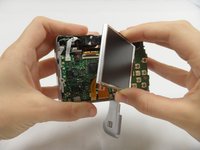
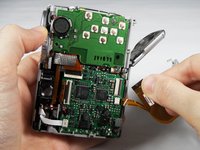
Lift the LCD Screen off of the back to view the attached ribbon cables.
-
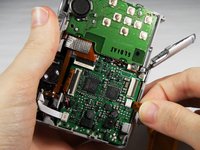
Use tweezers to flip the black bar up.
-
-
-
-
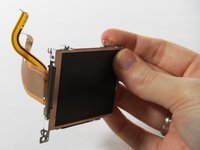
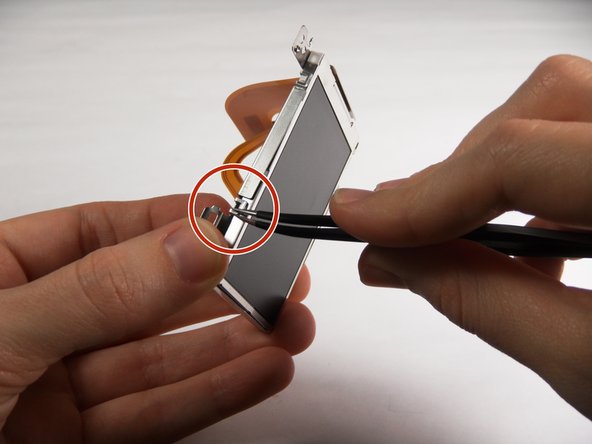
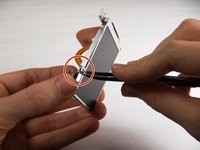
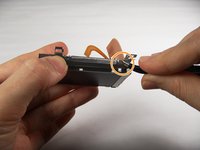
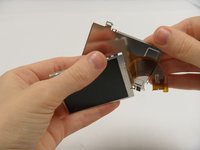
Use tweezers at the top left of the LCD Screen to wedge the top left of the Outer Frame loose.
-
Use the tweezers at the top right of the LCD Screen to wedge the top right of the Outer Frame loose.
-
-
















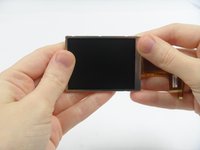
To reassemble your device, follow these instructions in reverse order.
Cancel: I did not complete this guide.
2 other people completed this guide.

Team

Baylor, Team 7-12, Williams Spring 2015 Member of Baylor, Team 7-12, Williams Spring 2015
BU-WILLIAMS-S15S7G12
3 Members
84 Guides authored
