
Canon PowerShot A460 Back Casing Replacement

Stephanie Friend and 6 other contributors
Last updated on Jan 8, 2024
Views: 4.4K
View statistics:
- Past 24 Hours:
- 2
- Past 7 Days:
- 28
- Past 30 Days:
- 123
- All Time:
- 4,372
Comments: 0
No one has left comments on this guide. Will you be first?
Go to guide commentsCompleted: 0 1
No one has marked this guide "completed." Will you be the first?
1 person has marked this guide "completed." It's you — great job!
Favorites: 0 1
No one has favorited (and subscribed to) this guide. Will you be the first?
1 person has favorited (and subscribed to) this guide — and that's you!
Needs More Images
A few more images would make this guide's procedures crystal clear.
Introduction
Go to step 1 ↓This guide involves taking off the entire casing of the Canon PowerShot A460 camera. It will prepare the user to perform more complicated and problem-specific repairs.
What you need
Tools

-
-
-
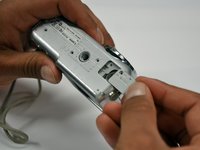
Slide the switch on the battery cover labeled "CARD/BATT. OPEN." to the right.
-
While still holding the switch, pull the cover down, allowing it to release and open.
 Ask FixBot
-
-
-
-
-
Unscrew the 5mm Phillips #00 screw from the bottom of the camera.
-
-
-
Unscrew the three 2mm Phillips #00 screws that are located on the bottom of the camera.
-
-
-
Remove the 4mm Phillips #00 screw that is located on the left side of the camera, if the display screen is facing you.
-
-
-
Take out the 4mm Phillips #00 screw under the rubber flap on the right end of the camera.
-
-
-
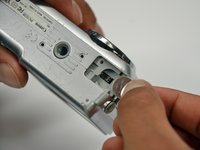
Remove the second battery cover on the bottom of camera.
-
Take the silver battery out of the camera.
-
-
-
-
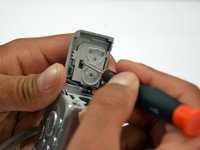
Remove the 4mm Phillips #00 screw on the inside of the flap that hides the battery and memory card slots.
-
Remove the light grey, plastic piece.
-
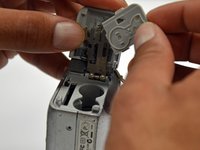
Remove the plastic portion of the battery flap cover. The metal piece will remain attached.
-
-
-
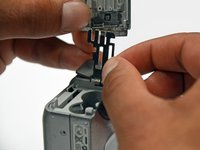
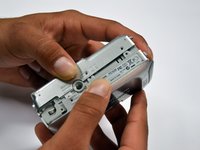
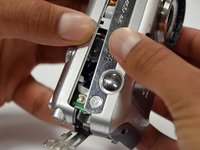
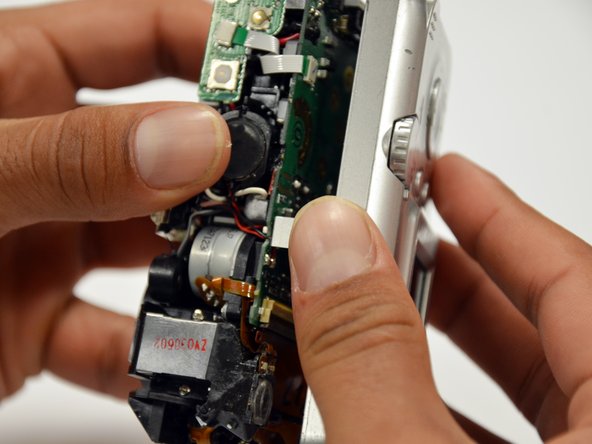
Slightly pull on each side of the camera. It should loosen up and come apart.
-
If it does not pull apart right away, use a little more force.
-
Do not give up!
-
-
-






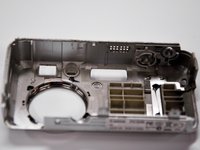
To reassemble your device, follow these instructions in reverse order.

Team

Cal Poly, Team 19-42, Regan Winter 2013 Member of Cal Poly, Team 19-42, Regan Winter 2013
CPSU-REGAN-W13S19G42
4 Members
72 Guides authored
