Free Shipping on Domestic Orders $75+

Canon Pixma MP480 Motherboard Replacement

What you need

    1. Canon Pixma MP480 Motherboard Replacement, Rear and Side Panel: step 1, image 1 of 2 Canon Pixma MP480 Motherboard Replacement, Rear and Side Panel: step 1, image 2 of 2
      • Remove the two 7.9 mm screws using a Phillips #1 screwdriver.

      Ask FixBot

      Add Comment

    2. Canon Pixma MP480 Motherboard Replacement: step 2, image 1 of 1
      • Lift up the back cover to remove it.

      • You may need to lift firmly as it requires quite a bit of force.

      Ask FixBot

      Add Comment

    3. Canon Pixma MP480 Motherboard Replacement: step 3, image 1 of 1
      • Open the front tray.

      Ask FixBot

      Add Comment

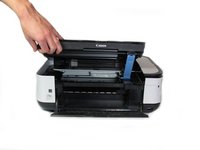
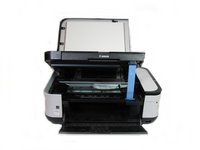
    4. Canon Pixma MP480 Motherboard Replacement: step 4, image 1 of 2 Canon Pixma MP480 Motherboard Replacement: step 4, image 2 of 2
      • Open the scanner compartment.

      • Make sure the blue lever locks into place to keep the compartment open.

      Ask FixBot

      Add Comment

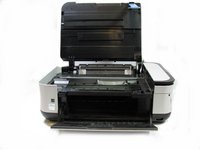
    5. Canon Pixma MP480 Motherboard Replacement: step 5, image 1 of 2 Canon Pixma MP480 Motherboard Replacement: step 5, image 2 of 2
      • Remove the blue lever from its slot by pushing it back and twisting clockwise.

      • Close the scanner compartment and cover.

      Ask FixBot

      Add Comment

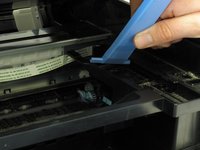
    6. Canon Pixma MP480 Motherboard Replacement: step 6, image 1 of 2 Canon Pixma MP480 Motherboard Replacement: step 6, image 2 of 2
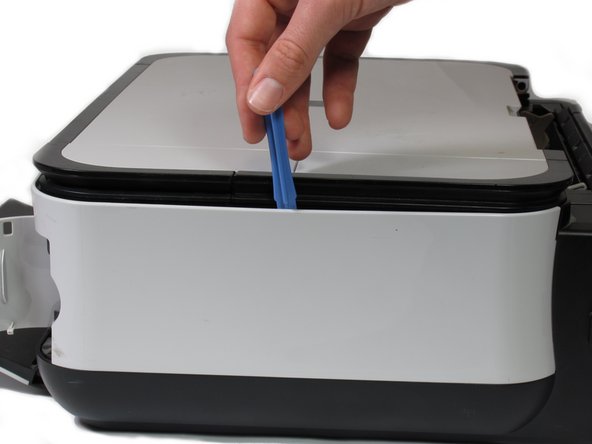
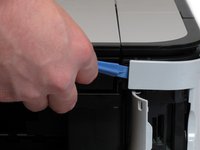
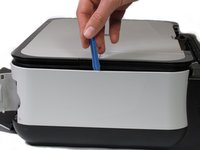
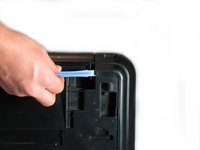
      • Pry open the side cover with the plastic opening tool.

      Ask FixBot

      Add Comment

    7. Canon Pixma MP480 Motherboard Replacement: step 7, image 1 of 2 Canon Pixma MP480 Motherboard Replacement: step 7, image 2 of 2
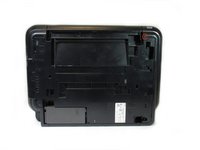
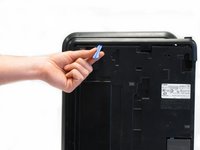
      • Flip the printer over so that the bottom of the printer is facing you.

      • Use the plastic opening tool to remove the corner of the side panel from the plastic pin.

      Ask FixBot

      Add Comment

    8. Canon Pixma MP480 Motherboard Replacement: step 8, image 1 of 2 Canon Pixma MP480 Motherboard Replacement: step 8, image 2 of 2
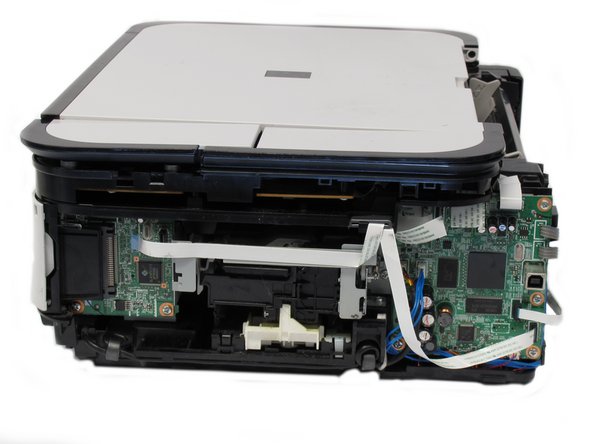
      • Use the plastic opening tool to loosen the side panel from the bottom of the printer.

      Ask FixBot

      Add Comment

    1. Canon Pixma MP480 Motherboard Replacement, Motherboard: step 9, image 1 of 1
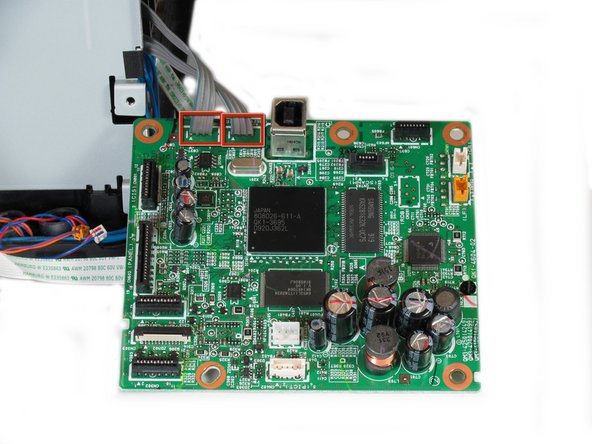
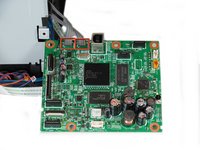
      • Gently pull the 6 ribbon wires out.

      • Gently pull the 4 molded cable assemblies out.

      Ask FixBot

      Add Comment

    2. Canon Pixma MP480 Motherboard Replacement: step 10, image 1 of 2 Canon Pixma MP480 Motherboard Replacement: step 10, image 2 of 2
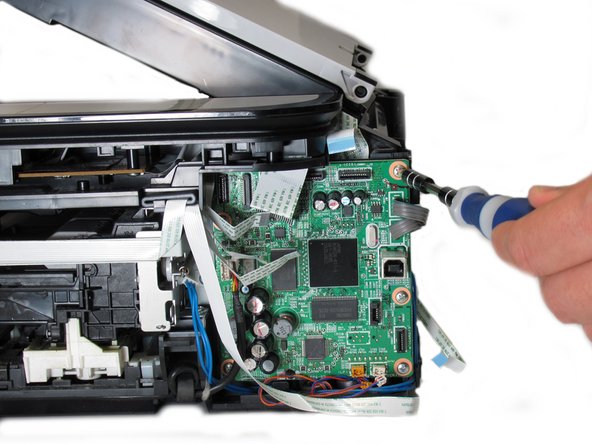
      • Unscrew the five silver Phillips screws that secure the motherboard:

      • Five 3.65mm Phillips #1 screws.

      Ask FixBot

      Add Comment

    3. Canon Pixma MP480 Motherboard Replacement: step 11, image 1 of 2 Canon Pixma MP480 Motherboard Replacement: step 11, image 2 of 2
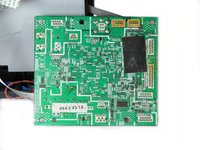
      • Once all wires and screws have been removed, gently take the motherboard out of the printer.

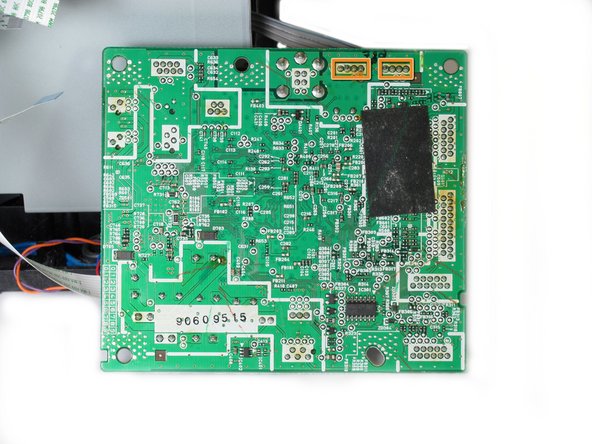
      • These wires are soldered onto the bottom of the PCB and must be de-soldered in order to completely detach the motherboard from the printer.

      • If you do not know how to operate a soldering iron, do not attempt to finish this guide.

      • De-solder these eight solder joints on the bottom of the motherboard.

      • When reinstalling the motherboard back into the printer, solder the highlighted joints (in orange markers in the second photo) back onto the board.

      Ask FixBot

      Add Comment

Conclusion

Congratulations on successfully removing the motherboard from the printer! To reassemble the motherboard, follow these instructions in reverse order.

Cancel: I did not complete this guide.

3 other people completed this guide.

nathan zorndorf

Member since: 01/15/13

73 Reputation

1 Guide authored

Team

Cal Poly, Team 19-41, Regan Winter 2013 Member of Cal Poly, Team 19-41, Regan Winter 2013

CPSU-REGAN-W13S19G41

4 Members

54 Guides authored

0 Guide Comments

Add Comment

View Statistics:

Past 24 Hours: 3

Past 7 Days: 12

Past 30 Days: 41

All Time: 5,830