Introduction
If the control panel isn't working on your Canon Pixma MG7720 printer even after power cycling, or the control panel is damaged, use this guide to remove and replace the control panel. This component displays the settings and functions on your printer, made up of a variety of different buttons and controls.
Additional resources:
What you need
-
-
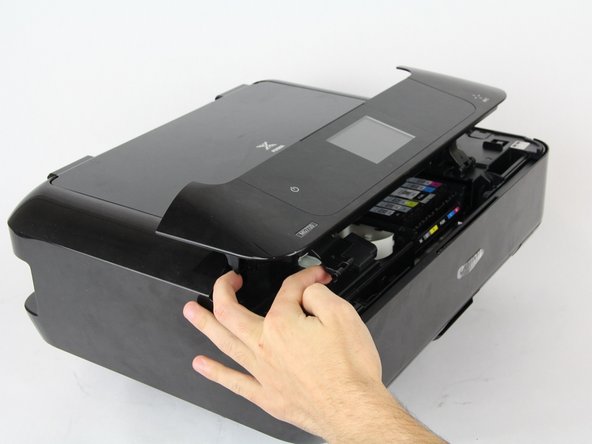
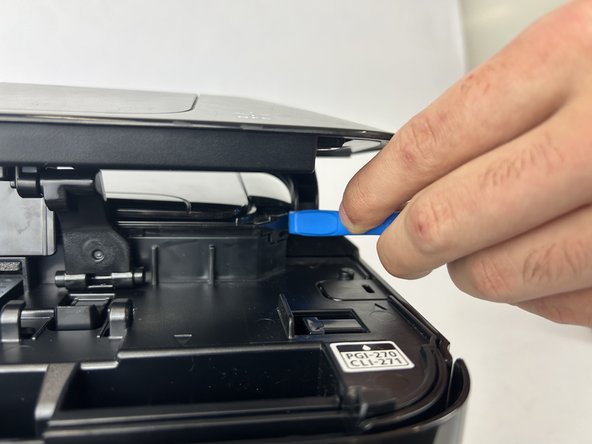
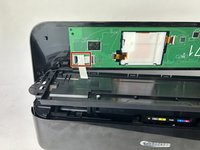
Open the front part of the printer and use your finger to depress the tab behind the front hinge in order to release it.
-
Repeat this with both the left and right front hinges.
 Ask FixBot
-
-
-
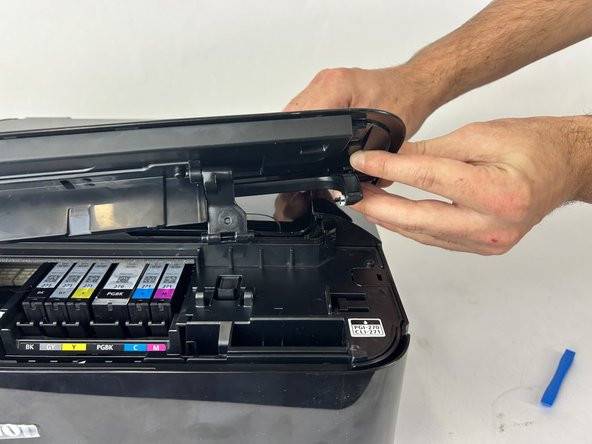
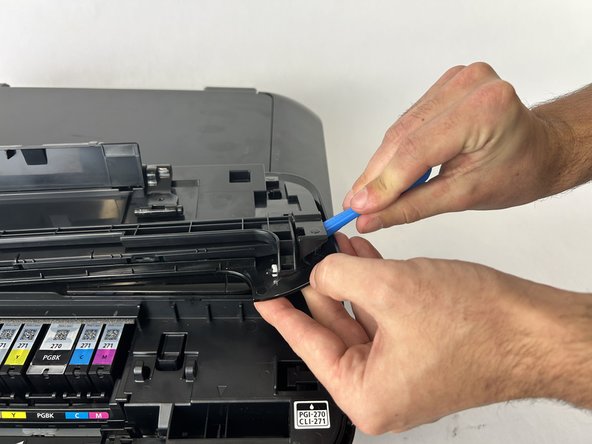
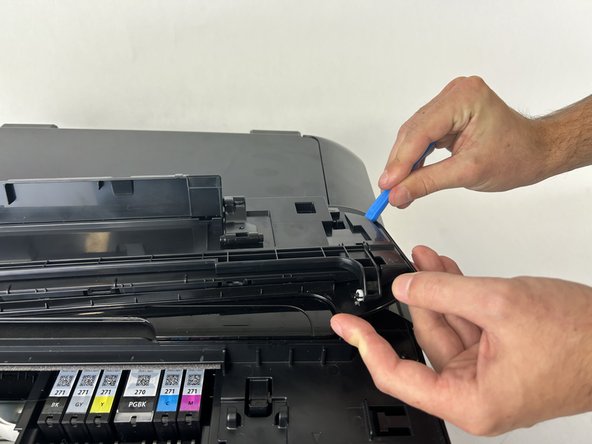
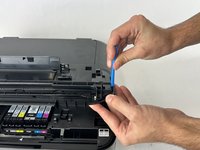
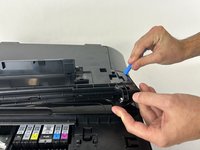
Use the iFixit Opening Tool to pull the hinge away from the printer, then pull the hinge forward.
-
Repeat this with both of the rear hinges.
-
-
-
-
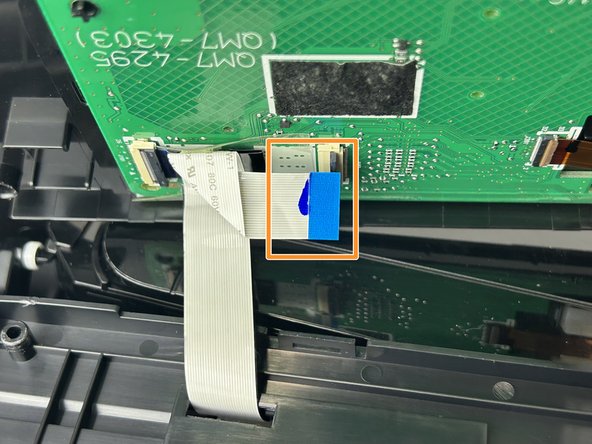
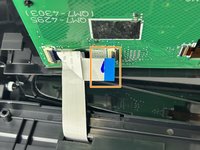
Remove the tape on the connector.
-
Unplug it from both terminals by flipping up the tabs and pulling it out.
-


To reassemble your device, follow these instructions in reverse order.

Team

Cuesta, Team 60-4, Krynen Fall 2024 Member of Cuesta, Team 60-4, Krynen Fall 2024
CUESTA-KRYNEN-F24S60G4
4 Members
5 Guides authored