Introduction
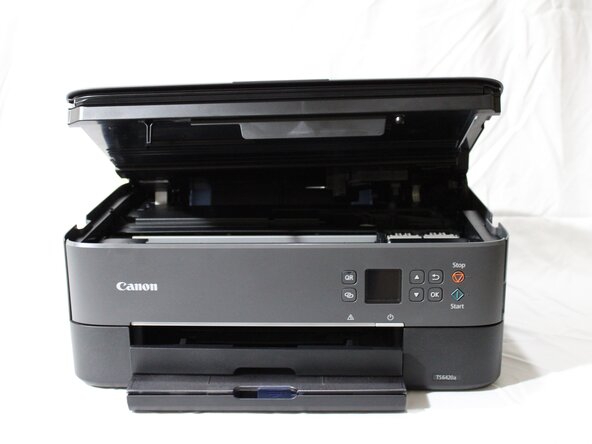
This guide demonstrates how to repair or replace the scanner lid hinge on the Canon PIXMA TS6420a Wireless All-In-One Inkjet Printer. This model is sometimes also listed under the name Canon PIXMA TS6400 Series, which includes the TS6420 and TS6420a.
The scanner lid hinge allows the lid to open and close smoothly while keeping the scanning glass protected and properly aligned. Over time, these hinges can loosen, crack, or break completely--causing the lid to wobble, fall closed unexpectedly, or prevent scans from aligning correctly.
This guide will help you safely remove the old hinge and install a replacement so your printer lid moves as intended.
Symptoms of a broken or loose hinge may include:
- The scanner lid won't stay open or falls when lifted.
- The lid feels misaligned or uneven when closed.
- Scans or copies appear skewed or incomplete.
If you are unsure whether the hinge is the cause of the issue, refer to the Canon Support for PIXMA TS6420a for guidance on identifying mechanical issues related to lid alignment or scanning problems.
NOTES & WARNINGS
- Caution: Always unplug the printer before beginning any disassembly to prevent electrical shock or damage.
- Note: Avoid applying pressure to the scanner glass, as it may crack or shift out of alignment.
- Reminder: Keep track of all the hinge screws and plastic clips during removal--these will be reused during reassembly.
What you need
-
-
Before starting, turn off the printer and unplug it from the power source. This prevents electrical damage and ensures safety during the repair.
 Ask FixBot
-
-
-
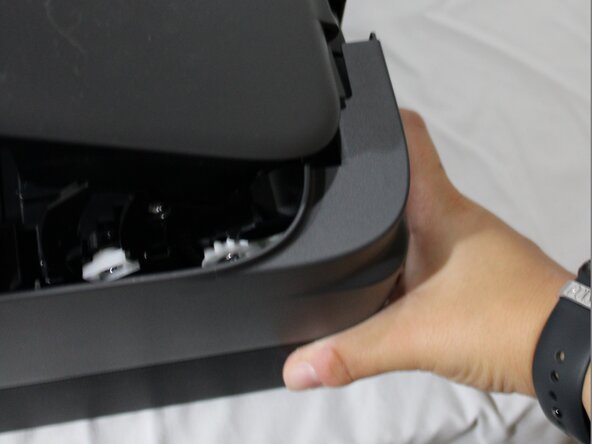
Gently lift the scanner lid to its full open position.
-
Observe the hinge movement and note if one side feels looser or uneven; this helps identify the faulty hinge.
-
-
-
Remove the single screw from the inside front edge under the lid securing the scanner frame using a Phillips #0 screwdriver.
-
Remove the two screws from the back side of the printer using a Phillips #0 screwdriver.
-
-
-
-
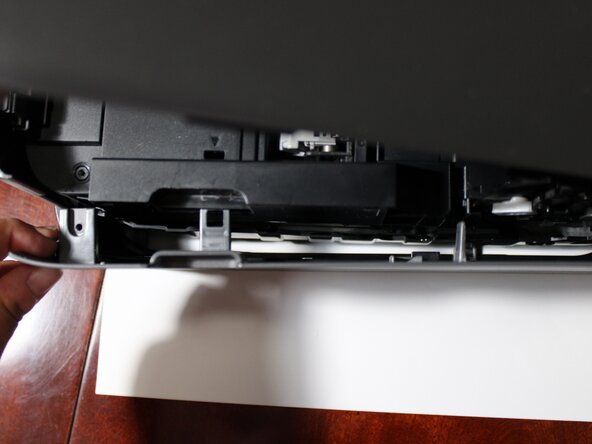
Use a spudger to release the plastic clips along the frame edges.
-
Gently pry the frame loose, working around the perimeter to avoid cracking the plastic.
-
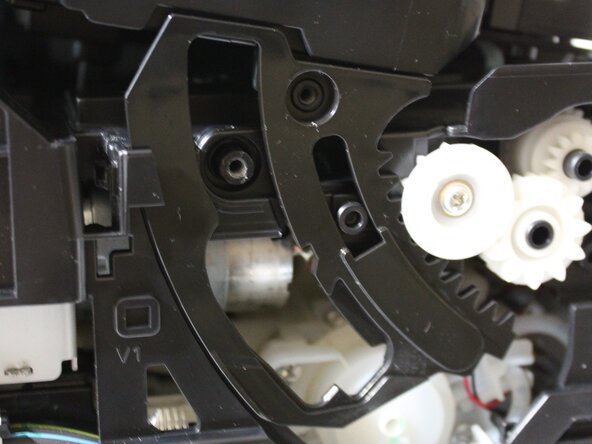
Lift off the frame to reveal the hinge and gear assembly.
-
-
-
Use a soft support (like a towel, small box, or rolled cloth) to hold the lid in place while you work.
-
-
-
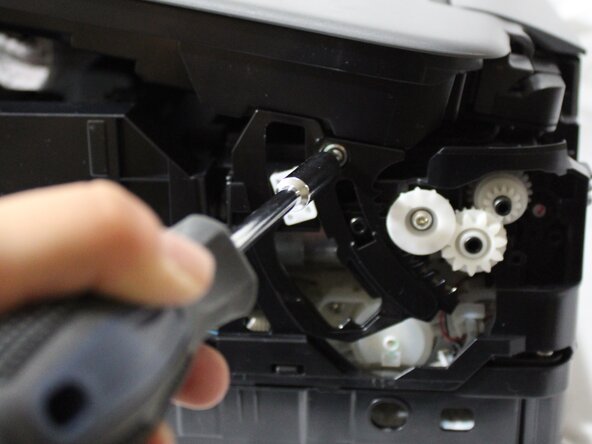
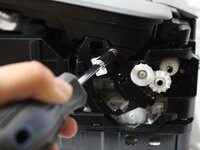
Use the Phillips #3 screwdriver to remove the two screws securing the hinge mechanism.
-
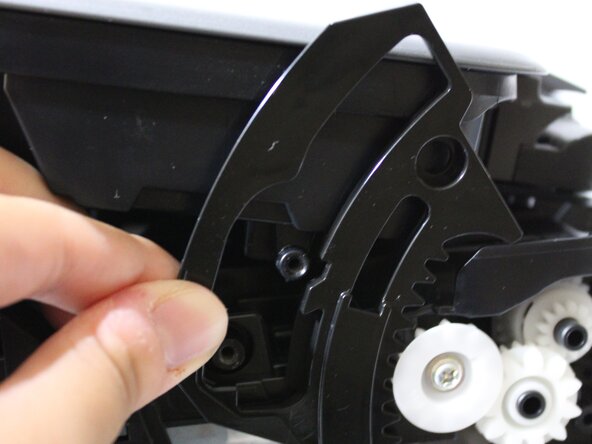
Carefully lift the hinge assembly out of its tracks, taking care not to bend or twist the arms.
-
-
-
Align the new hinge with the same tracks where the old one was seated.
-
Slide it into place until it sits flush.
-
Reinsert and tighten the two hinge screws using the Phillips #3 screwdriver.
-
-
-
Snap the scanner frame back onto the printer, pressing around all edges until the clips click securely into place.
-
Reinstall the three frame screws (two on the back, one inside the front).
-
-
-
Plug the printer back in and power it on.
-
Open and close the lid several times to confirm:
-
Smooth hinge movement.
-
Proper lid alignment with the scanner glass.
-
No resistance, rattling, or imbalance.
-


Once you've replaced the scanner lid, carefully open and close the lid a few times to ensure it moves smoothly and stays properly aligned. If the lid feels uneven or doesn't stay open, double-check that the hinge is seated correctly and that all screws are fully tightened.
Reconnect your printer and run a quick test scan to confirm that documents appear straight and properly aligned on the screen.
Dispose of any broken plastic or metal hinge pieces responsibly. Your Canon PIXMA TS6420a should now be back to normal operation, with a stable, functional scanner lid.
Cancel: I did not complete this guide.
One other person completed this guide.

Team

University of North Alabama, Team 1-1, Winner Fall 2025 Member of University of North Alabama, Team 1-1, Winner Fall 2025
UNA-WINNER-F25S1G1
13 Members
4 Guides authored