This translation was generated by a machine and has not been reviewed by a person yet. Speak this language? Review it.
Introduction
This guide shows how to reach and remove the ink absorbers in the bottom of the printer for a Canon PIXMA MX925. The linked disassembly video shows the complete process; the photos highlight the relevant locations inside the printer. According to the Canon note on support code 1700, the ink absorber in the MX920 series is almost full when the error appears. According to the video description, the process is also similar for the MX920, MX922, MX925, MX926, MX927, and MX928.
What you need
-
-
-
Turn off the printer and disconnect the power cable.
-
Remove the lower paper tray and the photo tray.
-
Release the front feed cover from the clips using a flathead screwdriver.
-
Open the ink cover and wait until the print head holder stops moving.
 Ask FixBot
-
-
-
-
Loosen the Phillips screws on the back and next to the drive area.
-
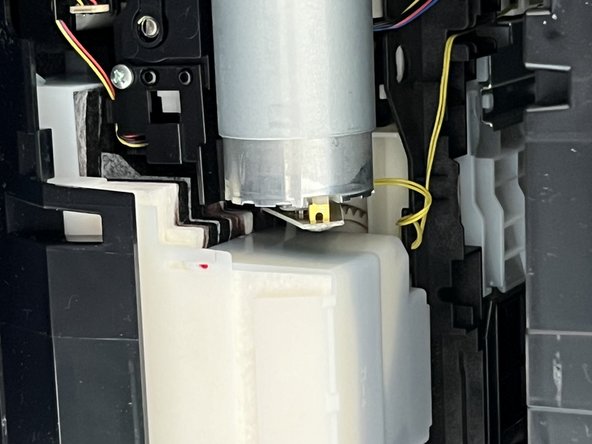
Push the ink absorber box slightly to the right and pull it out.
-
Use paper towels to catch any old ink.
-
Note the position of the tubes and plastic tabs before reinserting the box.
-
-
-
Reinstall the ink absorber sponge box, the tubes, and the covers in reverse order.
-
Tighten the screws only until they are finger-tight.
-
Restart the printer and perform a test print.
-
-




Perform the steps in reverse order and then check with a test print. If support code 1700 is still displayed, you may need to reset the ink absorber counter depending on the model.

