Introduction
Having trouble getting your printer to print correctly? Give this guide a try and see your worries disappear!
Before beginning it's important to know the exact model type of the printer that needs fixing for the best results. The printer covered in this guide is a Canon PIXMA MX922. By the end of this guide you will be able to affectively change the printer head of a Canon printer to avoid faded and/or messy ink prints. The printer head is arguably one of the most important parts of a printer because of its ability to do the actual transfer of ink onto paper job. This guide does require the viewer to buy a new printer head which is generally around $30-$60 dollars and can be found at any hardware store or online. Avoiding replacing this key component can lead to various continued issues relating to printing and over time it can potentially ruin the entire printer itself. Lucky enough, this guide is a very beginner friendly guide that requires little to no experience.
Below is the address where the printer head part can be found:
-
-
-
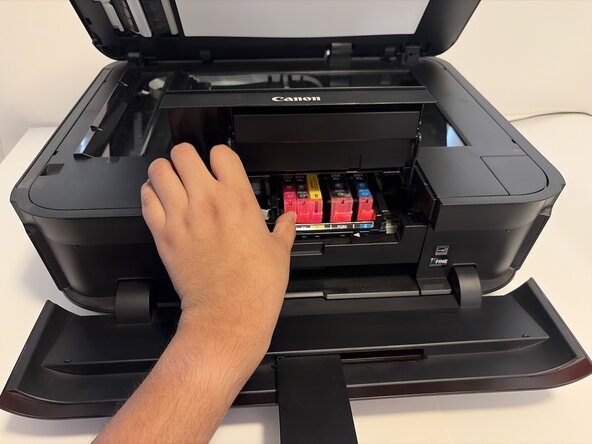
Once the ink cover is open, wait for the print holder to stop in the middle of the printer and all ink cartridges are visible.
-
-
-
Push the tab of the ink cartridge in and then lift out the cartridge. Repeat for all 5.
-
-
-
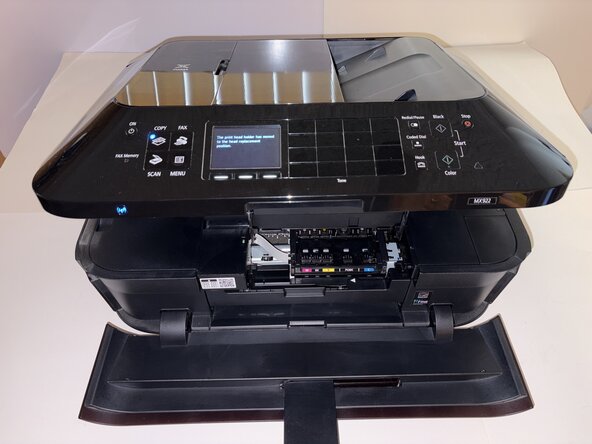
Press and hold the stop button until the print holder stops. The holder should move to the right and towards the center.
-
-
-
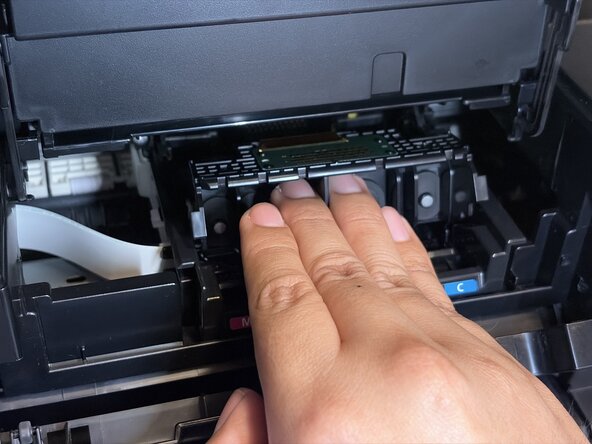
Use your finger tips to grab the top of the middle tab which will release the printer head.
-
-
-
After releasing the printer head, pull the printer head out of the printer. The new printer head can now be slid into the printer.
-


To reassemble your device, follow these instructions in reverse order.

Team

CSU Los Angeles, Team 5-12, Harris Spring 2026 Member of CSU Los Angeles, Team 5-12, Harris Spring 2026
CSULA-HARRIS-S26S5G12
3 Members
1 Guide authored