
Canon PIXMA MP190 Ink Cartridge Replacement

Garret Wescott and 2 other contributors
Last updated on Jan 9, 2015
Views: 11K
View statistics:
- Past 24 Hours:
- 3
- Past 7 Days:
- 22
- Past 30 Days:
- 148
- All Time:
- 10,672
Comments: 0
No one has left comments on this guide. Will you be first?
Go to guide commentsCompleted: 4 5
4 people have marked this guide "completed." Will you be next?
5 people have marked this guide "completed." Including you — great job!
Favorites: 0 1
No one has favorited (and subscribed to) this guide. Will you be the first?
1 person has favorited (and subscribed to) this guide — and that's you!
Introduction
Go to step 1 ↓Over the life of the printer the ink cartridges will have to be replaced multiple times. Before attempting to replace the ink cartridges ensure that the printer is working properly which will facilitate in the cartridge exchange.
-
-
-
The printer needs to be on in order to change the ink cartridges.
 Ask FixBot
-
-
-
To locate the ink cartridges the paper output tray must be in the lowered position.
-
Next lift the scanning unit until the scanning support is vertical.
-
Lower the scanning unit until the scanning unit support seats in the scanning unit support slot.
-
-
-
-
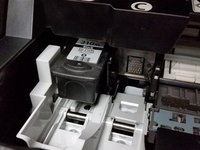
Allow the printer to position the ink cartridge carrier into the ink cartridge removal location.
-
Before replacing the ink cartridge ensure the correct ink cartridge is installed.
-
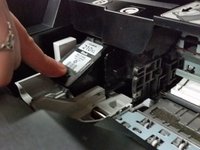
Push down on the front edge of the ink cartridge.
-
Observe the angle at which the ink cartridge is removed.
-
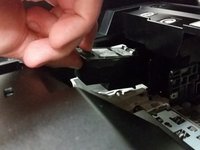
Grasp ink cartridge and pull up and out to remove.
-
-


To reassemble your device, follow these instructions in reverse order.
Cancel: I did not complete this guide.
4 other people completed this guide.

Team

Michigan Tech, Team 1-5, Lauer Fall 2014 Member of Michigan Tech, Team 1-5, Lauer Fall 2014
MTU-LAUER-F14S1G5
3 Members
60 Guides authored
