Free Shipping on Domestic Orders $75+

Canon ImageCLASS MF4350d Transformer Replacement

Views: 3.7K

View statistics:

Past 24 Hours:
3
Past 7 Days:
20
Past 30 Days:
109
All Time:
3,699
Comments: 0

No one has left comments on this guide. Will you be first?

Go to guide comments
Completed: 1

1 person has marked this guide "completed." Will you be next?

Favorites: 0

No one has favorited (and subscribed to) this guide. Will you be the first?

Time Required: 20 - 25 minutes
Difficulty: Moderate
Canon ImageCLASS MF4350d Transformer Replacement

Introduction

Go to step 1 ↓

This guide will teach you how to replace your printer's right side transformer. Do not touch anything other than what is specified, specifically on the green board. You may accidentally short or damage the electrical configurations or give yourself an electric shock.

What you need

Tools

    1. Canon ImageCLASS MF4350d Transformer Replacement, Front Paneling: step 1, image 1 of 1
      • Lift the printer lid up as shown in the photo.

      Ask FixBot

      Add Comment

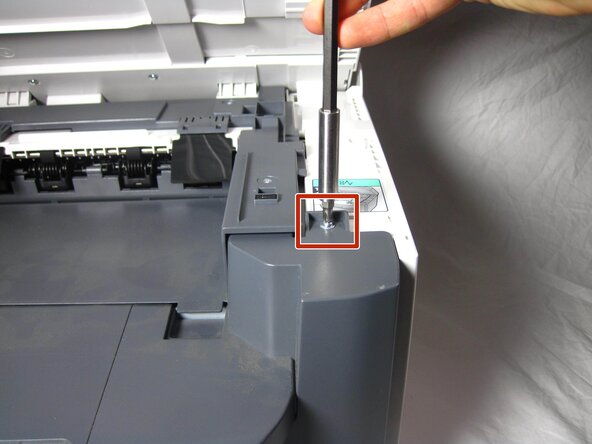
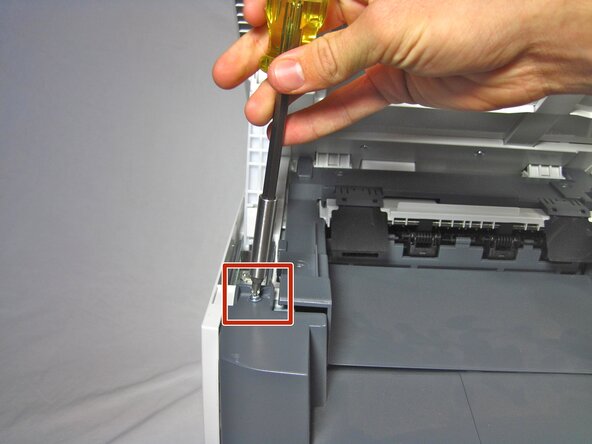
    2. Canon ImageCLASS MF4350d Transformer Replacement: step 2, image 1 of 2 Canon ImageCLASS MF4350d Transformer Replacement: step 2, image 2 of 2
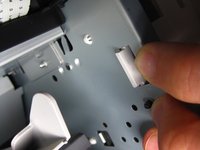
      • Locate and remove the two 10mm side screws. There is one on each side.

      Ask FixBot

      Add Comment

    3. Canon ImageCLASS MF4350d Transformer Replacement: step 3, image 1 of 2 Canon ImageCLASS MF4350d Transformer Replacement: step 3, image 2 of 2
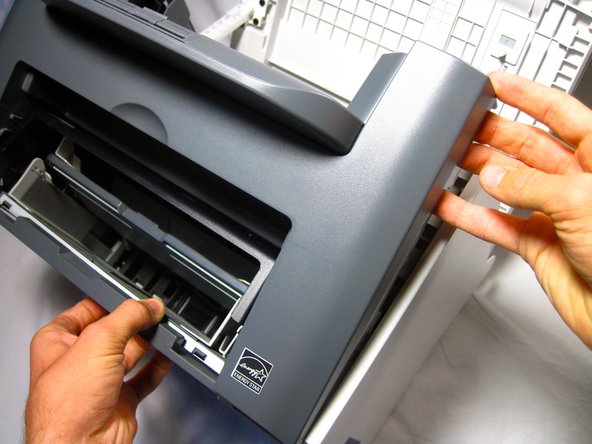
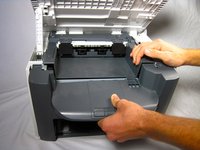
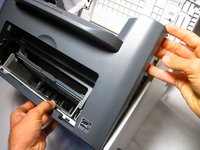
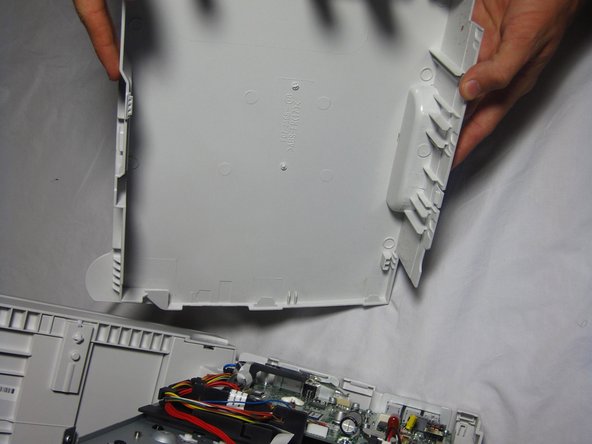
      • Unhook the plastic panel from the printer starting from the top.

      • You may need to wiggle the panel a bit to loosen it.

      • To remove the bottom part of the paneling gently lay the printer on its back.

      • The scanner lid needs to be supported when moving the printer

      Ask FixBot

      Add Comment

    1. Canon ImageCLASS MF4350d Transformer Replacement, Right Side Paneling: step 4, image 1 of 3 Canon ImageCLASS MF4350d Transformer Replacement, Right Side Paneling: step 4, image 2 of 3 Canon ImageCLASS MF4350d Transformer Replacement, Right Side Paneling: step 4, image 3 of 3
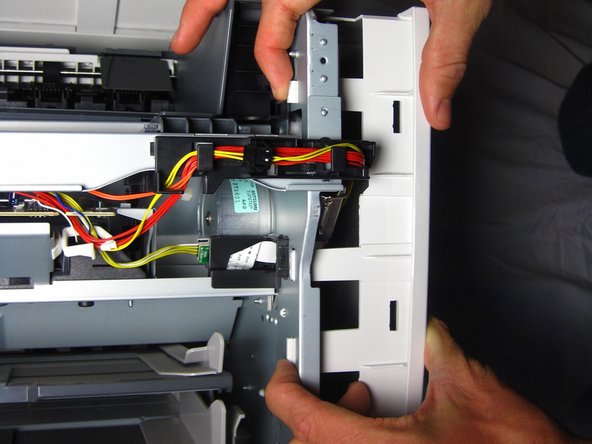
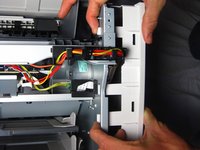
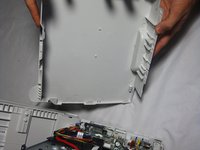
      • Gently unhook the right side paneling (as looking at the printer's front face) from the printer.

      • Use a gentle back and forth motion to wiggle the hooks out.

      Ask FixBot

      Add Comment

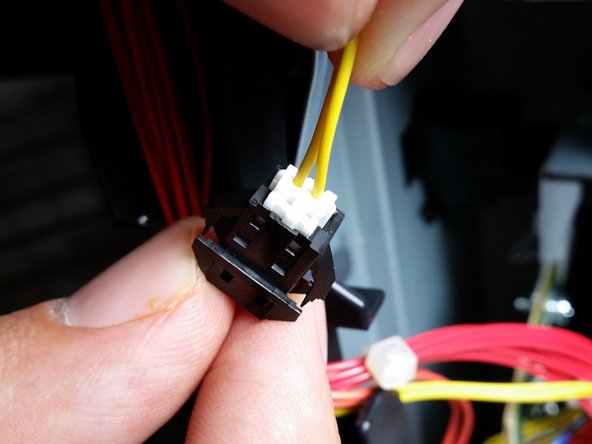
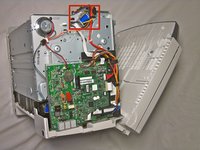
    1. Canon ImageCLASS MF4350d Transformer Replacement, Transformer: step 5, image 1 of 2 Canon ImageCLASS MF4350d Transformer Replacement, Transformer: step 5, image 2 of 2
      • Locate the yellow wire connected to the metal box.

      • Carefully pull the yellow wire from the black connector.

      • Wires may detach completely from plug so tug very gently.

      Ask FixBot

      Add Comment

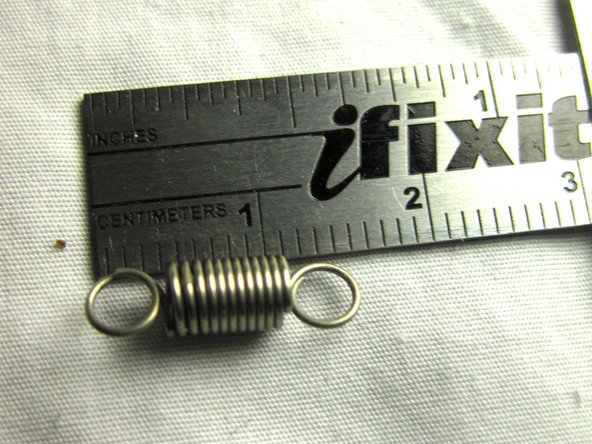
    2. Canon ImageCLASS MF4350d Transformer Replacement: step 6, image 1 of 2 Canon ImageCLASS MF4350d Transformer Replacement: step 6, image 2 of 2
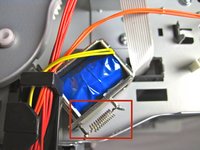
      • Locate the spring.

      • Unhook the spring on the side of the metal box.

      Ask FixBot

      Add Comment

    3. Canon ImageCLASS MF4350d Transformer Replacement: step 7, image 1 of 1
      • Unscrew the 10mm screw attaching the metal plate to the printer.

      Ask FixBot

      Add Comment

    4. Canon ImageCLASS MF4350d Transformer Replacement: step 8, image 1 of 1
      • Lift the transformer out of the printer.

      Ask FixBot

      Add Comment

Conclusion

To reassemble your device, follow these instructions in reverse order.

Cancel: I did not complete this guide.

One other person completed this guide.

Helena Yanez

Member since: 09/29/13

470 Reputation

4 Guides authored

Team

Cal Poly, Team 13-1, Forte Fall 2013 Member of Cal Poly, Team 13-1, Forte Fall 2013

CPSU-FORTE-F13S13G1

5 Members

96 Guides authored

0 Guide Comments

Add Comment

View Statistics:

Past 24 Hours: 3

Past 7 Days: 20

Past 30 Days: 109

All Time: 3,699