Free Shipping on Domestic Orders $75+

Canon ImageCLASS MF4350d Speaker Replacement

What you need

    1. Canon ImageCLASS MF4350d Speaker Replacement, Front Paneling: step 1, image 1 of 1
      • Lift the printer lid up as shown in the photo.

      Ask FixBot

      Add Comment

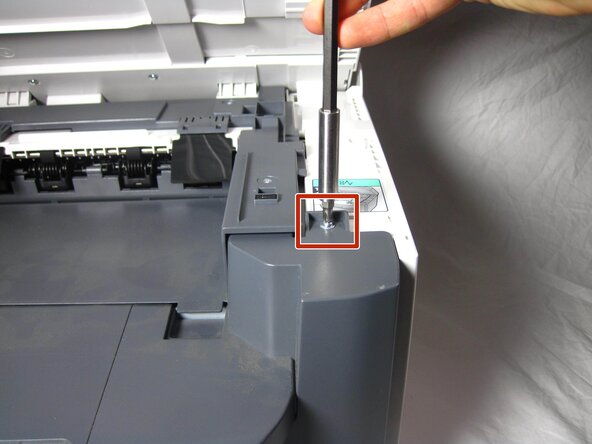
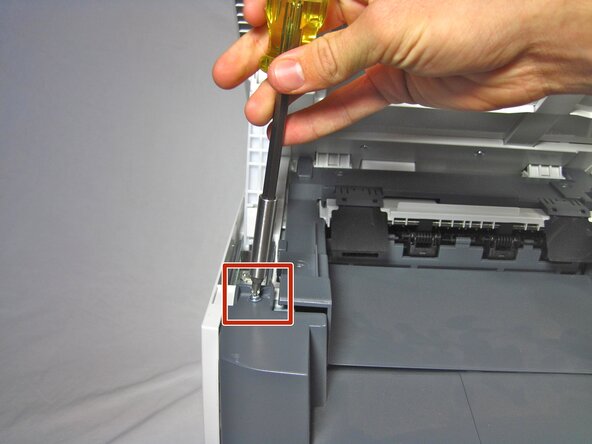
    2. Canon ImageCLASS MF4350d Speaker Replacement: step 2, image 1 of 2 Canon ImageCLASS MF4350d Speaker Replacement: step 2, image 2 of 2
      • Locate and remove the two 10mm side screws. There is one on each side.

      Ask FixBot

      Add Comment

    3. Canon ImageCLASS MF4350d Speaker Replacement: step 3, image 1 of 2 Canon ImageCLASS MF4350d Speaker Replacement: step 3, image 2 of 2
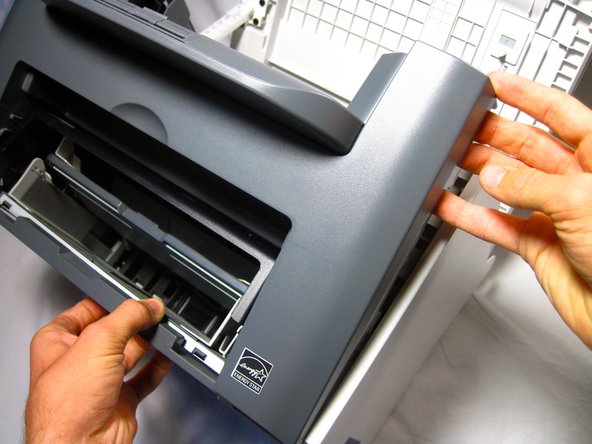
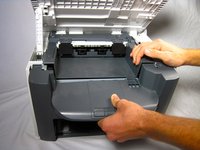
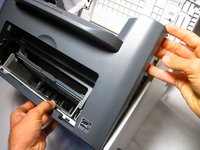
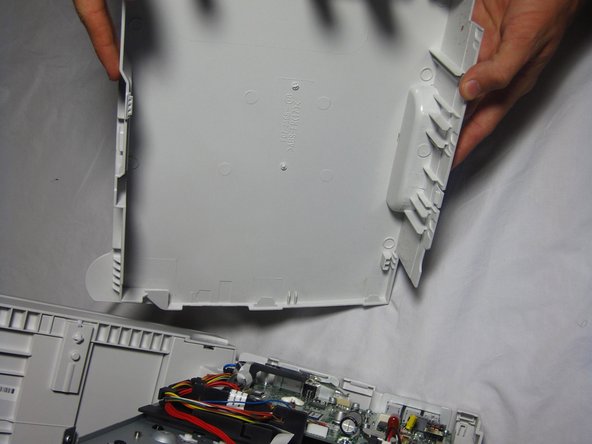
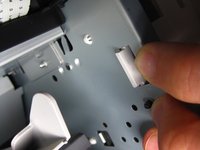
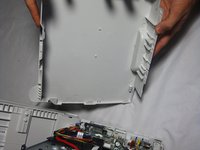
      • Unhook the plastic panel from the printer starting from the top.

      • You may need to wiggle the panel a bit to loosen it.

      • To remove the bottom part of the paneling gently lay the printer on its back.

      • The scanner lid needs to be supported when moving the printer

      Ask FixBot

      Add Comment

    1. Canon ImageCLASS MF4350d Speaker Replacement, Right Side Paneling: step 4, image 1 of 3 Canon ImageCLASS MF4350d Speaker Replacement, Right Side Paneling: step 4, image 2 of 3 Canon ImageCLASS MF4350d Speaker Replacement, Right Side Paneling: step 4, image 3 of 3
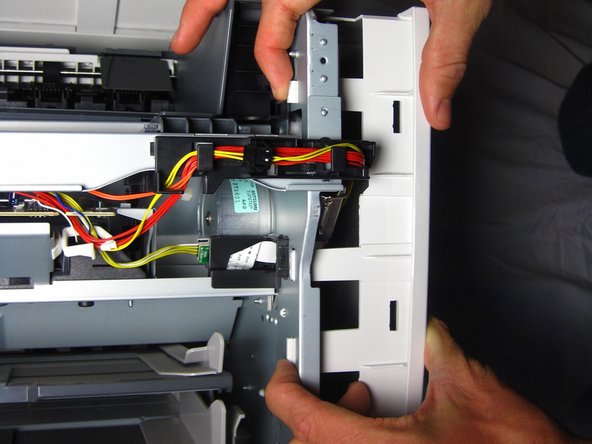
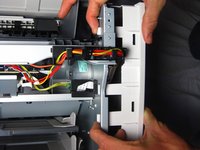
      • Gently unhook the right side paneling (as looking at the printer's front face) from the printer.

      • Use a gentle back and forth motion to wiggle the hooks out.

      Ask FixBot

      Add Comment

    1. Canon ImageCLASS MF4350d Speaker Replacement, Speaker: step 5, image 1 of 1
      • Lay printer on its left side for better access to the speaker.

      • The scanner lid needs to be supported when moving the printer

      Ask FixBot

      Add Comment

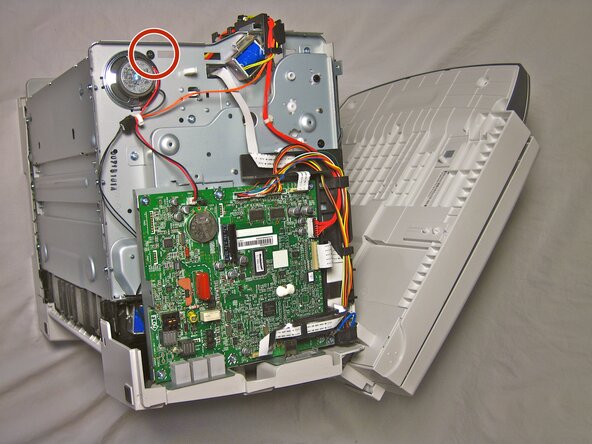
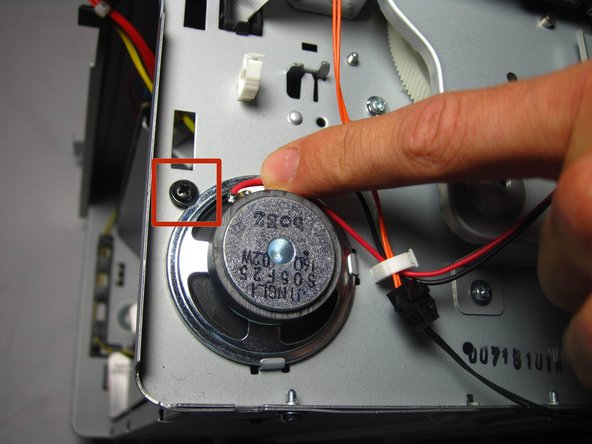
    2. Canon ImageCLASS MF4350d Speaker Replacement: step 6, image 1 of 2 Canon ImageCLASS MF4350d Speaker Replacement: step 6, image 2 of 2
      • Using a Phillips head screw driver, unscrew the 7mm screw.

      Ask FixBot

      Add Comment

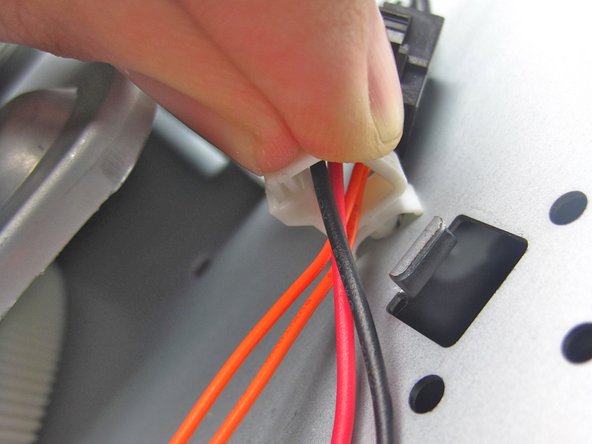
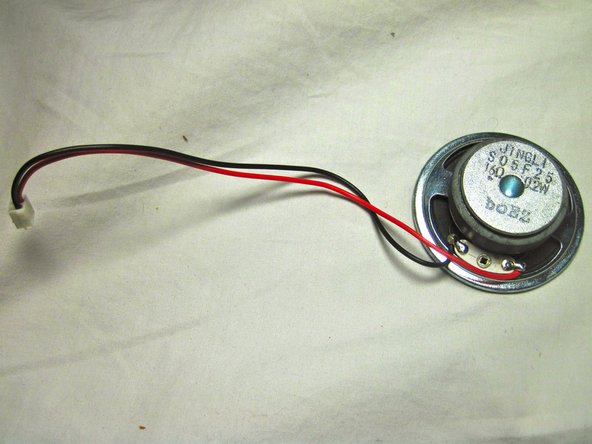
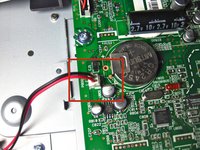
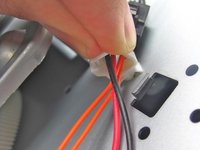
    3. Canon ImageCLASS MF4350d Speaker Replacement: step 7, image 1 of 3 Canon ImageCLASS MF4350d Speaker Replacement: step 7, image 2 of 3 Canon ImageCLASS MF4350d Speaker Replacement: step 7, image 3 of 3
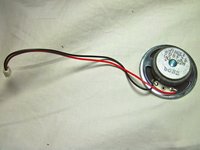
      • Locate the red and black wires connected to the speaker.

      • Undo the white clip holding the wires in place by pinching the tab on the top.

      • Remove the red and black wires from the wire bundle.

      • When replacing the old speaker, do not touch any part of the new speaker that is not metal other than the wires. Doing so could damage the speaker.

      • Lift out the speaker

      Ask FixBot

      Add Comment

Conclusion

To reassemble your device, follow these instructions in reverse order.

Cancel: I did not complete this guide.

One other person completed this guide.

Helena Yanez

Member since: 09/29/13

470 Reputation

4 Guides authored

Team

Cal Poly, Team 13-1, Forte Fall 2013 Member of Cal Poly, Team 13-1, Forte Fall 2013

CPSU-FORTE-F13S13G1

5 Members

96 Guides authored

0 Guide Comments

Add Comment

View Statistics:

Past 24 Hours: 4

Past 7 Days: 10

Past 30 Days: 20

All Time: 1,842