Free Shipping on Domestic Orders $75+

Canon EOS Rebel XSi Daughter Board Replacement

What you need

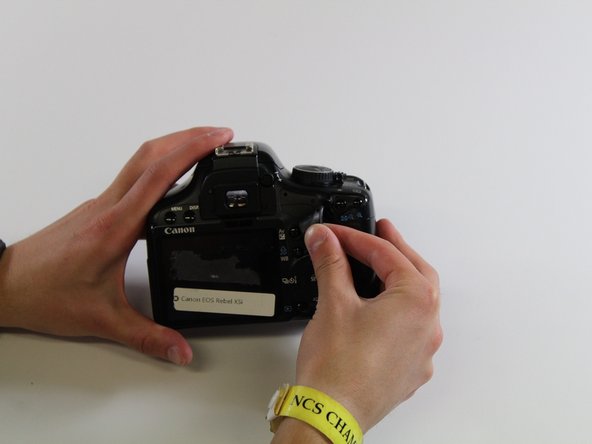
  1. Canon EOS Rebel XSi Daughter Board Replacement, Back Panel: step 1, image 1 of 1
    • Squeeze the eyepiece between your index finger and thumb and lift up and off.

    Ask FixBot
  2. Canon EOS Rebel XSi Daughter Board Replacement: step 2, image 1 of 1
    • Using the PH000 screwdriver head, remove the four 4 mm screws on the bottom of the camera.

    Ask FixBot
  3. Canon EOS Rebel XSi Daughter Board Replacement: step 3, image 1 of 1
    • Using the PH000 screwdriver head, remove the two 3mm screws on the right side of the camera (from the LCD screen).

    Ask FixBot
  4. Canon EOS Rebel XSi Daughter Board Replacement: step 4, image 1 of 1
    • Remove grip by slowly peeling off.

    Ask FixBot
  5. Canon EOS Rebel XSi Daughter Board Replacement: step 5, image 1 of 1
    • Using the PH000 screwdriver, remove the four 4mm screws behind the eyepiece.

    Ask FixBot
  6. Canon EOS Rebel XSi Daughter Board Replacement: step 6, image 1 of 1
    • Using the PH000 screwdriver head, remove one 4 mm screw on the left side of the camera (from the LCD screen).

    Ask FixBot
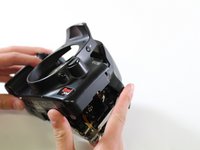
  7. Canon EOS Rebel XSi Daughter Board Replacement: step 7, image 1 of 1
    • Remove the side panel by lifting off with fingers.

    Ask FixBot
  8. Canon EOS Rebel XSi Daughter Board Replacement: step 8, image 1 of 1
    • Use hands to pry off the back panel.

    Ask FixBot
  9. Canon EOS Rebel XSi Daughter Board Replacement, Front Panel: step 9, image 1 of 1
    • Using the PH000 screwdriver head, remove the four 3mm screws on the front

    Ask FixBot
  10. Canon EOS Rebel XSi Daughter Board Replacement: step 10, image 1 of 1
    • Remove front grip by gently peeling from the edge towards the center of the camera

    Ask FixBot
  11. Canon EOS Rebel XSi Daughter Board Replacement: step 11, image 1 of 1
    • Using the PH000 screwdriver head, unscrew the 3 mm screw that was under the grip

    Ask FixBot
  12. Canon EOS Rebel XSi Daughter Board Replacement: step 12, image 1 of 1
    • Using the PH000 screwdriver, remove the 4mm screw at the bottom of the camera

    Ask FixBot
  13. Canon EOS Rebel XSi Daughter Board Replacement: step 13, image 1 of 3 Canon EOS Rebel XSi Daughter Board Replacement: step 13, image 2 of 3 Canon EOS Rebel XSi Daughter Board Replacement: step 13, image 3 of 3
    Tool used on this step:
    Tweezers
    $4.99
    Buy
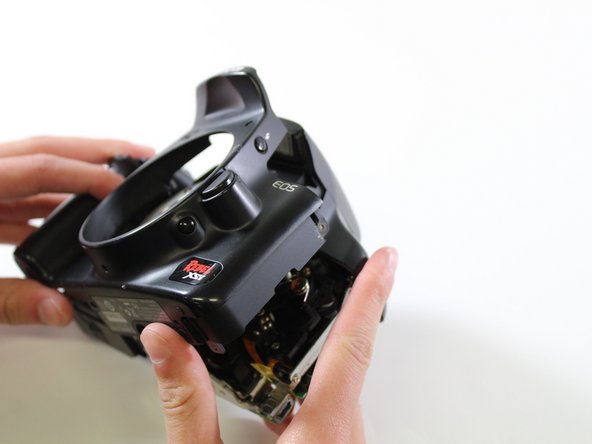
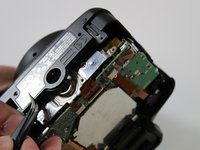
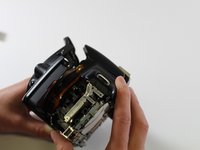
    • Remove the front panel by using tweezers to pry the panel over the metal ring protrusion

    Ask FixBot
  14. Canon EOS Rebel XSi Daughter Board Replacement, Daughter Board: step 14, image 1 of 1
    • Using the PH000 screwdriver head, remove the three 3mm screws

    Ask FixBot
  15. Canon EOS Rebel XSi Daughter Board Replacement: step 15, image 1 of 1
    • Carefully remove the cable from its plastic base with fingers

    Ask FixBot
  16. Canon EOS Rebel XSi Daughter Board Replacement: step 16, image 1 of 1
    • Gently slide board out with thumb

    Ask FixBot
  17. Canon EOS Rebel XSi Daughter Board Replacement: step 17, image 1 of 1
    • Gently disconnect cable by pulling out from plastic base with fingers

    Ask FixBot
  18. Canon EOS Rebel XSi Daughter Board Replacement: step 18, image 1 of 1
    • Disconnect cables by pulling out from base with fingers

    Ask FixBot
Conclusion

To reassemble your device, follow these instructions in reverse order.

4 other people completed this guide.

Erik Mork

Member since: 01/27/17

617 Reputation

5 Guides authored

Team

Cal Poly, Team 22-10, Maness Winter 2017 Member of Cal Poly, Team 22-10, Maness Winter 2017

CPSU-MANESS-W17S22G10

4 Members

10 Guides authored

1 Guide Comment

what does this fix

djratlif - Reply Share

Add Comment

View Statistics:

Past 24 Hours: 2

Past 7 Days: 9

Past 30 Days: 63

All Time: 1,762