Free Shipping on Domestic Orders $75+

Canon EOS Rebel XS Strap Loops Replacement

What you need

  1. Canon EOS Rebel XS Strap Loops Replacement, Eyepiece: step 1, image 1 of 2 Canon EOS Rebel XS Strap Loops Replacement, Eyepiece: step 1, image 2 of 2
    • Grasp the eyepiece with your fingers and slide upwards to remove it.

    Ask FixBot
  2. Canon EOS Rebel XS Strap Loops Replacement, Top Cover: step 2, image 1 of 2 Canon EOS Rebel XS Strap Loops Replacement, Top Cover: step 2, image 2 of 2
    • Using a PH000 screwdriver bit, remove the three black screws shown in the two pictures that are all 4 mm in length and 1 mm in diameter.

    Ask FixBot
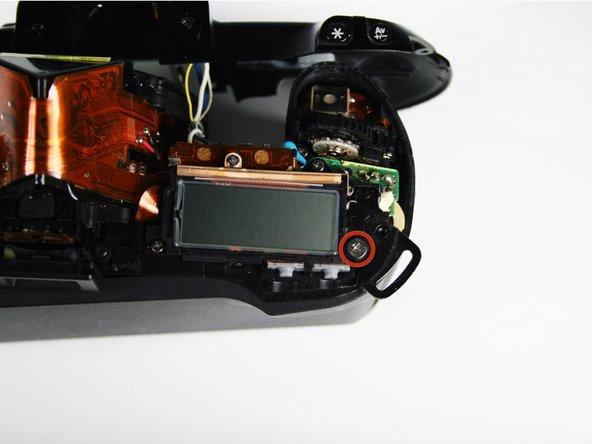
  3. Canon EOS Rebel XS Strap Loops Replacement: step 3, image 1 of 1
    • Using a Phillips #000 screwdriver, remove the two black screws shown in the picture that are both 6 mm in length and 1.25 mm in diameter.

    Ask FixBot
  4. Canon EOS Rebel XS Strap Loops Replacement: step 4, image 1 of 1
    • Pull off the front cover.

    Ask FixBot
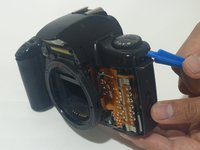
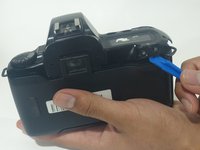
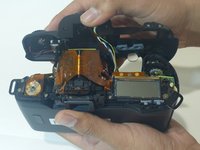
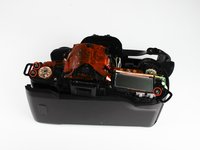
  5. Canon EOS Rebel XS Strap Loops Replacement: step 5, image 1 of 3 Canon EOS Rebel XS Strap Loops Replacement: step 5, image 2 of 3 Canon EOS Rebel XS Strap Loops Replacement: step 5, image 3 of 3
    • Using an opening tool (you can also use your nails, but try not to use something potentially damaging to the camera such as metal), separate the top cover from the rest of the camera!

    Ask FixBot
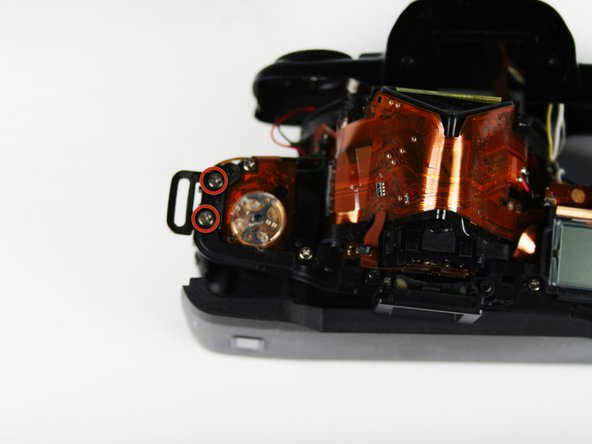
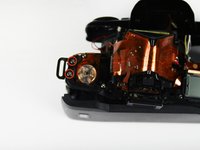
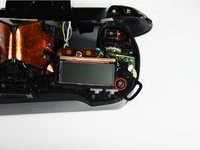
  6. Canon EOS Rebel XS Strap Loops Replacement, Strap Loops: step 6, image 1 of 3 Canon EOS Rebel XS Strap Loops Replacement, Strap Loops: step 6, image 2 of 3 Canon EOS Rebel XS Strap Loops Replacement, Strap Loops: step 6, image 3 of 3
    • Remove the two 5.0mm (.20in) silver screws from the first loop hole using a #00 Phillips screwdriver (Picture Two).

    • Remove the 6.8mm (.27in) wide head silver screw from the second loop hole using a #00 Phillips screwdriver (Picture Three).

    Ask FixBot
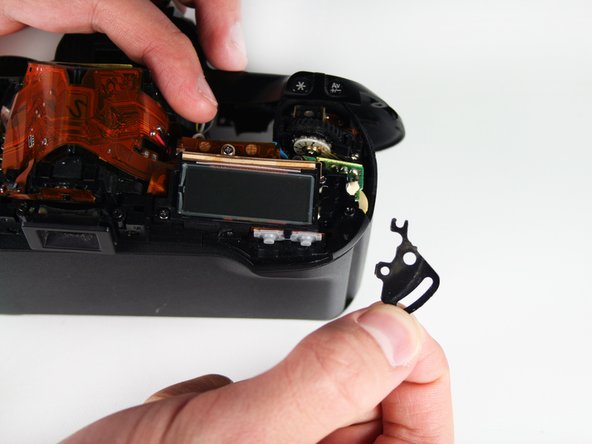
  7. Canon EOS Rebel XS Strap Loops Replacement: step 7, image 1 of 2 Canon EOS Rebel XS Strap Loops Replacement: step 7, image 2 of 2
    • Use your fingers to remove the loop holes.

    Ask FixBot
Conclusion

To reassemble your device, follow these instructions in reverse order.

Daniel Bussone

Member since: 01/28/11

1,289 Reputation

11 Guides authored

Team

Cal Poly, Team 3-41, Regan Winter 2011 Member of Cal Poly, Team 3-41, Regan Winter 2011

CPSU-REGAN-W11S3G41

2 Members

21 Guides authored

0 Guide Comments

Add Comment

View Statistics:

Past 24 Hours: 2

Past 7 Days: 13

Past 30 Days: 74

All Time: 1,240