Introduction
This is a necessary procedure for replacing the back latch of the Canon EOS Rebel XS 35mm camera. This guide details how to remove the back latch and put a back latch back on, whether it's the same back latch or a new one. The back latch covers and protects the film, among other things.
What you need
-
-
Use a Phillips #000 screwdriver to remove the 7 mm screw.
-
Use a Phillips #000 screwdriver to remove the five 4 mm screws.
 Ask FixBot
-
-
-
With your fingers, push on the bottom cover towards the back of the camera until it clicks and separates.
-
-
-
Using tweezers or your fingers, carefully remove the five gears and set them aside temporarily.
-
-
-
Using a PH000 screwdriver bit, remove the three black screws shown in the two pictures that are all 4 mm in length and 1 mm in diameter.
-
-
-
-
Using a Phillips #000 screwdriver, remove the two black screws shown in the picture that are both 6 mm in length and 1.25 mm in diameter.
-
-
-
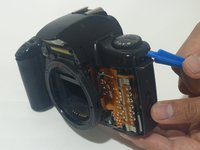
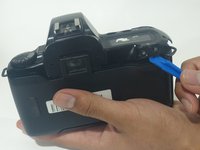
Using an opening tool (you can also use your nails, but try not to use something potentially damaging to the camera such as metal), separate the top cover from the rest of the camera!
-
-
-
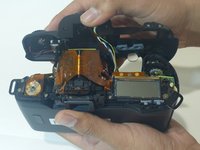
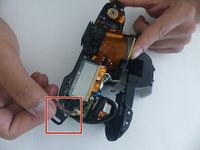
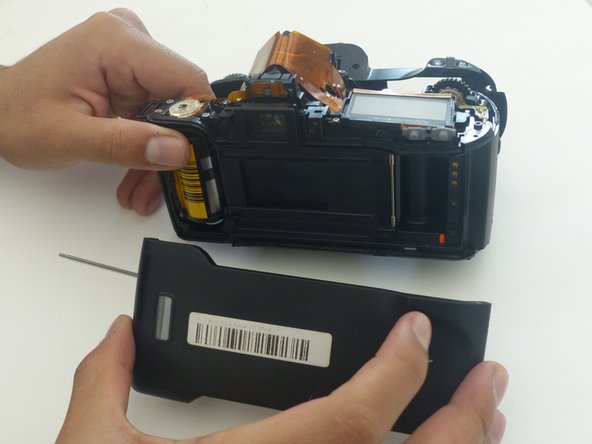
Once the front, top, and bottom covers have all been removed, it's time to remove the back latch! Using a paperclip or something similar (anything that's very skinny), push on the end of the skinny, silver, metal rod that vertically travels through the camera. Do this until enough of the rod pops out on the other side for the next step.
-
-
-
Remove the screw with a Phillips #00 screwdriver.
-
Remove the screw with a Phillips #000 screwdriver.
-
-
Tool used on this step:Tweezers$4.99
-
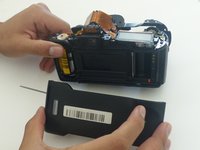
With a pair of tweezers or just your fingers, pull the rod completely out of the camera. The back latch should then completely detach from the camera.
-






To reassemble your device, follow these instructions in reverse order.

1 Guide Comment
This would be fantastic if only you'd noted a place to obtain a replacement latch from.
