Free Shipping on Domestic Orders $75+

Canon EOS Rebel T1i Camera Battery Notch Replacement

What you need

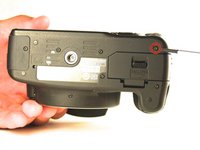
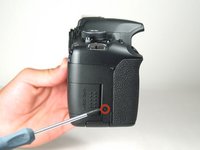
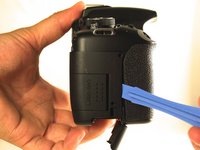
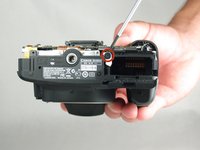
  1. Canon EOS Rebel T1i Camera Battery Notch Replacement, Battery Notch: step 1, image 1 of 2 Canon EOS Rebel T1i Camera Battery Notch Replacement, Battery Notch: step 1, image 2 of 2
    • Locate the side of camera with the HDMI port.

    • Unscrew the 7mm with a JIS #000 screw driver.

    Ask FixBot
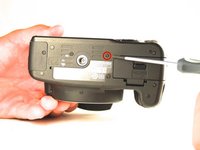
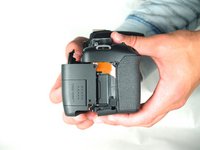
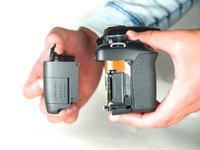
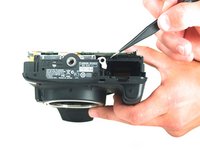
  2. Canon EOS Rebel T1i Camera Battery Notch Replacement: step 2, image 1 of 2 Canon EOS Rebel T1i Camera Battery Notch Replacement: step 2, image 2 of 2
    • Use your fingers to gently detach the plastic component from the camera

    Ask FixBot
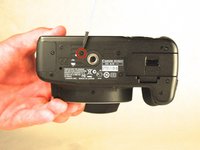
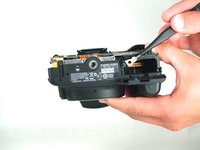
  3. Canon EOS Rebel T1i Camera Battery Notch Replacement: step 3, image 1 of 3 Canon EOS Rebel T1i Camera Battery Notch Replacement: step 3, image 2 of 3 Canon EOS Rebel T1i Camera Battery Notch Replacement: step 3, image 3 of 3
    • Unscrew the bottom three 4mm screws with a JIS #000 screwdriver.

    Ask FixBot
  4. Canon EOS Rebel T1i Camera Battery Notch Replacement: step 4, image 1 of 1
    • Unscrew the inner 4mm screw with a JIS #000 screwdriver.

    Ask FixBot
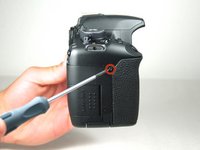
  5. Canon EOS Rebel T1i Camera Battery Notch Replacement: step 5, image 1 of 2 Canon EOS Rebel T1i Camera Battery Notch Replacement: step 5, image 2 of 2
    • Unscrew the top 7mm screw on the right side of the camera.

    • Unscrew the bottom 4 mm screw on the right side of the camera.

    Ask FixBot
  6. Canon EOS Rebel T1i Camera Battery Notch Replacement: step 6, image 1 of 3 Canon EOS Rebel T1i Camera Battery Notch Replacement: step 6, image 2 of 3 Canon EOS Rebel T1i Camera Battery Notch Replacement: step 6, image 3 of 3
    • Use the plastic opening tool to pry open the entire back panel.

    • Use your fingers to pull off the back panel.

    Ask FixBot
  7. Canon EOS Rebel T1i Camera Battery Notch Replacement: step 7, image 1 of 3 Canon EOS Rebel T1i Camera Battery Notch Replacement: step 7, image 2 of 3 Canon EOS Rebel T1i Camera Battery Notch Replacement: step 7, image 3 of 3
    • Now that the panel is off, unscrew the 9mm screw holding the battery notch in.

    • Use the pliers (or your fingers) to take off the white notch.

    • There is a spring underneath the battery notch. Do not lose this spring or let it fall off.

    Ask FixBot
Conclusion

To reassemble your device, follow these instructions in reverse order.

5 other people completed this guide.

Jonathan Lin

Member since: 04/14/14

572 Reputation

4 Guides authored

Team

Cal Poly, Team 3-41, Maness Spring 2014 Member of Cal Poly, Team 3-41, Maness Spring 2014

CPSU-MANESS-S14S3G41

4 Members

10 Guides authored

0 Guide Comments

Add Comment

View Statistics:

Past 24 Hours: 0

Past 7 Days: 6

Past 30 Days: 60

All Time: 3,873