
Canon AE-1 Program Light Seal Replacement

Anna Shay and one other contributor
Last updated on Dec 13, 2024
Views: 2.5K
View statistics:
- Past 24 Hours:
- 11
- Past 7 Days:
- 78
- Past 30 Days:
- 279
- All Time:
- 2,522
Comments: 0
No one has left comments on this guide. Will you be first?
Go to guide commentsCompleted: 0 1
No one has marked this guide "completed." Will you be the first?
1 person has marked this guide "completed." It's you — great job!
Favorites: 1 2
1 person has favorited (and subscribed to) this guide. Will you be next?
2 people have favorited (and subscribed to) this guide — including you!
Better Introduction
Improve this guide by completing or revising its introduction.
Introduction
Go to step 1 ↓Old, degraded light seals in the Canon AE-1 can cause light leaks, leading to ruined exposures. Use this guide to replace the light seals in your Canon AE-1 to prevent these issues and extend the life of your camera.
What you need
Parts
-
Light seal replacement kit (or foam sheets)Affiliate linkAvailable for sale on Amazon
It is recommended to purchase pre-cut foam sheets.
Tools
-
-
-
-
Utility Scissors4.9


-
-
-
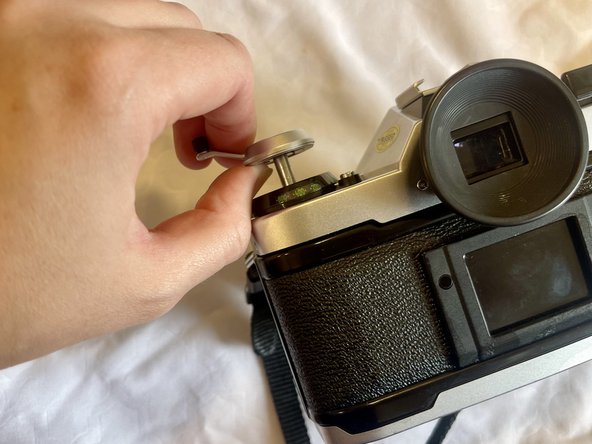
Hold the camera with the back facing you, and gently pull up on the rewind knob located on the top-left side of the camera using your other hand.
-
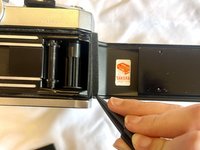
Carefully open the back of the camera to reveal the film compartment.
-
Place the camera on a clean, stable surface to access the grooves more easily and work comfortably on removing the old seals.
 Ask FixBot
-
-
-
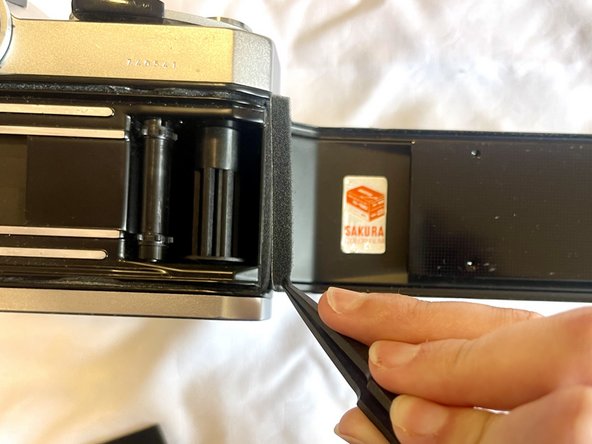
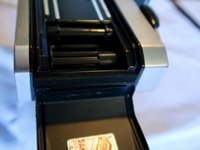
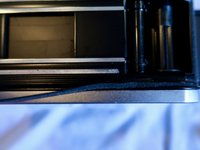
Inspect the edges of the camera back door, the hinge area, and the mirror damper (located near the shutter) for old or deteriorating seals.
-
Take note of where the seals need replacing.
-
-
-
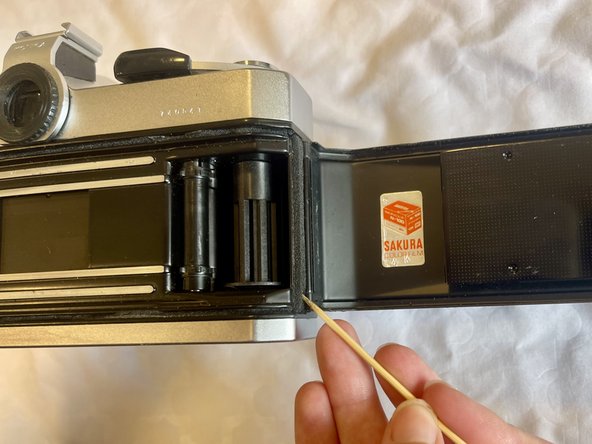
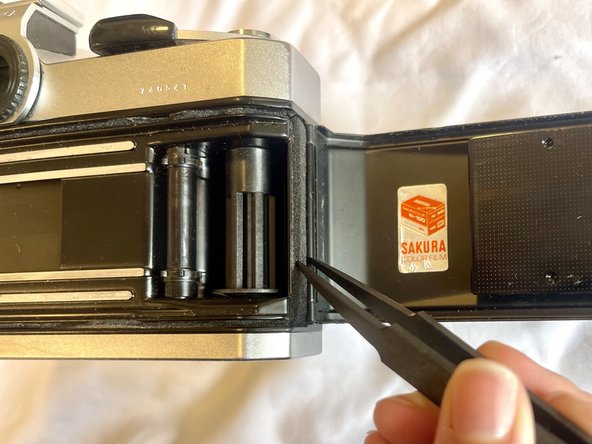
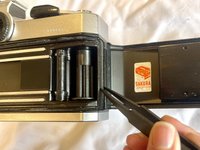
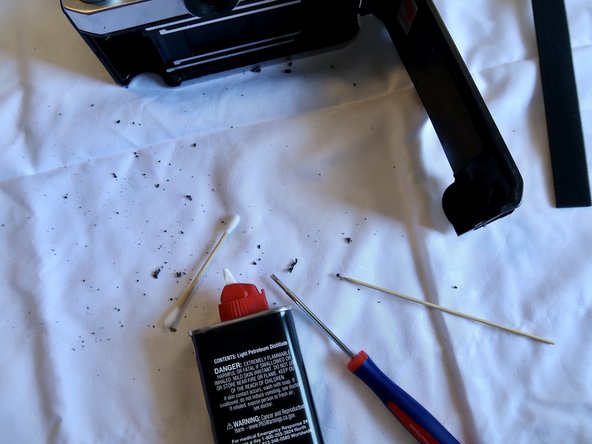
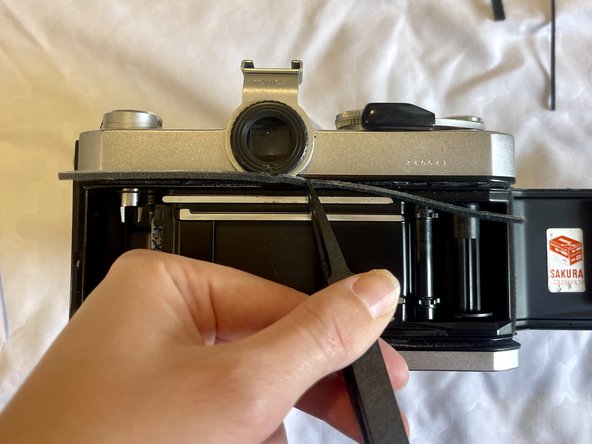
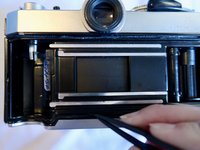
Use a toothpick or tweezers to carefully scrape out the old, degraded light seals.
-
-
-
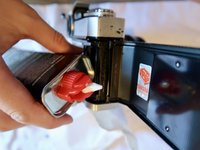
Soak a cotton swab in isopropyl alcohol (90% or higher) and gently clean out the grooves where the old seals were located.
-
Clear the work area of any remnants from the old light seal.
-
-
-
If your replacement seals are not pre-cut, measure the length and width of the grooves and use scissors to cut the foam strips to size.
-
Common areas to replace include:
-
Back door edges: Long, thin strips.
-
Hinge area: Small, thick piece.
-
-
-
Use tweezers to carefully place the new light seals into the clean grooves.
-
Ensure the seals fit snugly in place without sticking out or causing obstruction to the camera’s closing mechanism.
-
-
-
-
Gently press the new foam pieces into the spaces ensuring they fit flush within the space.
-
-
-
Carefully close the camera back and open it again to check for any gaps or misalignment.
-
Ensure the camera back closes securely without resistance and that the mirror damper is properly installed.
-
Your Canon AE-1 Program is now ready for a test roll to ensure there are no light leaks!
-
-











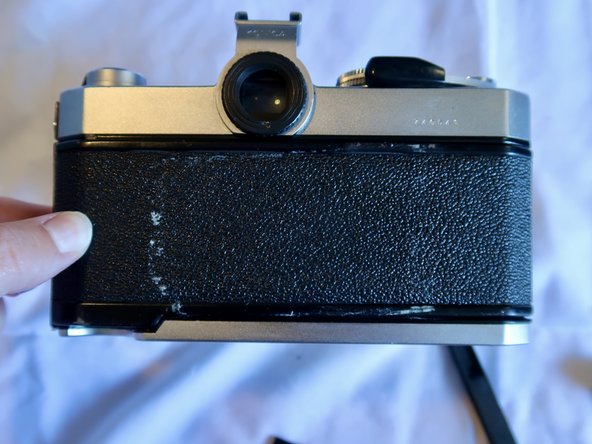
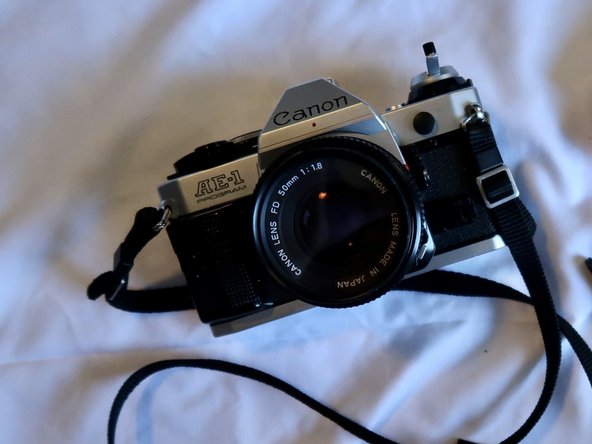
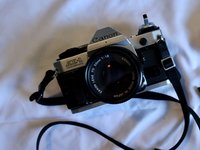
Congratulations! You've successfully replaced the light seals in your Canon AE-1. Enjoy shooting with your refurbished film camera!

Team

University of North Alabama, Team A-4, Winner Fall 2024 Member of University of North Alabama, Team A-4, Winner Fall 2024
UNA-WINNER-F24SAG4
1 Member
12 Guides authored
