Free Shipping on Domestic Orders $75+

Canary CAN100USBK Audio and USB PCB Board Replacement

What you need

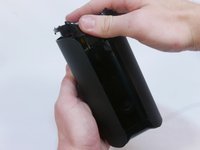
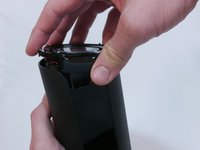
  1. Canary CAN100USBK Audio and USB PCB Board Replacement, Bottom Casing: step 1, image 1 of 2 Canary CAN100USBK Audio and USB PCB Board Replacement, Bottom Casing: step 1, image 2 of 2
    • Grip the rubber ring with your fingers and pull up.

    • Rotate the Canary as you pull out one tab at a time.

    Ask FixBot

    Add Comment

  2. Canary CAN100USBK Audio and USB PCB Board Replacement: step 2, image 1 of 1
    • Use your Phillips #0 screwdriver to remove the four 6mm screws.

    Ask FixBot

    Add Comment

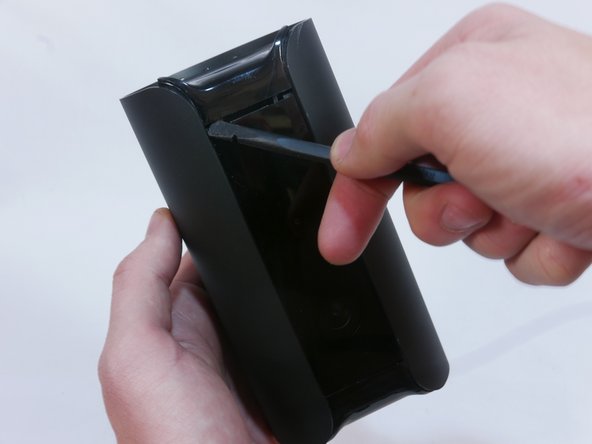
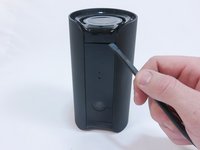
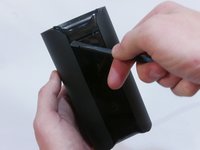
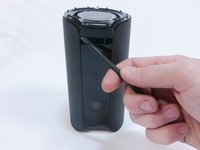
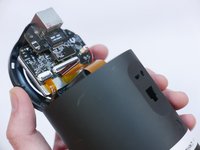
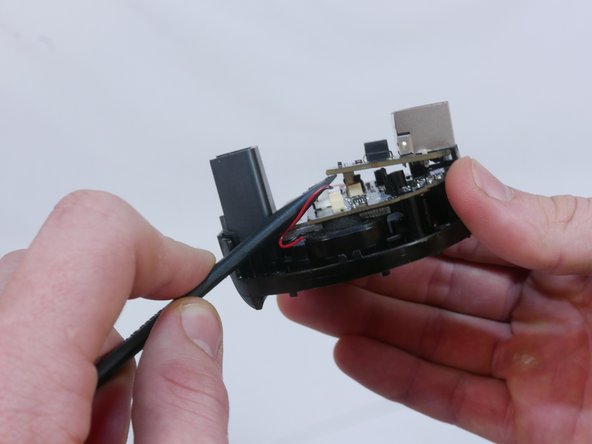
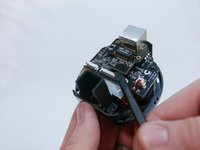
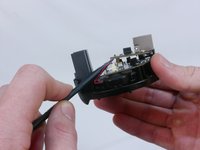
  3. Canary CAN100USBK Audio and USB PCB Board Replacement: step 3, image 1 of 3 Canary CAN100USBK Audio and USB PCB Board Replacement: step 3, image 2 of 3 Canary CAN100USBK Audio and USB PCB Board Replacement: step 3, image 3 of 3
    • Use the flat end of the spudger to carefully pry off the bottom casing.

    • Alternate pushing up on the left and right sides until the clips holding the case in are visible.

    Ask FixBot

    Add Comment

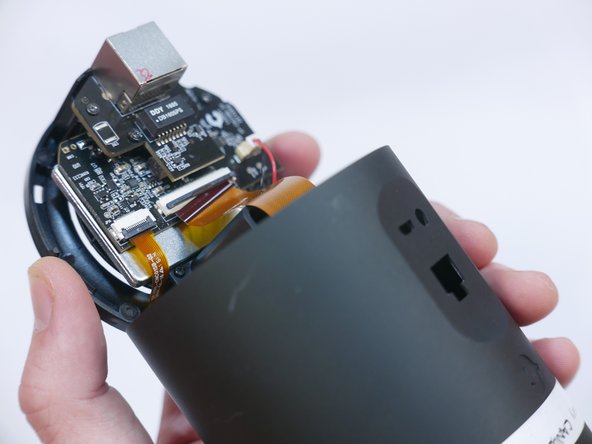
  4. Canary CAN100USBK Audio and USB PCB Board Replacement: step 4, image 1 of 2 Canary CAN100USBK Audio and USB PCB Board Replacement: step 4, image 2 of 2
    • Do not yank the bottom off or you may damage the ribbon cable or the ZIF connector.

    • Carefully remove the bottom casing by gripping it on both sides and pulling straight up.

    Ask FixBot

    Add Comment

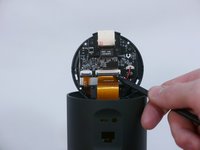
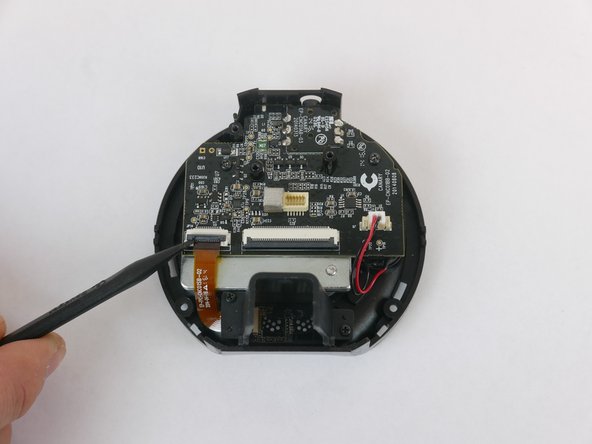
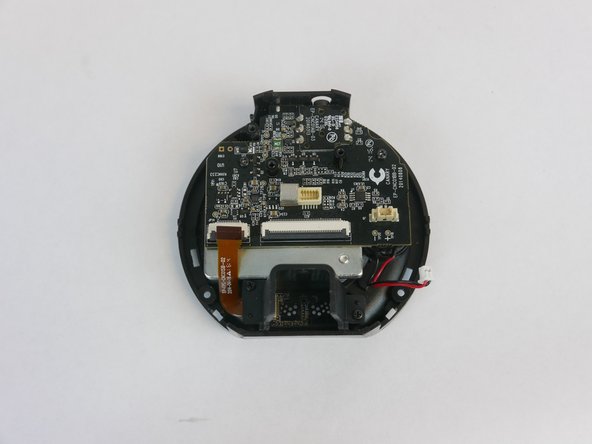
  5. Canary CAN100USBK Audio and USB PCB Board Replacement: step 5, image 1 of 2 Canary CAN100USBK Audio and USB PCB Board Replacement: step 5, image 2 of 2
    • Use the pointed end of the spudger to flip up the small retaining flap on the ZIF (zero insertion force) connector.

    • Pull the ribbon cable out towards the device.

    Ask FixBot

    Add Comment

  6. Canary CAN100USBK Audio and USB PCB Board Replacement, Ethernet PCB Board: step 6, image 1 of 1
    • Use your Phillips #0 screwdriver to remove the three 5mm screws.

    Ask FixBot

    Add Comment

  7. Canary CAN100USBK Audio and USB PCB Board Replacement: step 7, image 1 of 2 Canary CAN100USBK Audio and USB PCB Board Replacement: step 7, image 2 of 2
    • Place the flat end of the spudger underneath the Ethernet PCB board and slowly pry up until it's loose.

    Ask FixBot

    Add Comment

  8. Canary CAN100USBK Audio and USB PCB Board Replacement: step 8, image 1 of 1
    • Carefully pull the Ethernet PCB board away from the board that sits underneath.

    Ask FixBot

    Add Comment

  9. Canary CAN100USBK Audio and USB PCB Board Replacement, Audio and USB PCB Board: step 9, image 1 of 1
    • Using your fingernails, wiggle the power connector back and forth until it becomes loose.

    • Pull the power connector straight out of the socket.

    • Pull only on the power connector and not the wires themselves to prevent damage.

    Ask FixBot

    Add Comment

  10. Canary CAN100USBK Audio and USB PCB Board Replacement: step 10, image 1 of 3 Canary CAN100USBK Audio and USB PCB Board Replacement: step 10, image 2 of 3 Canary CAN100USBK Audio and USB PCB Board Replacement: step 10, image 3 of 3
    • Use the spudger to pry up the retaining flap of the ZIF connector.

    • Disconnect the ribbon cable.

    Ask FixBot

    Add Comment

  11. Canary CAN100USBK Audio and USB PCB Board Replacement: step 11, image 1 of 1
    • Remove the two Phillips #0 5mm screws.

    Ask FixBot

    Add Comment

  12. Canary CAN100USBK Audio and USB PCB Board Replacement: step 12, image 1 of 2 Canary CAN100USBK Audio and USB PCB Board Replacement: step 12, image 2 of 2
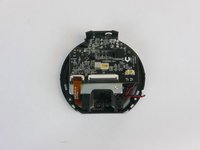
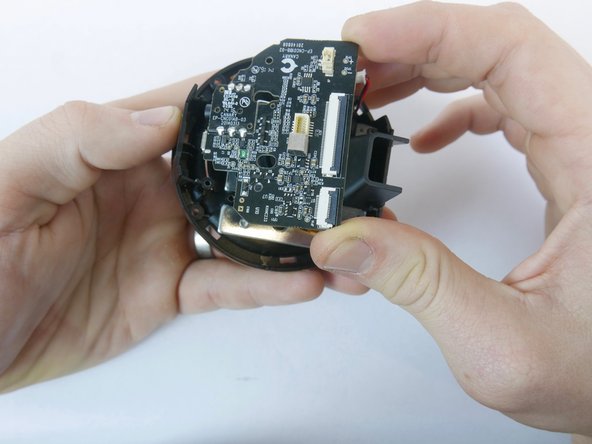
    • Pull the board away from the bottom casing by lifting the end closest to the chimney up.

    Ask FixBot

    Add Comment

Conclusion

To reassemble your device, follow these instructions in reverse order.

Cancel: I did not complete this guide.

3 other people completed this guide.

Kristopher Gates

Member since: 02/28/17

399 Reputation

3 Guides authored

Team

USF Tampa, Team S1-G2, Nance Spring 2017 Member of USF Tampa, Team S1-G2, Nance Spring 2017

USFT-NANCE-S17S1G2

4 Members

16 Guides authored

2 Guide Comments

Hello great tutorial I have a problem with the usb on mine.

Where did you buy the PCB from?

craig perrin - Reply Share

nice guide, need to buy the ep-cnc01bb-02 board which has the micro usb on it as mine is worn out... any ideas?

Billy - Reply Share

Add Comment

View Statistics:

Past 24 Hours: 0

Past 7 Days: 8

Past 30 Days: 34

All Time: 1,354