Introduction
If you find that the stove’s fan fails to start when the stove is hot, this might just be because you haven’t used the stove in a while, and the battery is therefore flat. If so, skip to the final step, and try to charge the existing battery using the method described.
If, however, you have used it recently, and the stove has seen a lot of use, then it’s likely the battery no longer holds any charge, and will need replacing. In my case, I had noticed that fewer battery-level LEDs had begun to light up, until one day, none of them did, and the fan failed to come on. (Also, in a last hurrah, the temperature LEDs all came on at once, and flashed a couple of times, together with the red LED.)
Unfortunately, Biolite’s customer support, although very friendly and otherwise helpful, said they did not offer replacement batteries - the only option was to buy a new stove.
Even though some of the money goes towards providing stoves for people in developing countries, this seemed to me to be a little unreasonable given that the stove itself appeared to be perfectly okay, so I decided to go it alone.
Happily, I was able to obtain a suitable replacement battery, and fitting it, as described here, has proved to be a complete success.
I have specified ‘Difficult’ mainly because soldering is involved - the wires to the battery are soldered to it. However, apart from the steps involving the battery itself, the job is fairly straightforward.
What you need
-
-
-
Press where indicated to release the air filter and reveal the fan.
 Ask FixBot
-
-
-
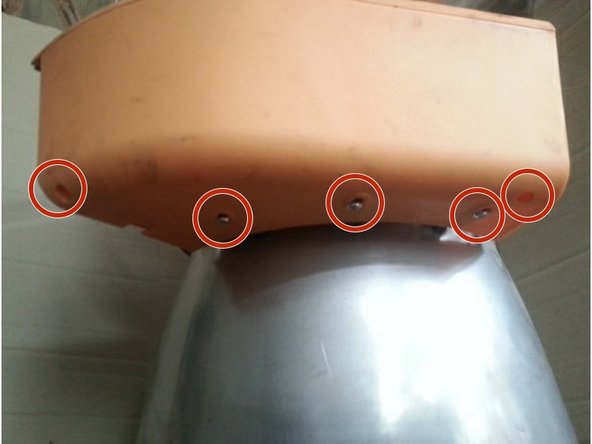
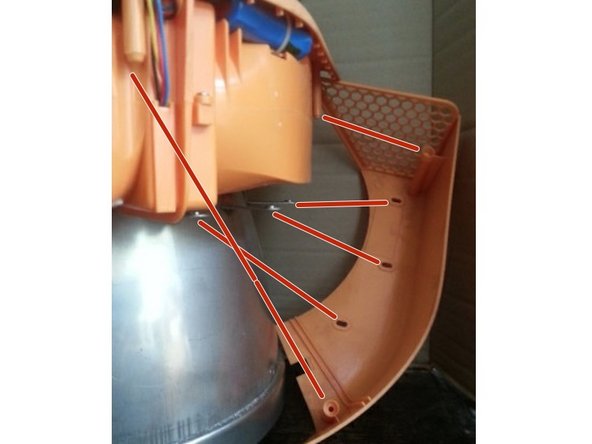
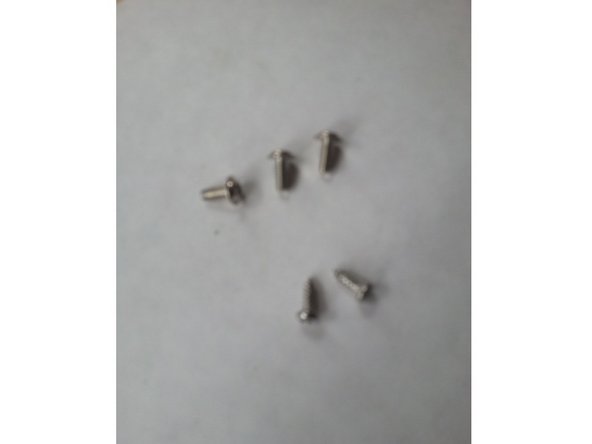
Remove the five screws indicated using a Phillips screwdriver. You'll need one that's long enough to reach the two screws that are recessed.
-
-
-
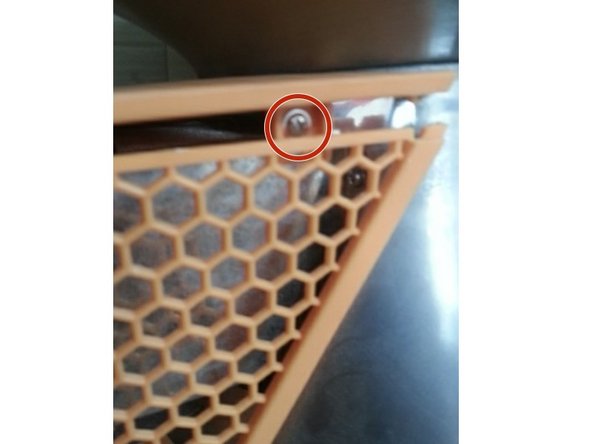
Remove the indicated screw, at the rear of the lid. Then lift off the lid, to reveal the battery to be replaced.
-
Now detach the battery wires from the circuit board, by gently prising the connector away from its post, in the direction of the arrow.
-
Then carefully undo the cable tie using a suitably small screwdriver.
-
-
-
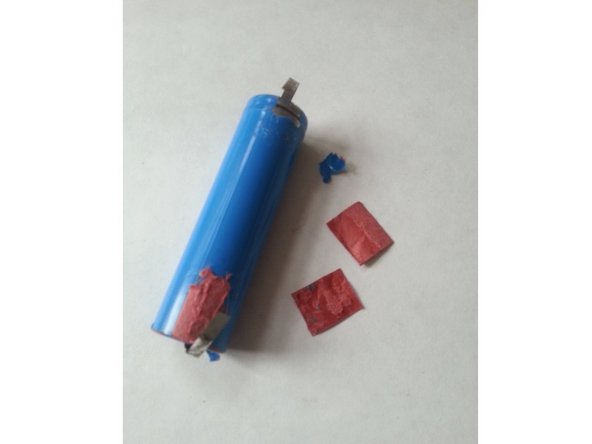
Using a craft knife, make an incision along the length of the plastic sheath, on the opposite side to wires, and remove the sheath.
-
Now use the craft knife to remove the cap at each end of the battery.
-
-
-
-
Removed the heat-resistant tape to reveal the soldered area on each battery prong. Try not to damage the red squares of insulation under each prong.
-
-
-
Use a soldering iron to free the wires from the prongs.
-
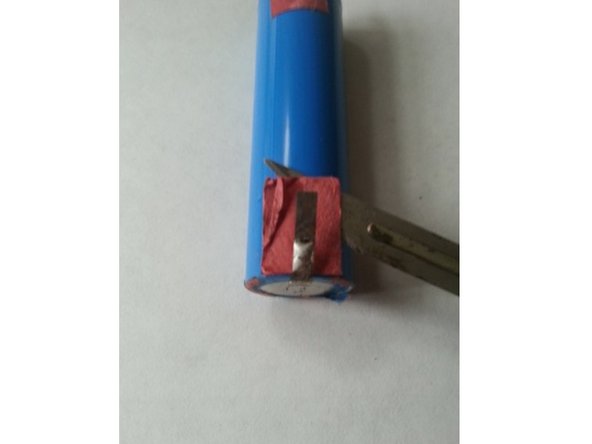
Using the craft knife, carefully separate the insulation squares from the battery.
-
-
-
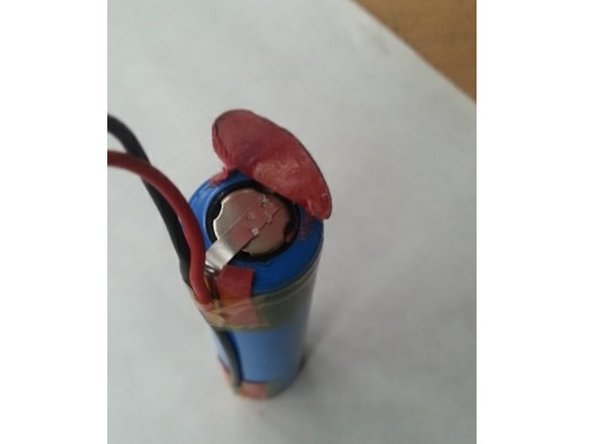
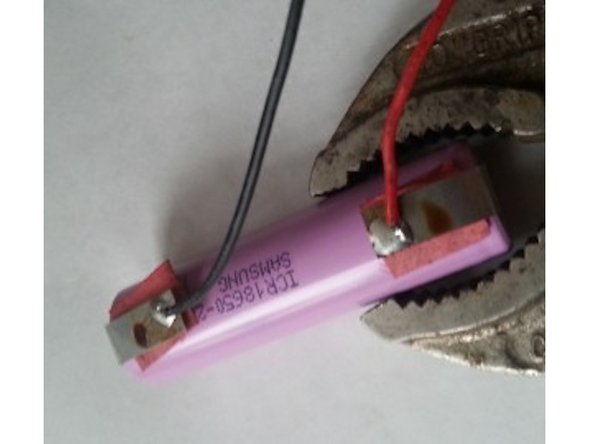
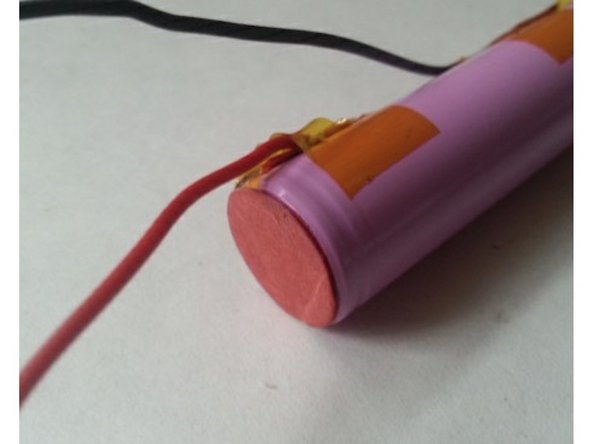
With the insulation square in place under the prong, solder the red wire to the prong at the end with the four indentations. This may be achieved by first applying a blob of solder to the prong, and then inserting the wire into the blob.
-
Solder the black wire to the other prong, again with the insulation square in place under the prong.
-
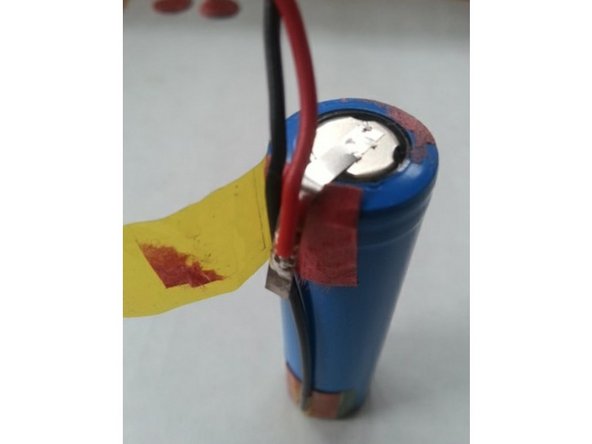
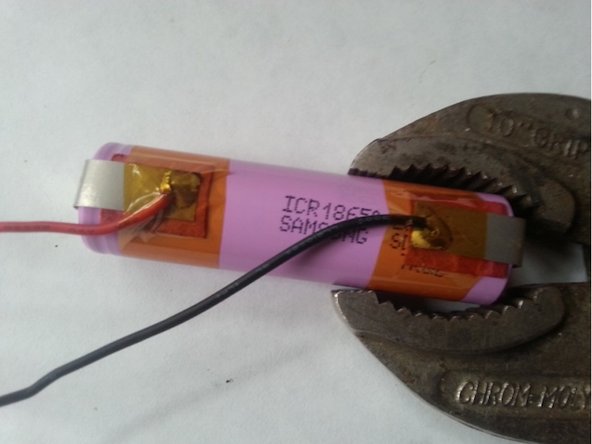
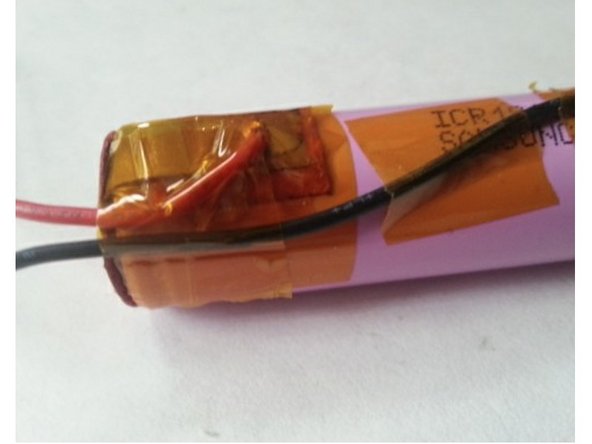
Cover each soldered area with heat-resistant tape.
-
Cover the rest of each prong with more heat-resistant tape,
-
-
-
Fit the insulation caps, which should have retained some stickiness, over the ends of the battery.
-
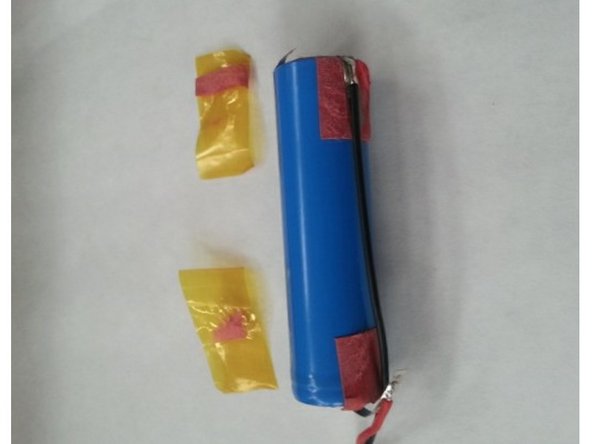
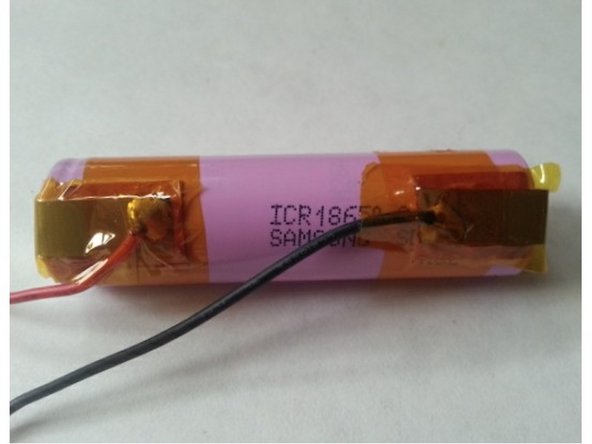
Use more heat-resistant tape to position the wires as shown.
-
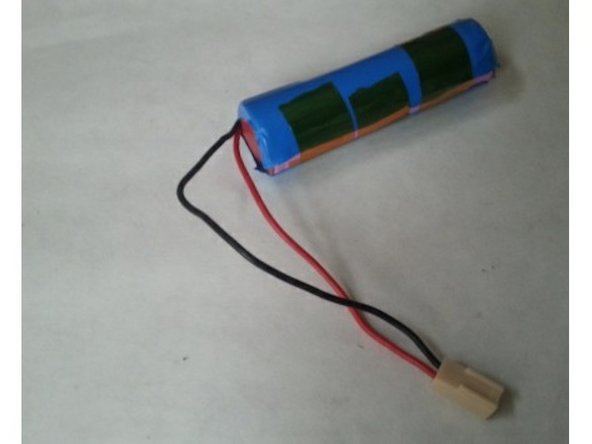
Fit the sheath from the old battery. Ensure that it covers the edges of the insulation caps at each end, then use more heat-resistant tape to ensure it is tightly wrapped around the battery.
-
-
-
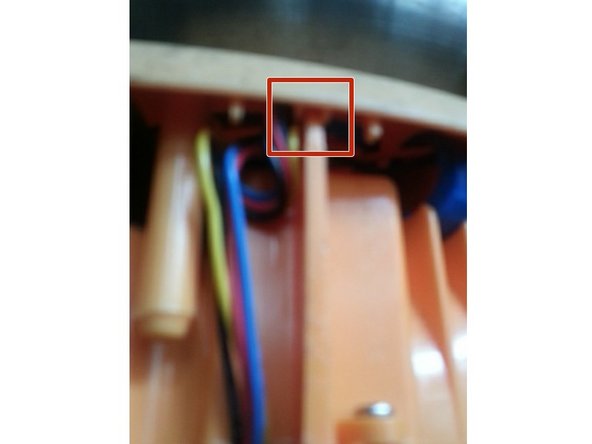
Carry out step 3 in reverse. When refitting the lid, which incorporates the stove's control panel, make sure the panel's space for the USB port lines up with the port itself. Also make sure the top of the partition goes into the slot in the lid (indicated).
-
-
-
Insert one end of the male-to-male USB cable into the port on the stove, and the other into a port that can supply power, such as a laptop.
-
Leave to charge for 8-10 hours.
-
Press the power button on the stove, and at least two of the four battery indicator lights should light up.
-
-
















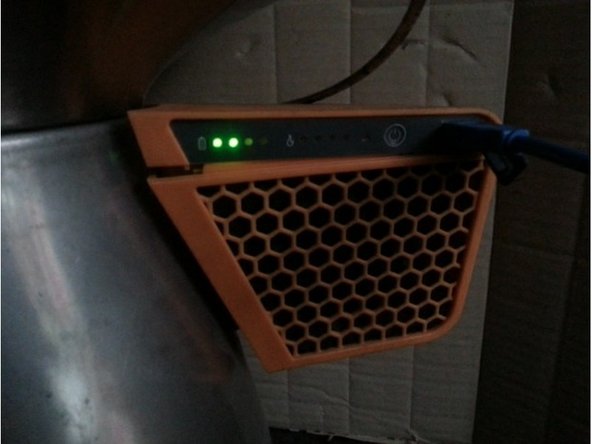


The stove should now operate normally. Most importantly, the fan will once again turn on when the stove has reached the required temperature. Also, additional battery indicator lights will come on as the battery is recharged by the stove itself.
Cancel: I did not complete this guide.
9 other people completed this guide.

22 Guide Comments
Is there enough room to allow for 3d printing a battery holder to so that we do not need to solder to the battery each time?
Hi Travis,
Please see the second photo of step 2, and judge for yourself.
However, I have a feeling there must be a good reason for soldering the wires to the connectors. My guess is that the charging current or voltage is lower than that used to charge the battery in a mobile phone for example, such that having a soldered connection improves the charging rate significantly. Please correct me if I’m wrong.
Best regards,
I have a Biolite BaseCamp my old one rusted out. I found a new one on Facebook marketplace. It was new just out of box. the original owners lived in Nevada with strict fire burn bans - never used. I tired to charge USBA to USBA, and it did not seem to take a charge. I put a fire in it, and the thermo-electrics did not come on, and the fan did not come on either. Would a dead battery cause this?
Thanks for taking a look at the question -- Rick
Dear Rick,
If, when you long-press the power button, none of the green LEDs come on, then the battery is surely empty. In which case, try recharging it again - their customer support advised for 8-10 hrs. If that didn't work, try changing the power source (in case it isn't compatible for some reason) - a laptop worked for me. As a last resort, you could just try using the stove as it is a few more times: if the LEDs still don't come on, then the battery has surely been left empty for too long to ever take charge again, and will need to be replaced.
Best regards,
Rob
Careful with the burning of wood if the fan isn’t working properly. You might end up melting the fan shroud.
