
Brother XR-40 Lightbulb Replacement

Kevin Bickers and 4 other contributors
Last updated on Oct 23, 2022
Views: 4K
View statistics:
- Past 24 Hours:
- 1
- Past 7 Days:
- 18
- Past 30 Days:
- 108
- All Time:
- 3,991
Comments: 1
1 comment on steps.
Completed: 1 2
1 person has marked this guide "completed." Will you be next?
2 people have marked this guide "completed." Including you — great job!
Favorites: 1 2
1 person has favorited (and subscribed to) this guide. Will you be next?
2 people have favorited (and subscribed to) this guide — including you!
Featured Guide
This guide has been found to be exceptionally cool by the iFixit staff.
Featured Student Guide
This guide has been the hard work of our awesome students and is found to be exceptionally cool by the iFixit staff.
Introduction
Go to step 1 ↓Replacing the lightbulb involves opening up the machine. You will need to purchase a sewing machine bulb set, including the wire plug-in, to replace it.
What you need


-
-
-
Place the machine on a solid surface.
-
Remove the 14mm Phillips #2 screw holding on the face cover.
 Ask FixBot
-
-
-
Remove the two 14mm Phillips #2 screws and two 22mm Phillips #2 screws that secure the rear casing.
-
-
-
Lay the machine on its side.
-
Remove the four 10mm Phillips #2 screws that hold the bottom panel in place.
-
-
-
-
-
Place the machine on its side, with access to the bottom.
-
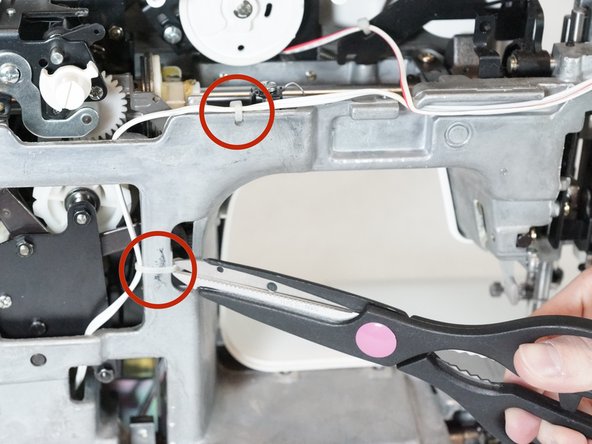
Gently pull out the white wire connecting the bulb to the machine.
-
-
-
-
Place the machine upright.
-
Using the flathead screwdriver, remove the 5mm Flathead screw holding on the lightbulb bracket.
-




To reassemble your device, follow these instructions in reverse order.
Cancel: I did not complete this guide.
One other person completed this guide.

Team

Cal Poly, Team 2-12, Amido Winter 2014 Member of Cal Poly, Team 2-12, Amido Winter 2014
CPSU-AMIDO-W14S2G12
4 Members
72 Guides authored
