
Brother PT-D200 Keyboard Replacement
![[deleted]](https://assets.cdn.ifixit.com/static/images/avatars/User/ifixit/avatar-12.thumbnail)
[deleted] and 3 other contributors
Last updated on Mar 17, 2014
Views: 1.1K
View statistics:
- Past 24 Hours:
- 2
- Past 7 Days:
- 20
- Past 30 Days:
- 110
- All Time:
- 1,092
Comments: 0
No one has left comments on this guide. Will you be first?
Go to guide commentsCompleted: 0 1
No one has marked this guide "completed." Will you be the first?
1 person has marked this guide "completed." It's you — great job!
Favorites: 0 1
No one has favorited (and subscribed to) this guide. Will you be the first?
1 person has favorited (and subscribed to) this guide — and that's you!
Inconsistent Images
Updating the images on this guide to be more consistent with the prerequisites would increase its awesomeness.
Markup Mishap
This guide needs better markups. Help out by correcting or making some markup annotations.
Better Introduction
Improve this guide by completing or revising its introduction.
Introduction
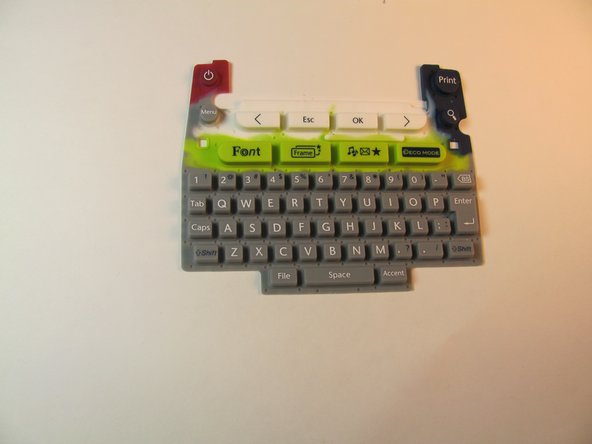
Go to step 1 ↓This guide will lead you through the steps for replacing the keyboard on your Brother PT-D200.
What you need
-
-
-
Flip the device over and press down on the indication arrows located at the top center of the back cover and pull it open.
 Ask FixBot
-
-
-
-
-
Use the Helping Hand 1/4" screwdriver to unscrew the six 3/16" corner screws.
-
-
-
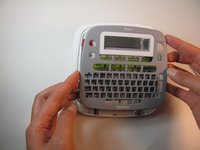
Close the back cover and then flip the device over and separate the top half from the bottom half as shown.
-
-
-
-
-
On the top portion of the device there are four grey clips locking the faceplate in place. The two top clips are circled in the image. The two others are located in the other corners of the device.
-
-
-
-
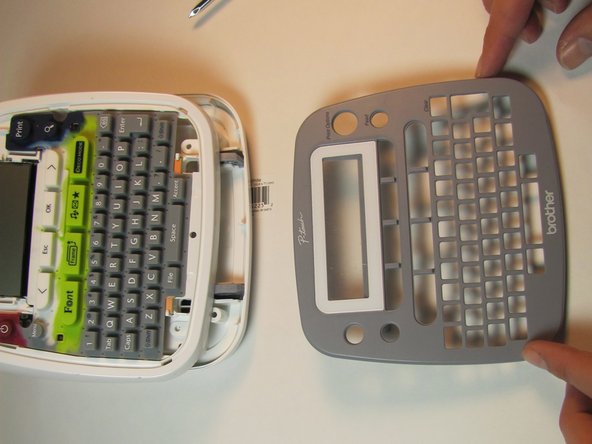
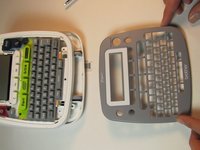
Pull the clips inward two at a time, first the top then the bottom, to snap the face plate off.
-
-
-



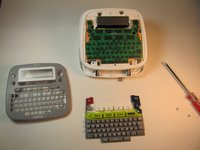
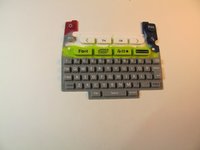
To reassemble your device, follow these instructions in reverse order.

