
Brother PT-1290 Cutter Blade Replacement

Yadira Jones and one other contributor
Last updated on Jan 10, 2015
Views: 3.7K
View statistics:
- Past 24 Hours:
- 2
- Past 7 Days:
- 14
- Past 30 Days:
- 100
- All Time:
- 3,685
Comments: 0
No one has left comments on this guide. Will you be first?
Go to guide commentsCompleted: 1 2
1 person has marked this guide "completed." Will you be next?
2 people have marked this guide "completed." Including you — great job!
Favorites: 0 1
No one has favorited (and subscribed to) this guide. Will you be the first?
1 person has favorited (and subscribed to) this guide — and that's you!
Introduction
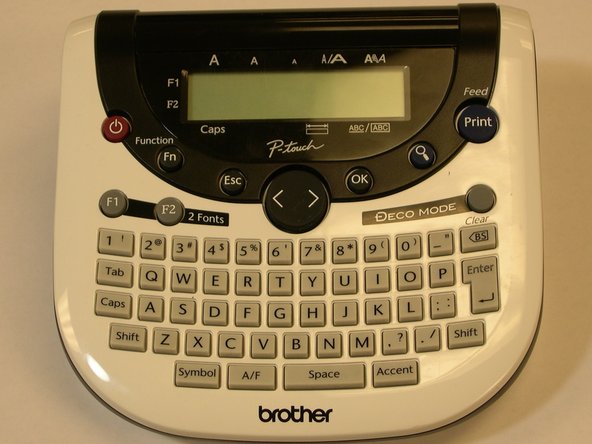
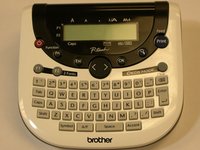
Go to step 1 ↓In this guide, you will learn how to replace the cutter blade by removing the cover from the bottom of the device to gain access to the compartment containing batteries, tape cassette and up on the left hand side corner, the cutter blade.
What you need
Tools
-
Spudger4.9

-
-
-
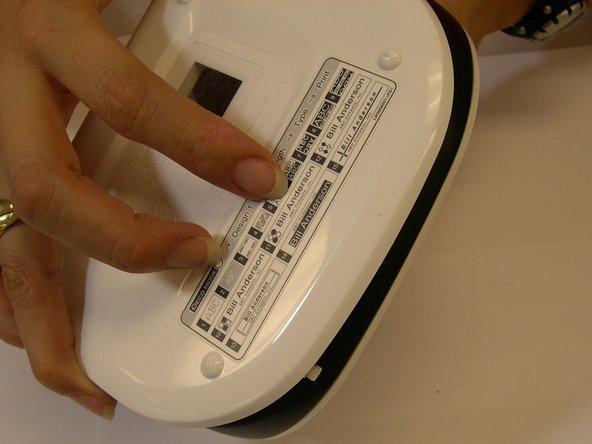
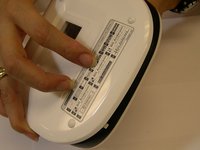
Flip the device over and locate the round part right next to the face plate. Gently but firmly, push it down. At the same time, while holding both sides of the device, split them apart carefully because some cables are attached to both sides.
 Ask FixBot
-
-
-
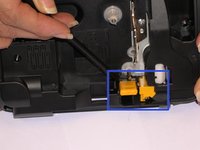
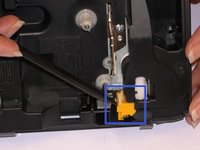
Locate the area where the blade is located and get ready to start the replacing process.
-
-
-
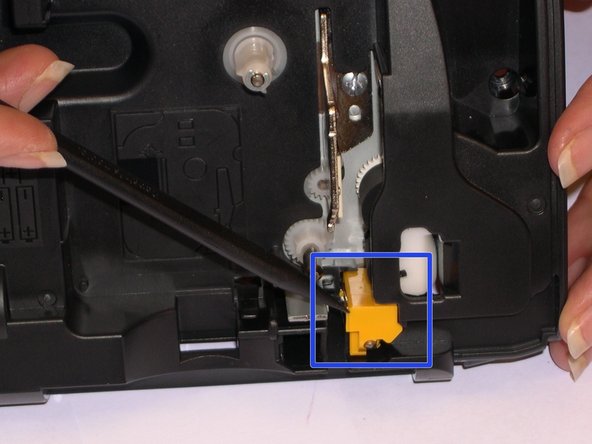
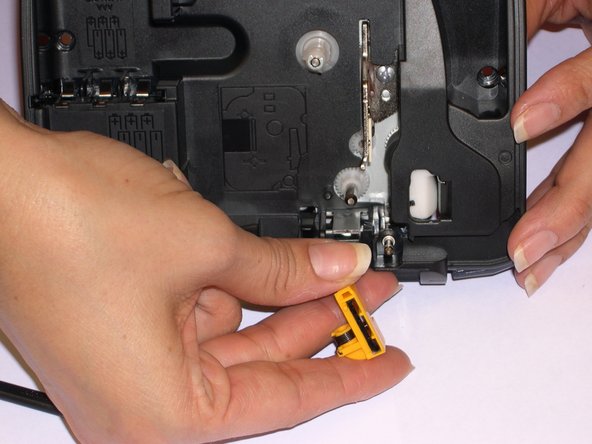
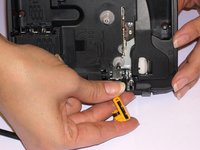
Release the blade by pushing it with the spudger and have the replacement ready to install.
-
-
-
-
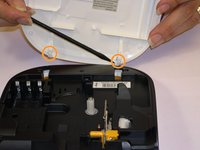
After replacing the cutter blade, you want to make sure the bottom cover is placed correctly and the two pins that lock the cover are aligned first. These pins are not a problem at the beginning while opening the cover, because they split open right away. However, you have to be careful when closing it to avoid any damage.
-
-



To reassemble your device, follow these instructions in reverse order.
Cancel: I did not complete this guide.
One other person completed this guide.

Team

Gateway, Team 1-4, Johnson Fall 2014 Member of Gateway, Team 1-4, Johnson Fall 2014
GCC-JOHNSON-F14S1G4
3 Members
72 Guides authored
