
Brother PT-110 Keypad Contacts Replacement

Kimberly Larsen and 3 other contributors
Last updated on Dec 22, 2016
Views: 723
View statistics:
- Past 24 Hours:
- 8
- Past 7 Days:
- 27
- Past 30 Days:
- 98
- All Time:
- 723
Comments: 0
No one has left comments on this guide. Will you be first?
Go to guide commentsCompleted: 0 1
No one has marked this guide "completed." Will you be the first?
1 person has marked this guide "completed." It's you — great job!
Favorites: 0 1
No one has favorited (and subscribed to) this guide. Will you be the first?
1 person has favorited (and subscribed to) this guide — and that's you!
Introduction
Go to step 1 ↓This guide will show you how to take apart the back panel to replace the keypad contacts.
What you need
Tools


-
-
-
-
Remove the cartridge and the yellow tape cutter.
-
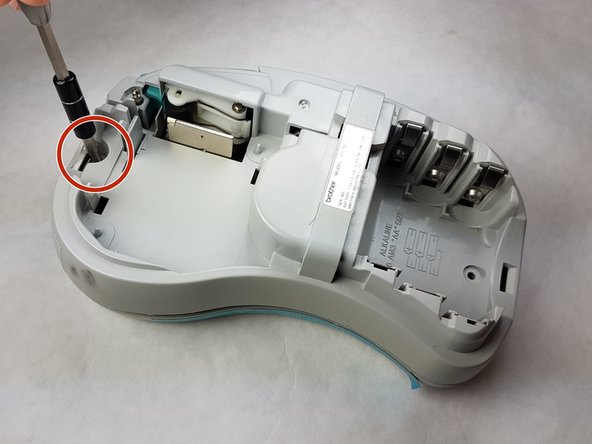
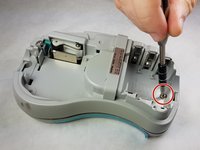
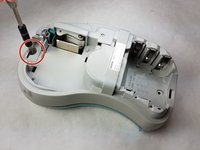
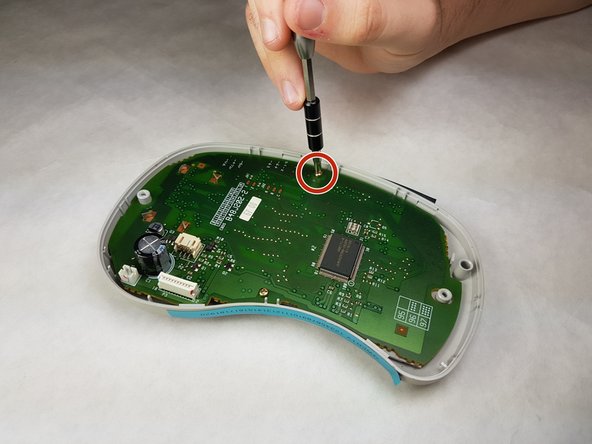
Unscrew the two 9 mm Phillips #1 screws from the top and bottom.
-
-
-
First: To separate the top cover from the body, insert a spudger between the two halves.
-
Gently twist the spudger until the two halves separate. Do this in multiple spots around the perimeter of the cover to distribute the pressure.
-
A small flat screwdriver works for this step. Use on the left and right sides.
-
-
-
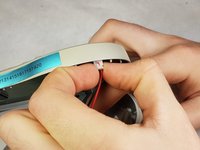
Gently grasp the ribbon wire and top cover, then gently pull the ribbon wire out of its connection.
-
-
-
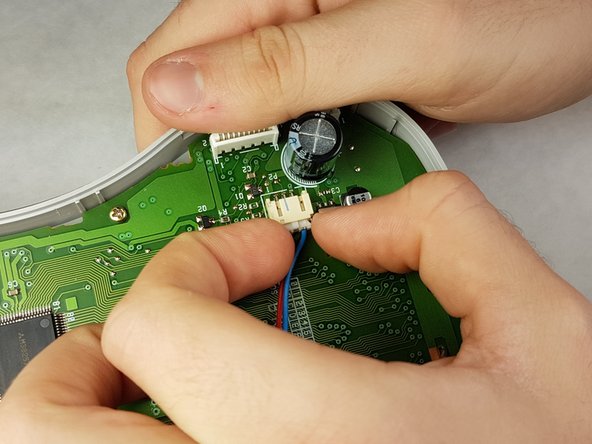
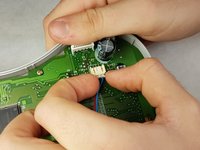
Carefully pinch the top of the connector.
-
Pull perpendicular to the device until the wire is disconnected. Remove the other connector by pulling it parallel to the circuit board.
-
-
-
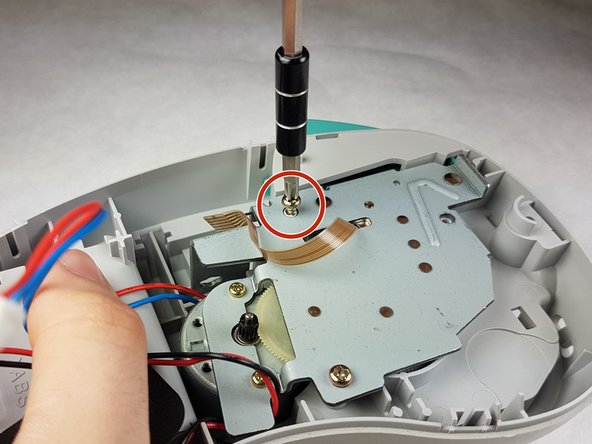
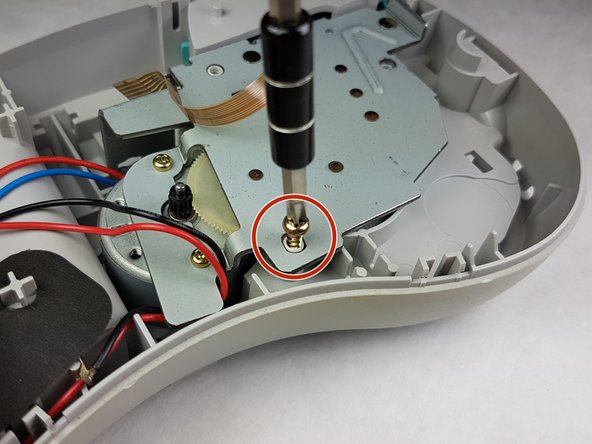
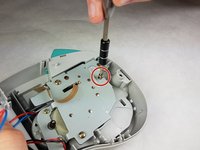
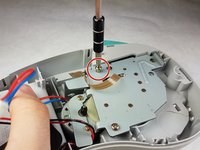
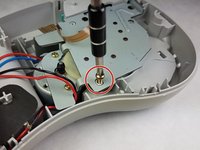
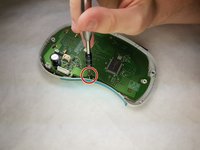
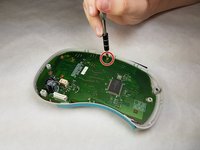
Unscrew the three 9 mm Phillips #1 screws shown.
-
Lift the metal plate upwards, don't unscrew the motor, this will remain attached to the plate. If you didn't remove the yellow tape cutter then it will simply fall out.
-
-
-
-


 Ask FixBot








To reassemble your device, follow these instructions in reverse order.

Team

IUPUI, Team 1-1, Harley Fall 2016 Member of IUPUI, Team 1-1, Harley Fall 2016
IUPUI-HARLEY-F16S1G1
3 Members
84 Guides authored
