Free Shipping on Domestic Orders $75+

Brother MFC-490CW Scanning Glass Replacement

What you need

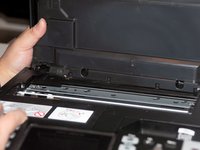
    1. Brother MFC-490CW Scanning Glass Replacement, Removing Scanner Header: step 1, image 1 of 3 Brother MFC-490CW Scanning Glass Replacement, Removing Scanner Header: step 1, image 2 of 3 Brother MFC-490CW Scanning Glass Replacement, Removing Scanner Header: step 1, image 3 of 3
      • Twist green section to allow the scanner head to have a full range of motion.

      Ask FixBot

      Add Comment

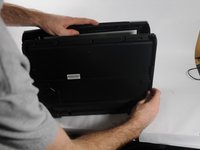
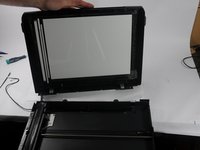
    2. Brother MFC-490CW Scanning Glass Replacement, Removing Scan Header: step 2, image 1 of 3 Brother MFC-490CW Scanning Glass Replacement, Removing Scan Header: step 2, image 2 of 3 Brother MFC-490CW Scanning Glass Replacement, Removing Scan Header: step 2, image 3 of 3
      • To remove scanner head, open it halfway as possible and slide the hinges out of place and the head will be removed.

      Ask FixBot

      Add Comment

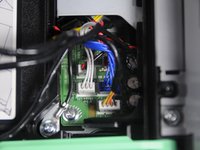
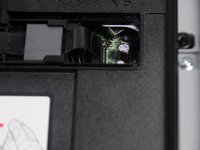
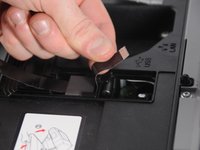
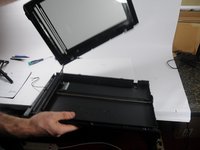
    3. Brother MFC-490CW Scanning Glass Replacement, Remove scanner head connection to printer: step 3, image 1 of 3 Brother MFC-490CW Scanning Glass Replacement, Remove scanner head connection to printer: step 3, image 2 of 3 Brother MFC-490CW Scanning Glass Replacement, Remove scanner head connection to printer: step 3, image 3 of 3
      • The panels to expose the cords will become exposed when the head is removed.

      • Pull all colored cords from the printer and unscrew the other wire to be fully removed.

      • Pull the black tab from the printer to remove.

      Ask FixBot

      Add Comment

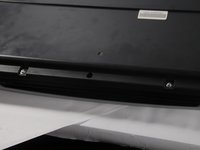
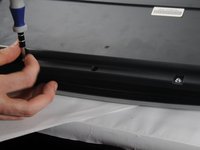
    4. Brother MFC-490CW Scanning Glass Replacement, Removing the bottom screws: step 4, image 1 of 2 Brother MFC-490CW Scanning Glass Replacement, Removing the bottom screws: step 4, image 2 of 2
      • Once scanner is free from the printer remove all the screws on the bottom base

      • Use a #2 Philips head screw driver to remove the two 12.1mm screws.

      Ask FixBot

      Add Comment

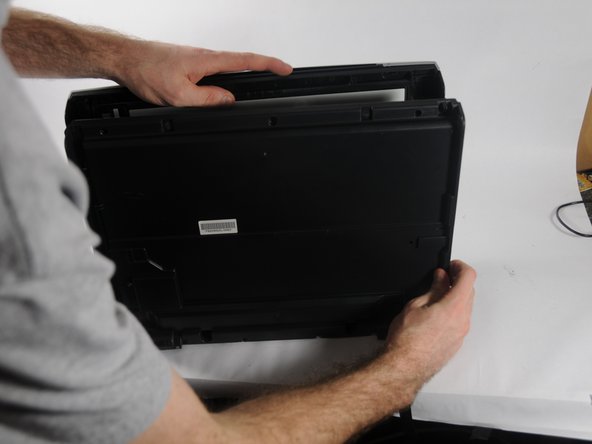
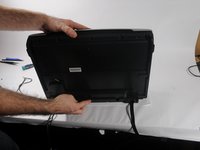
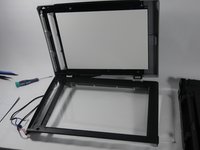
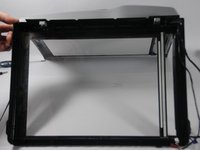
    5. Brother MFC-490CW Scanning Glass Replacement, Exposing scanner glass: step 5, image 1 of 3 Brother MFC-490CW Scanning Glass Replacement, Exposing scanner glass: step 5, image 2 of 3 Brother MFC-490CW Scanning Glass Replacement, Exposing scanner glass: step 5, image 3 of 3
      • To separate the base from the glass hold upright and separate along the edge where you removed the screws.

      • Use hands to expose the glass.

      • Keep track flat once glass is removed as to not lose little parts.

      Ask FixBot

      Add Comment

    6. Brother MFC-490CW Scanning Glass Replacement, Replacing scanner glass: step 6, image 1 of 3 Brother MFC-490CW Scanning Glass Replacement, Replacing scanner glass: step 6, image 2 of 3 Brother MFC-490CW Scanning Glass Replacement, Replacing scanner glass: step 6, image 3 of 3
      • Disconnect the glass from the tracks.

      • Remove old or broken glass.

      • Replace with adhesive tape along the bottom of the header and reassemble.

      Ask FixBot

      Add Comment

Conclusion

To reassemble your device, follow these instructions in reverse order.

Cancel: I did not complete this guide.

2 other people completed this guide.

George Kielpinski

Member since: 10/30/14

50 Reputation

1 Guide authored

Team

UMass Dartmouth, Team 4-4, Miles Fall 2014 Member of UMass Dartmouth, Team 4-4, Miles Fall 2014

UMASSD-MILES-F14S4G4

3 Members

60 Guides authored

0 Guide Comments

Add Comment

View Statistics:

Past 24 Hours: 0

Past 7 Days: 5

Past 30 Days: 53

All Time: 5,872