Brother IntelliFax-2840 Control Panel Replacement

Geoff Wacker and one other contributor
Last updated on Mar 30, 2015
Views: 4.8K
View statistics:
- Past 24 Hours:
- 4
- Past 7 Days:
- 21
- Past 30 Days:
- 107
- All Time:
- 4,812
Comments: 0
No one has left comments on this guide. Will you be first?
Go to guide commentsCompleted: 1 2
1 person has marked this guide "completed." Will you be next?
2 people have marked this guide "completed." Including you — great job!
Favorites: 2 3
2 people have favorited (and subscribed to) this guide. Will you be next?
3 people have favorited (and subscribed to) this guide — including you!
Introduction
Go to step 1 ↓Use this guide to replace a damaged or malfunctioning control panel on your Brother IntelliFax-2840. The entire panel is replaced as a unit, including the buttons and display.
What you need
Tools

-
-
-
Remove the two 15 mm Phillips #1 screws securing the ADF at the rear of the fax machine.
 Ask FixBot
-
-
-
-
-
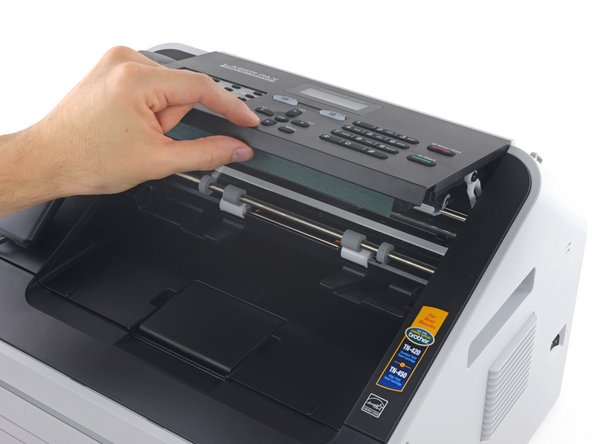
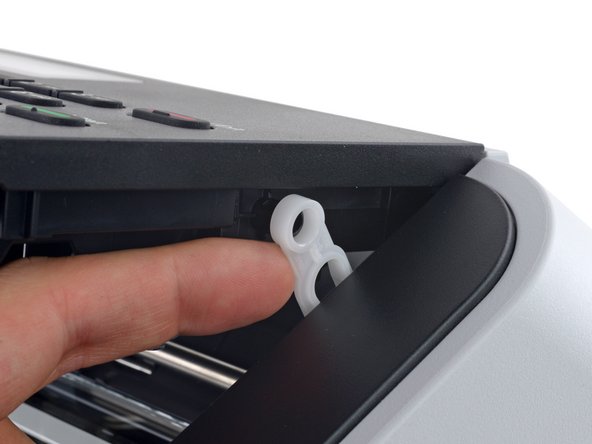
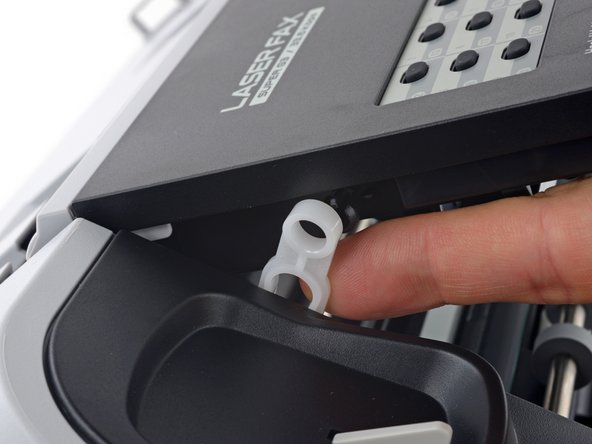
Use a finger or prying tool to gently pop off the right side control arm (furthest from the handset).
-
Repeat for the left side control arm.
-
-
-
While supporting the control panel with one hand, remove the three 12.2 mm Phillips #1 screws securing the rear control panel cover.
-
-
-
-
While still supporting the control panel, use your fingers or a spudger to gently free the two plastic clips securing the rear control panel cover.
-
Slide the rear control panel cover down slightly to free it from the three clips along the upper edge.
-
-
-
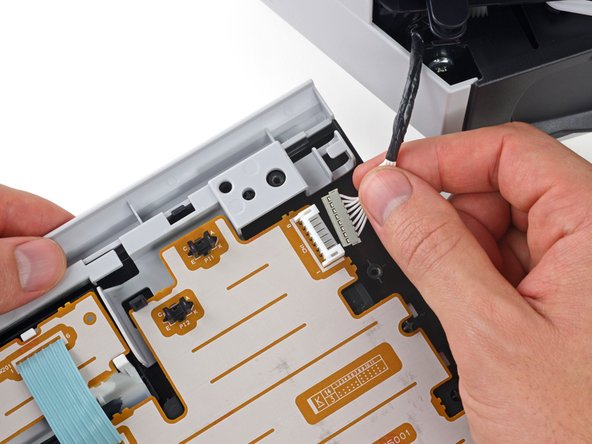
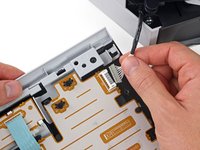
Gently pull the control panel cable straight out from its connector.
-
The control panel should now come free.
-




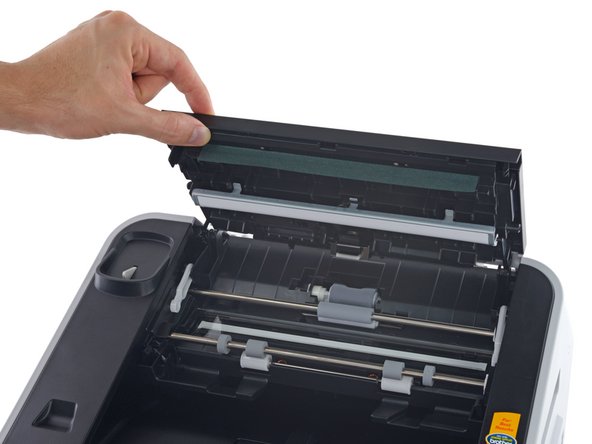


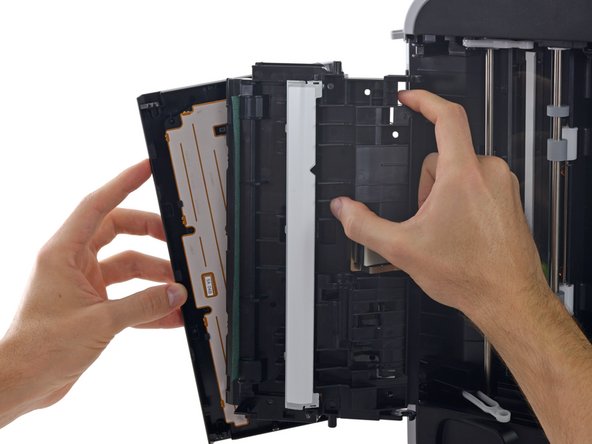

To reassemble your device, follow these instructions in reverse order.
Cancel: I did not complete this guide.
One other person completed this guide.