
Broil-King BBQ Heat Indicator Replacement Guide

Jamie Jacaway and 2 other contributors
Last updated on Sep 3, 2021
Views: 1.8K
View statistics:
- Past 24 Hours:
- 3
- Past 7 Days:
- 22
- Past 30 Days:
- 92
- All Time:
- 1,801
Comments: 0
No one has left comments on this guide. Will you be first?
Go to guide commentsCompleted: 2 3
2 people have marked this guide "completed." Will you be next?
3 people have marked this guide "completed." Including you — great job!
Favorites: 0 1
No one has favorited (and subscribed to) this guide. Will you be the first?
1 person has favorited (and subscribed to) this guide — and that's you!
Introduction
Go to step 1 ↓Extreme weather expedites the normal wear-and-tear of the Broil-King 3 burner BBQ lid heat indicator. Since it is an outdoor grill, it is susceptible to damage from being exposed to harsh elements including rain, snow, wind, cold, and excessive heat. Prolonged exposure can cause the gauge to fail, reducing the usability of the BBQ. Replacing the heat indicator creates a few ounces of recyclable trash rather than the 3 foot by 4 foot BBQ itself. This quick fix is well worth the cost savings in many ways.
What you need
Parts
Tools
-
-
Paint ScraperAffiliate linkAvailable for sale on Amazon
https://www.amazon.com/Warner-DIY-Stiff-Scraper-181/dp/B000I1RVSK

-
-
-
Gather the tools and parts needed for the repair:
-
Crescent Wrench
-
Scraper
-
Replacement Heat Indicator
 Ask FixBot
-
-
-
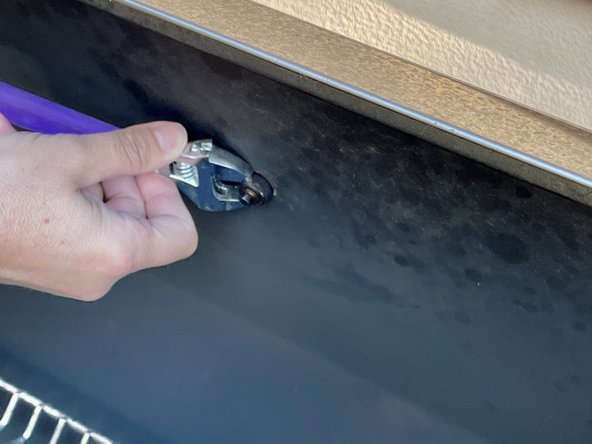
Open the lid and then remove the nut securing the heat indicator.
-
Use a crescent wrench to loosen the nut.
-
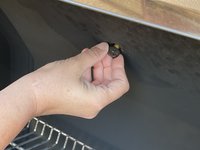
Continue to unthread the nut with your fingers.
-
Place the nut in a secure location for later use.
-
-
-
Close the lid.
-
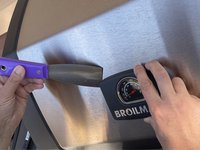
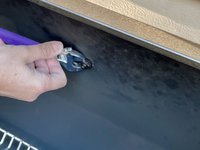
Slide the flat edge of the paint scraper under the existing heat indicator plate to pry the plate loose.
-
Lift the plate up, then off of the predrilled holes.
-
-
-
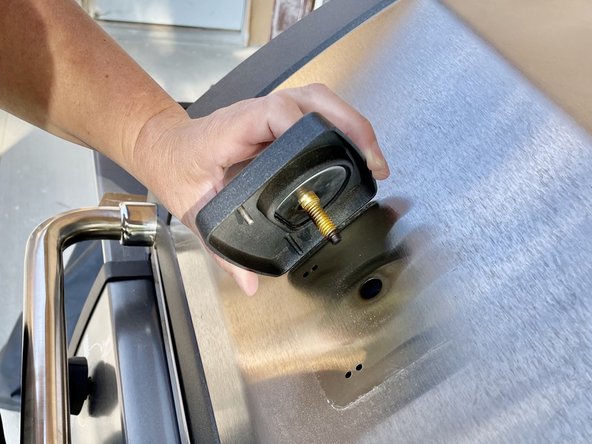
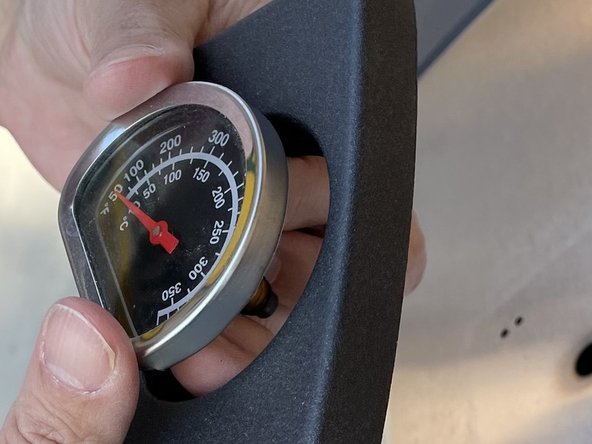
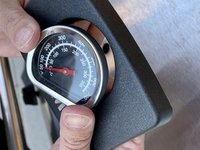
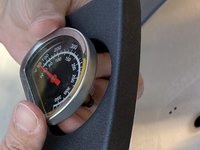
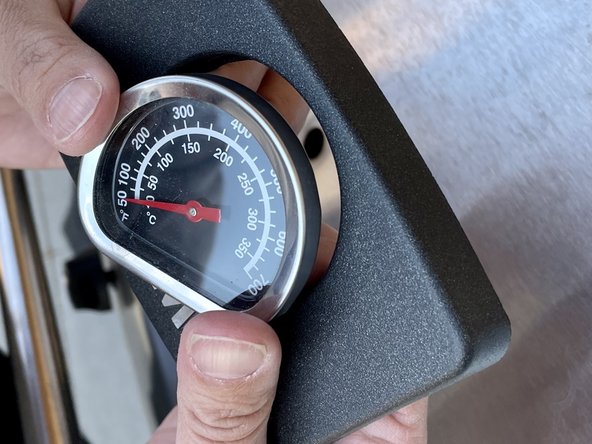
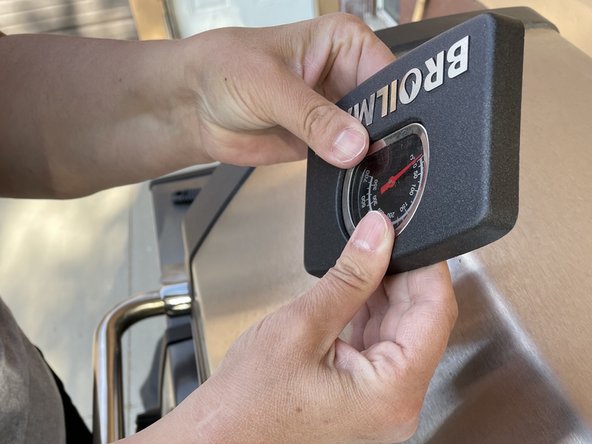
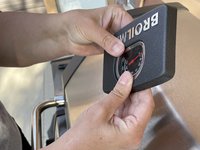
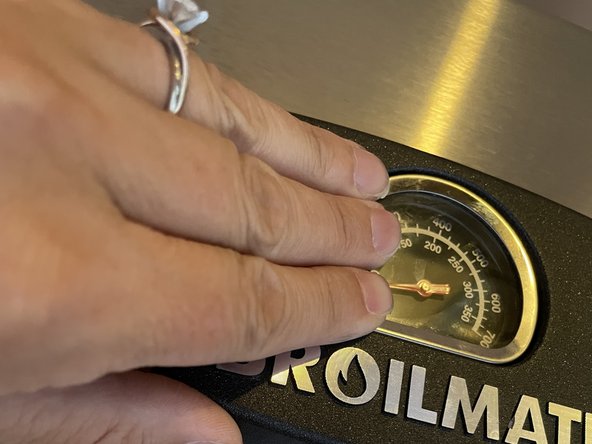
Align the new heat indicator through the front of the plate.
-
Move your thumbs around the plate until the heat indicator is secure.
-
-
-
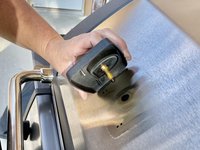
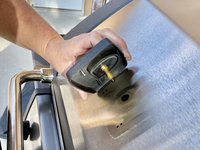
Align the new heat indicator and plate with the factory drilled holes on the face of the BBQ.
-
Hold the plate in place while opening the lid.
-
-
-
-
Retrieve the nut used on the previous heat indicator (remember you put it in a secure location).
-
Thread the nut on the new heat indicator.
-
Use a crescent wrench to finish tightening the nut on the new bolt.
-
-



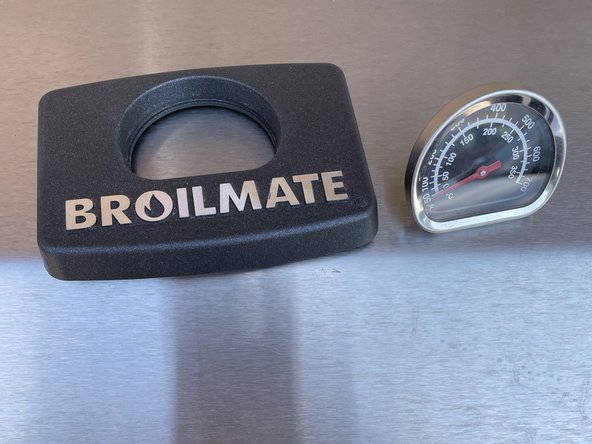


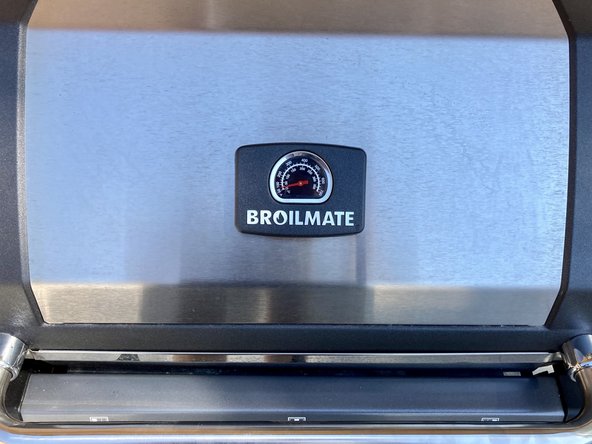
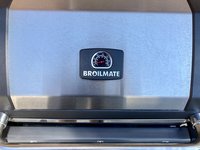
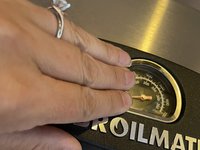


This simple repair doesn’t take much time, yet is well worth the effort. A working heat indicator provides the necessary information about the temperature to ensure safe food practices, and produce a tasty outcome.
Cancel: I did not complete this guide.
2 other people completed this guide.

Team

Idaho State University, Team S1-G10, Watkins Summer 2021 Member of Idaho State University, Team S1-G10, Watkins Summer 2021
ISU-WATKINS-SU21S1G10
2 Members
12 Guides authored
