Free Shipping on Domestic Orders $75+

Brightsign 4k Battery Replacement

What you need

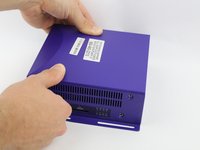
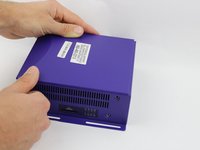
    1. Brightsign 4k Battery Replacement, Outer Shell: step 1, image 1 of 3 Brightsign 4k Battery Replacement, Outer Shell: step 1, image 2 of 3 Brightsign 4k Battery Replacement, Outer Shell: step 1, image 3 of 3
      • Remove three 8mm screws from the left side of the device.

      • Remove four 8mm screws from the right side of the device.

      Ask FixBot

      Add Comment

    2. Brightsign 4k Battery Replacement: step 2, image 1 of 3 Brightsign 4k Battery Replacement: step 2, image 2 of 3 Brightsign 4k Battery Replacement: step 2, image 3 of 3
      • Apply pressure on the SD card to pop it out of the port.

      • Remove the card by pulling it out.

      Ask FixBot

      Add Comment

    3. Brightsign 4k Battery Replacement: step 3, image 1 of 3 Brightsign 4k Battery Replacement: step 3, image 2 of 3 Brightsign 4k Battery Replacement: step 3, image 3 of 3
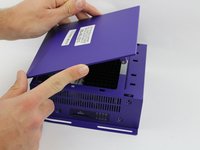
      • Press down on the top cover of the device and slid it towards you until you see a slight gap created.

      • Lift the top cover off.

      Ask FixBot

      Add Comment

    4. Brightsign 4k Battery Replacement: step 4, image 1 of 3 Brightsign 4k Battery Replacement: step 4, image 2 of 3 Brightsign 4k Battery Replacement: step 4, image 3 of 3
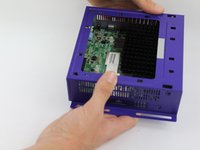
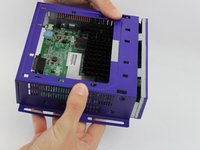
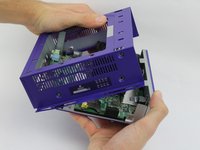
      • Slide the body case back away from the bottom.

      • Pull up the body case to remove it from the bottom.

      Ask FixBot

      Add Comment

    1. Brightsign 4k Battery Replacement, Motherboard Removal: step 5, image 1 of 2 Brightsign 4k Battery Replacement, Motherboard Removal: step 5, image 2 of 2
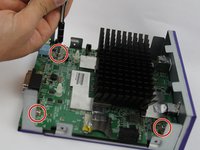
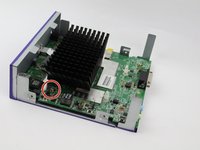
      • Remove the four 8mm screws at each corner of the motherboard with a JIS #0 screwdriver.

      Ask FixBot

      Add Comment

    2. Brightsign 4k Battery Replacement: step 6, image 1 of 2 Brightsign 4k Battery Replacement: step 6, image 2 of 2
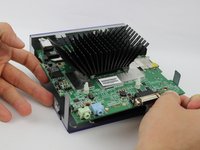
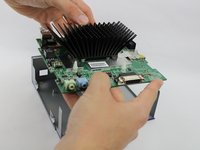
      • Lift the motherboard out of the casing.

      Ask FixBot

      Add Comment

    1. Brightsign 4k Battery Replacement, Battery: step 7, image 1 of 2 Brightsign 4k Battery Replacement, Battery: step 7, image 2 of 2
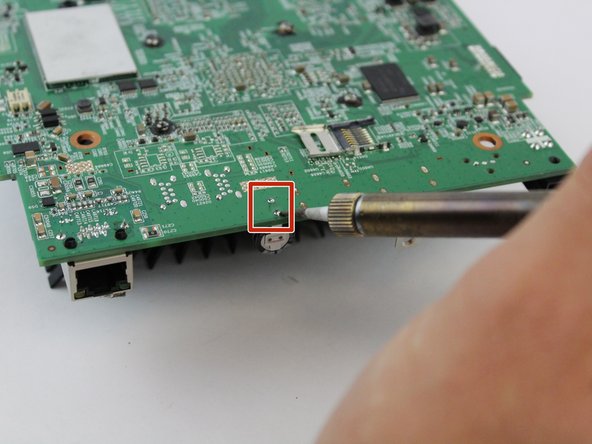
      • Flip the motherboard over.

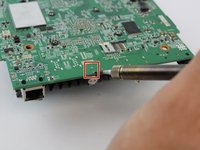
      • Desolder the two solder joints and remove the melted solder.

      • Beware of over heating the soldering kit will damage the logic board.

      Ask FixBot

      Add Comment

    2. Brightsign 4k Battery Replacement: step 8, image 1 of 3 Brightsign 4k Battery Replacement: step 8, image 2 of 3 Brightsign 4k Battery Replacement: step 8, image 3 of 3
      Tool used on this step:
      Desoldering Pump
      $3.99
      Buy
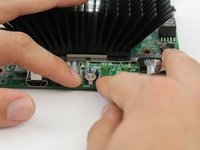
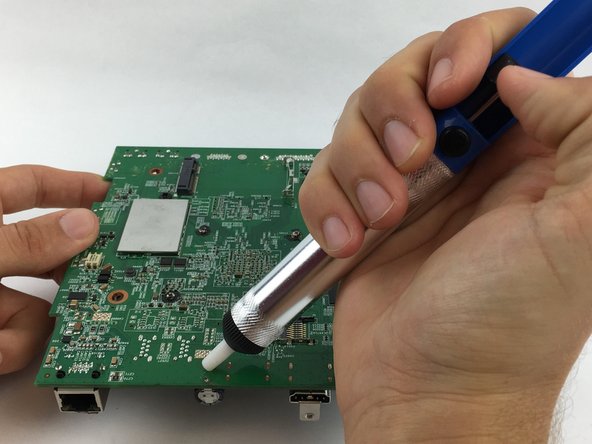
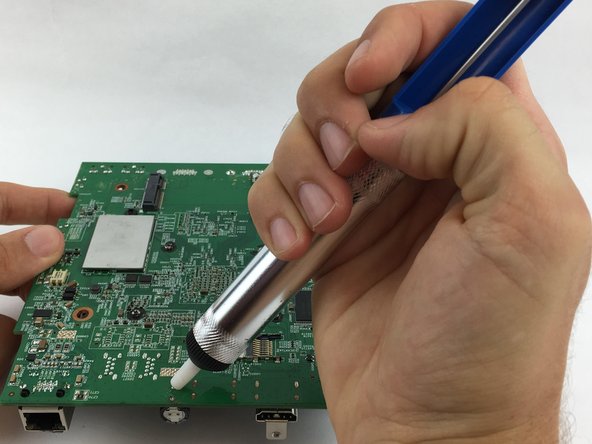
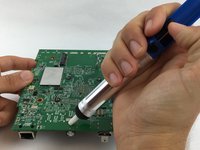
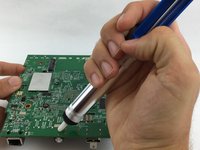
      • Apply the desoldering pump to remove the melted part from the motherboard (press the button to release it).

      • Pull the battery from the motherboard.

      Ask FixBot

      Add Comment

Conclusion

To reassemble your device, follow these instructions in reverse order.

Cancel: I did not complete this guide.

Tuong Ngo

Member since: 02/15/18

85 Reputation

1 Guide authored

Team

USF Tampa, Team S17-G6, Boczar Spring 2018 Member of USF Tampa, Team S17-G6, Boczar Spring 2018

USFT-BOCZAR-S18S17G6

4 Members

72 Guides authored

0 Guide Comments

Add Comment

View Statistics:

Past 24 Hours: 2

Past 7 Days: 4

Past 30 Days: 28

All Time: 898