
Breville BKC600XL Spring Replacement

Antonio and 2 other contributors
Last updated on Jan 28, 2014
Views: 2.5K
View statistics:
- Past 24 Hours:
- 2
- Past 7 Days:
- 15
- Past 30 Days:
- 100
- All Time:
- 2,454
Comments: 0
No one has left comments on this guide. Will you be first?
Go to guide commentsCompleted: 0 1
No one has marked this guide "completed." Will you be the first?
1 person has marked this guide "completed." It's you — great job!
Favorites: 0 1
No one has favorited (and subscribed to) this guide. Will you be the first?
1 person has favorited (and subscribed to) this guide — and that's you!
Needs Better Images
Better photos will improve this guide. Help out by taking, editing, or uploading new ones!
Action Shots
Be an action hero! This guide needs images that better demonstrate how to perform specific actions.
Introduction
Go to step 1 ↓Replacing the spring should it fail to work.
What you need


-
-
-
Remove the two 12mm black Phillips screws using a Phillips #0 screwdriver.
 Ask FixBot
-
-
-
Remove the two 12mm Phillips screws using a Phillips #0 screwdriver.
-
-
-
Remove the grey plastic casing.
-
Remove the two 12mm hexagonal screws using a 1.5mm hex screwdriver.
-
-
-
-
-
-
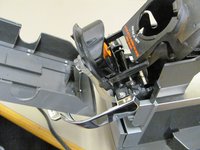
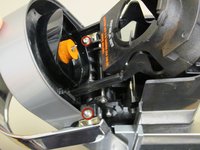
Identify the spring and the hook its attached to.
-
Carefully remove the spring.
-
-


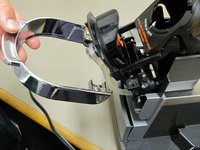

To reassemble your device, follow these instructions in reverse order.

Team

Cal Poly, Team 1-3, Propen Fall 2012 Member of Cal Poly, Team 1-3, Propen Fall 2012
CPSU-PROPEN-F12S1G3
4 Members
72 Guides authored
