Free Shipping on Domestic Orders $75+

Braven BRV-X Button Module(s) Replacement

Views: 843

View statistics:

Past 24 Hours:
1
Past 7 Days:
11
Past 30 Days:
61
All Time:
843
Comments: 0

No one has left comments on this guide. Will you be first?

Go to guide comments
Completed: 0

No one has marked this guide "completed." Will you be the first?

Favorites: 0

No one has favorited (and subscribed to) this guide. Will you be the first?

Time Required: 3 minutes
Difficulty: Easy
Needs Better Images

Better photos will improve this guide. Help out by taking, editing, or uploading new ones!

Braven BRV-X Button Module(s) Replacement

Introduction

Go to step 1 ↓

If the buttons on your speaker are not working, they may need to be replaced. Use this guide to replace the button module on your Braven BRV-X.

What you need

Tools

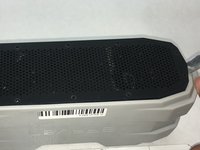
    1. Braven BRV-X Button Module(s) Replacement, Front Speaker Panel: step 1, image 1 of 1
      • Remove four 1.1 cm outer screws in the outer shell using the Phillips #00 screwdriver.

      Ask FixBot

      Add Comment

    2. Braven BRV-X Button Module(s) Replacement: step 2, image 1 of 1
      • Remove four 1.3 cm inner screws in the outer shell using the 1.5mm Hex screwdriver.

      Ask FixBot

      Add Comment

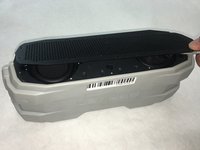
    3. Braven BRV-X Button Module(s) Replacement: step 3, image 1 of 1
      • Gently remove the outer shell.

      Ask FixBot

      Add Comment

    4. Braven BRV-X Button Module(s) Replacement: step 4, image 1 of 2 Braven BRV-X Button Module(s) Replacement: step 4, image 2 of 2
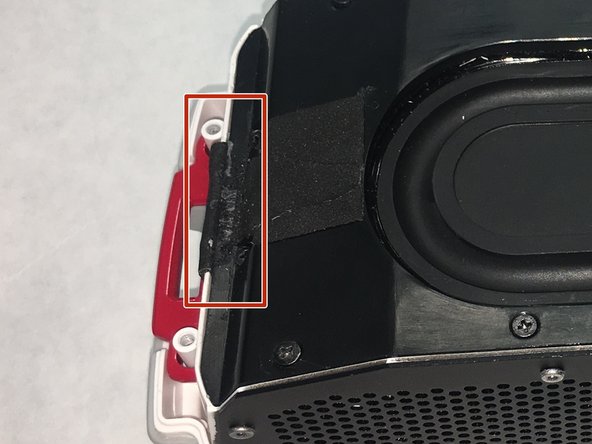
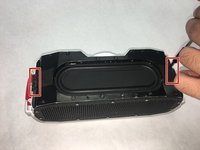
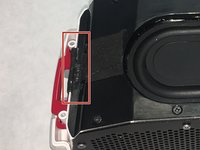
      • Cut adhesive tape on both sides.

      Ask FixBot

      Add Comment

    5. Braven BRV-X Button Module(s) Replacement: step 5, image 1 of 2 Braven BRV-X Button Module(s) Replacement: step 5, image 2 of 2
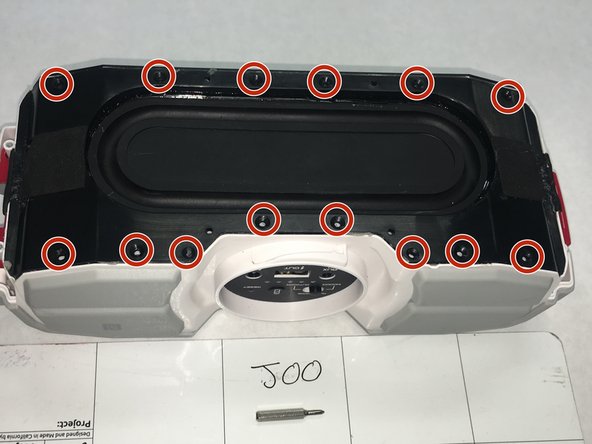
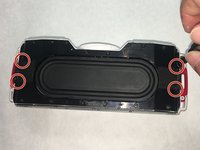
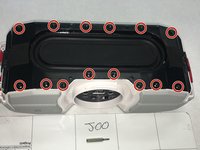
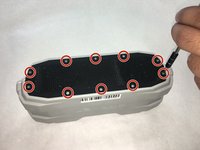
      • Remove eighteen 0.9cm screws in the inner shell using the Phillips #00 screwdriver.

      Ask FixBot

      Add Comment

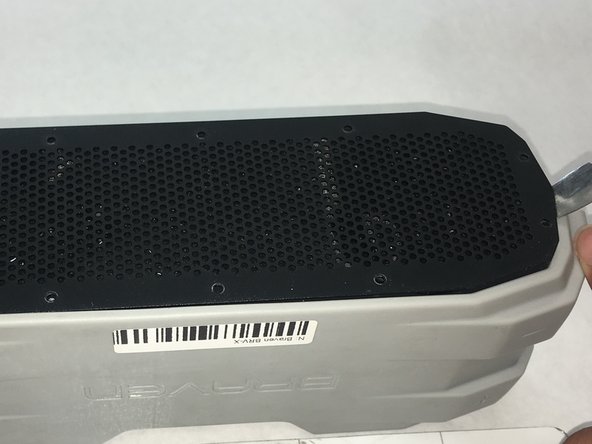
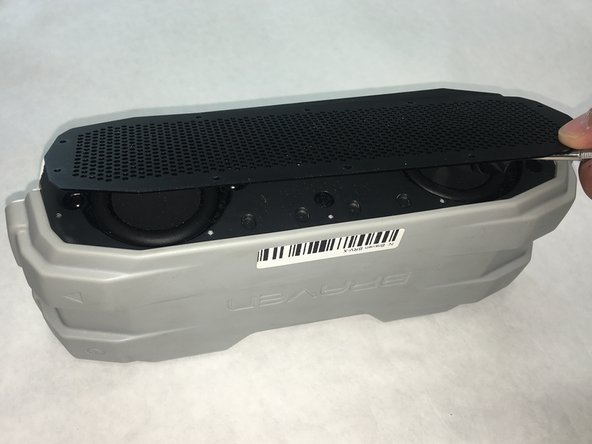
    6. Braven BRV-X Button Module(s) Replacement: step 6, image 1 of 3 Braven BRV-X Button Module(s) Replacement: step 6, image 2 of 3 Braven BRV-X Button Module(s) Replacement: step 6, image 3 of 3
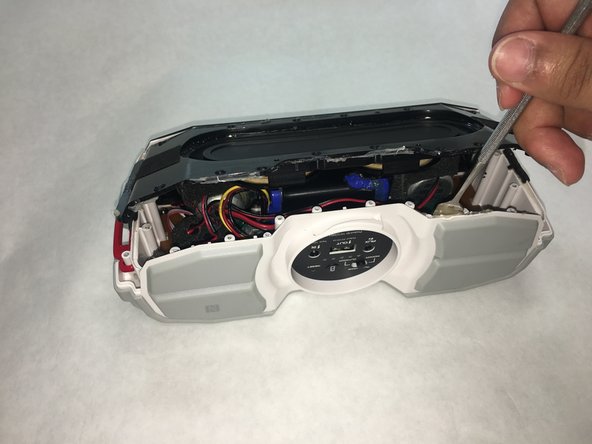
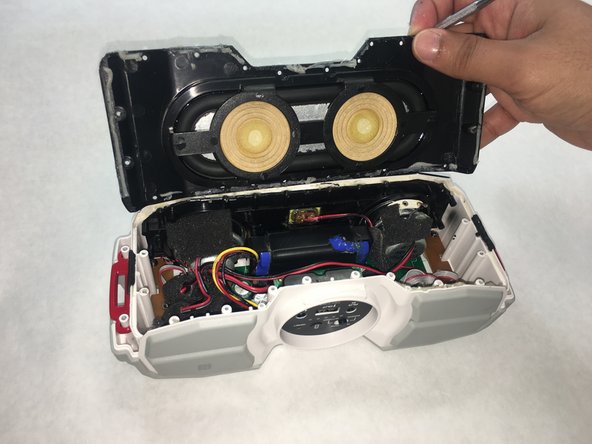
      • Pry open the glued inner shell using a spudger around all sides of the shell.

      • Don't use too much pressure as that could cause damage to the plastic.

      Ask FixBot

      Add Comment

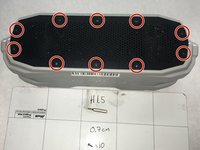
    7. Braven BRV-X Button Module(s) Replacement: step 7, image 1 of 2 Braven BRV-X Button Module(s) Replacement: step 7, image 2 of 2
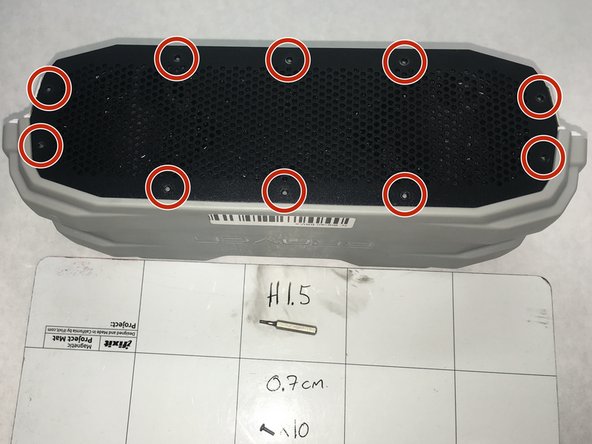
      • Remove ten 0.7 cm screws in the front plate using the 1.5 mm Hex screwdriver.

      Ask FixBot

      Add Comment

    8. Braven BRV-X Button Module(s) Replacement: step 8, image 1 of 2 Braven BRV-X Button Module(s) Replacement: step 8, image 2 of 2
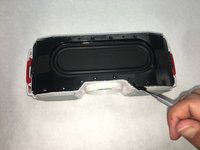
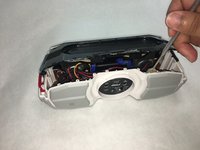
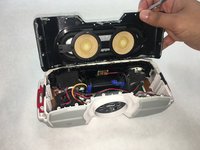
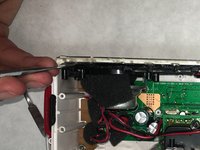
      • Use a spudger to open the front speaker plate.

      Ask FixBot

      Add Comment

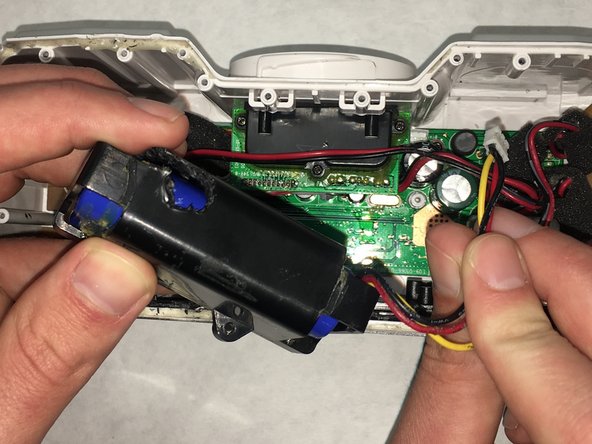
    9. Braven BRV-X Button Module(s) Replacement: step 9, image 1 of 1
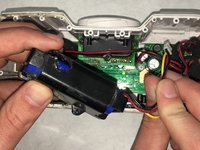
      • Remove three 1.0 cm screws from the battery unit.

      • It is recommended (but not required) to remove the battery.

      Ask FixBot

      Add Comment

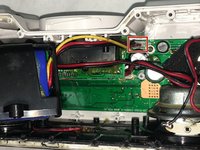
    10. Braven BRV-X Button Module(s) Replacement: step 10, image 1 of 2 Braven BRV-X Button Module(s) Replacement: step 10, image 2 of 2
      • Disconnect the ribbon cable attached the main board.

      Ask FixBot

      Add Comment

    11. Braven BRV-X Button Module(s) Replacement: step 11, image 1 of 3 Braven BRV-X Button Module(s) Replacement: step 11, image 2 of 3 Braven BRV-X Button Module(s) Replacement: step 11, image 3 of 3
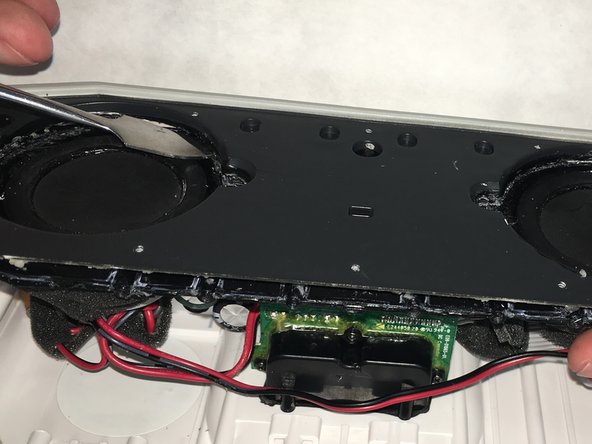
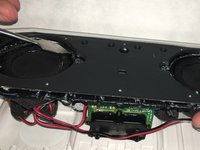
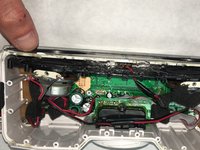
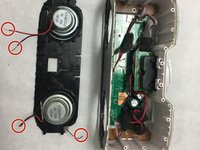
      • Pry open the second plate holding in the speaker using a spudger around all sides.

      • It is recommended to use a spudger to remove the heavily glued areas between the plates before prying.

      • Don't use too much pressure as that could cause damage to the plastic.

      Ask FixBot

      Add Comment

    12. Braven BRV-X Button Module(s) Replacement: step 12, image 1 of 3 Braven BRV-X Button Module(s) Replacement: step 12, image 2 of 3 Braven BRV-X Button Module(s) Replacement: step 12, image 3 of 3
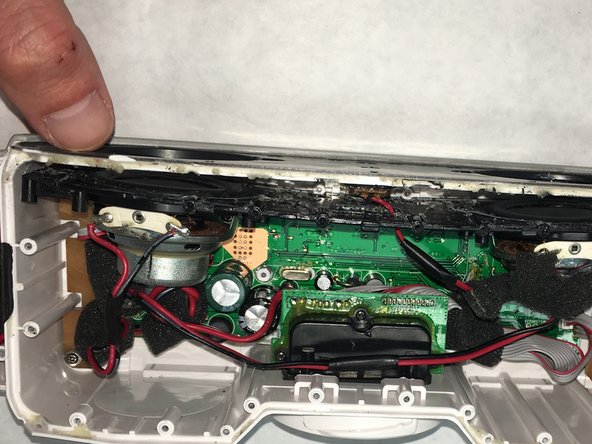
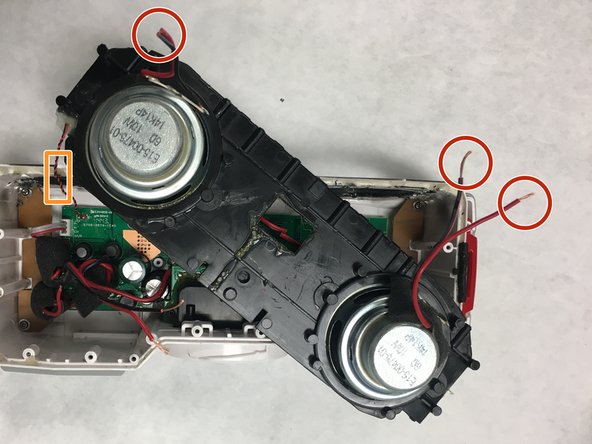
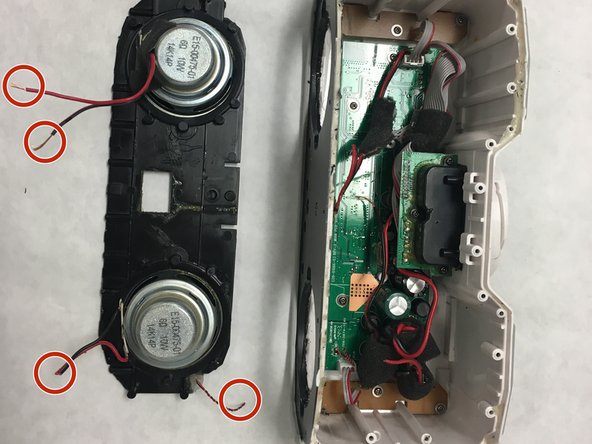
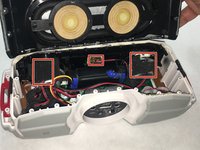
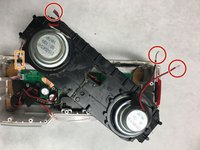
      • Cut the 20 gauge wires attached to the front IR sensor and two speaker wires.

      • Leave enough length on the wire to work with it afterwards.

      • Cut the 22 gauge wire attached in the corner.

      • Solder the new speaker plate during reassembly.

      • To properly solder and desolder connections, visit the How to Solder and Desolder Connections guide.

      Ask FixBot

      Add Comment

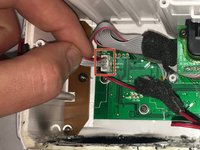
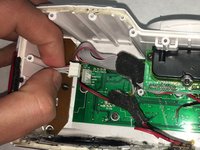
    1. Braven BRV-X Button Module(s) Replacement, Button Module(s): step 13, image 1 of 2 Braven BRV-X Button Module(s) Replacement, Button Module(s): step 13, image 2 of 2
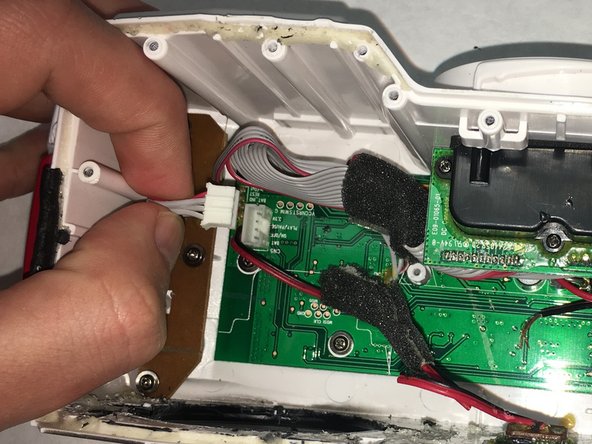
      • Remove the ribbon cable attached to the main board.

      • Pull from the clip and not from the cable.

      Ask FixBot

      Add Comment

    2. Braven BRV-X Button Module(s) Replacement: step 14, image 1 of 1
      • Remove three 0.7 cm screws from the button module(s) using the Phillips #00 screwdriver.

      Ask FixBot

      Add Comment

    3. Braven BRV-X Button Module(s) Replacement: step 15, image 1 of 1
      • Gently lift the button module from the enclosure.

      Ask FixBot

      Add Comment

Conclusion

To reassemble your device, follow these instructions in reverse order.

Cancel: I did not complete this guide.

Trey Peterson

Member since: 04/01/19

301 Reputation

2 Guides authored

Team

IUPUI, Team S1-G5, Harley Spring 2019 Member of IUPUI, Team S1-G5, Harley Spring 2019

IUPUI-HARLEY-S19S1G5

3 Members

24 Guides authored

0 Guide Comments

Add Comment

View Statistics:

Past 24 Hours: 1

Past 7 Days: 11

Past 30 Days: 61

All Time: 843