Introduction
When the internal accumulator gets weak, you cannot use the Braven 625s anymore. In my case the box stopped to play even with external power supply. I could not find an appropriate help in the internet so I tried it by myself and here are the results:
What you need
Featured Document
-
-
Open all 16 extern visible screws with exact fitting imbus screwdriver. During production the screws are probably mounted by a machine and you need some force to open them in the usual direction against clockwise.
-
-
-
Remove the rubber case carefully. It is fixed with a two-sided adhesive tape around the case. This is no big deal.
-
-
-
12 screws are waiting for you. You need a normal cross-head screwdriver, which also should fit very well because these screws are sitting also very hard for their size. They are in deep holes, so you have no chance with pliers. Do not try with a not good fitting screwdriver, because if you ruined a screw only a drilling machine could help you then.
-
-
-
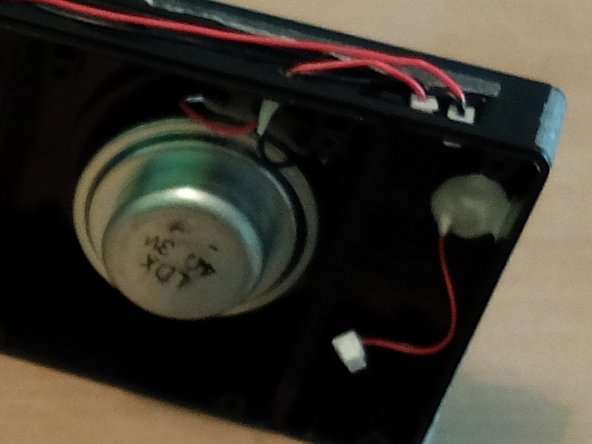
Open carefully the 2 connectors for the 2 speakers and the one for the switch.
-
-
-
-
You need to remove a cap and under the ribbon cable you can cut the red and black wire for the accumulator. Cut them close to the accumulator and at different lengths because later on you don’t want to have the soldering points side by side.
-
-
-
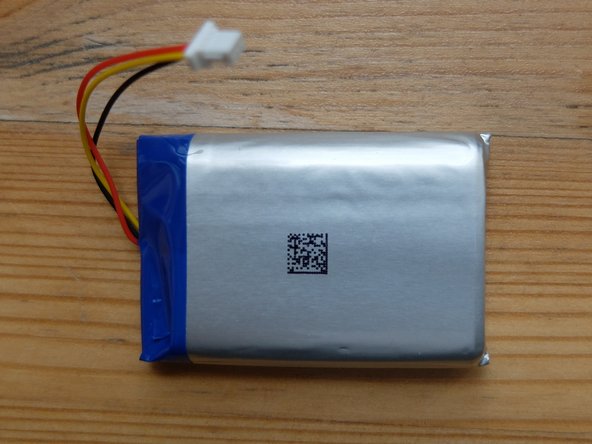
Cut off the white connector wire by wire. Do not cut the wires in one step to avoid a short circuit for the new accumulator because it comes with some energy inside. Ignore the yellow wire. It is the temperature sensor of the replacement accumulator and not needed here.
-
-
-
After you connected the 3 opened connectors, you can already check if the box works again.
-
-
-
Close the Braven 625s case performing the open steps backwards
-
-
-
Alternatively you could stay with the battery management system (BMS) of the original Braven 625s lithium polymer accumulator and use it with 2 new cells only, if you can get them.
-



 Ask FixBot




Arbeite die Schritte in umgekehrter Reihenfolge ab, um dein Gerät wieder zusammenzubauen.
Cancel: I did not complete this guide.
One other person completed this guide.
Attached Documents

