Introduction
The internal tubing inside of the coffee maker can become cracked or broken. This would cause water to leak from your coffee maker and onto your counter top.
What you need
-
-
Remove the carafe (coffee pot) from the coffee maker.
-
Turn the Braun Aromaster KF 440 upside down so the base is exposed.
 Ask FixBot
-
-
-
Locate the nut at the center of the base and unscrew it with a pair of basic pliers.
-
-
-
Gently lift the cover away from the bottom of the coffee maker and remove it.
-
-
-
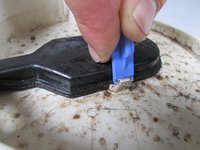
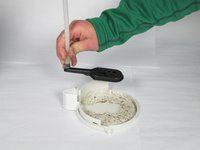
Using the larger plastic opening tool, gently push the tubing off of the one-way valve located in the center. (If the tubing is being stubborn and won't come off, run the metal spudger around the inside of tubing to free it up.)
-
The piece will remain attached to the center plate for now.
-
-
-
-
Using the larger plastic opening tool, gently push the tubing off of the valve located on the side. (If the tubing is being stubborn and won't come off, run the Spudger tool around the inside of tubing to free it up.)
-
-
-
Using the larger plastic opening tool, gently push the tubing off of the center plate. (If the tubing is being stubborn and won't come off, run the metal spudger around the inside of tubing to free it up.)
-
-
-
Grab the filter basket housing firmly.
-
Lift upwards on the filter basket housing. You may need to use one hand to hold the body of the coffee maker in place in order to remove the piece.
-
-
-
Locate the two plastic latches on the inside of the coffee maker.
-
-
-
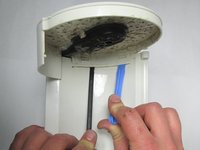
Wedge the plastic opening tool between the back of the coffee maker and its top.
-
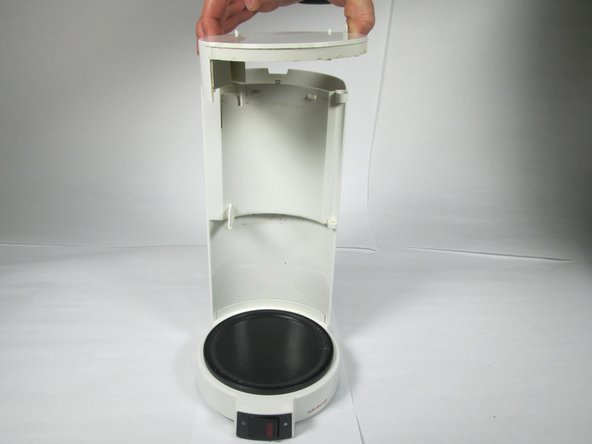
Once the top is loose remove by lifting up on the top of the coffee maker.
-
-
-
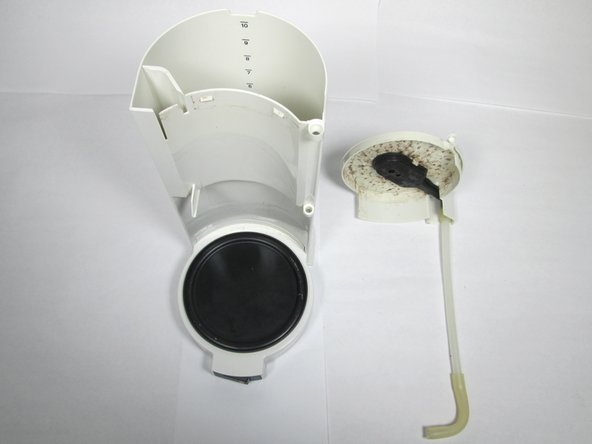
Once the top is removed you will notice that there is a tube attached.
-
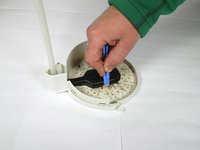
Remove the tube from the lid by using the opening tool.
-
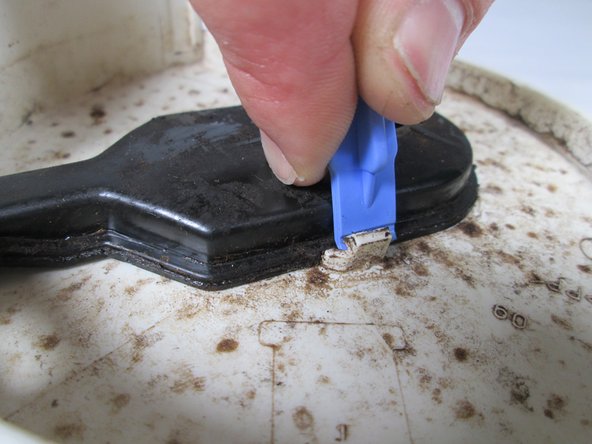
Place the opening tool under the clasp and gently lift the plastic clasps.
-
-
-
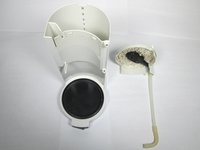
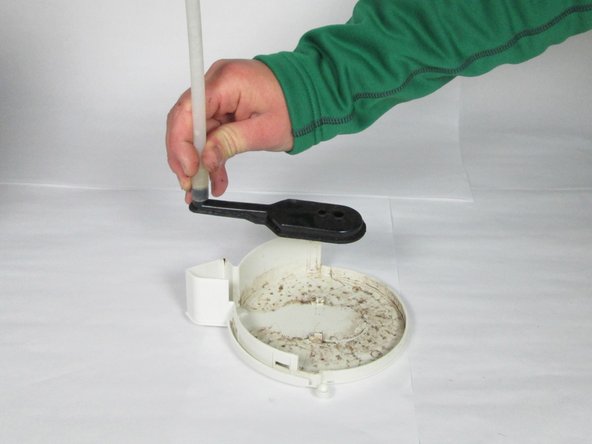
Finally, firmly hold the tube. Wiggle the black component away from the tube by hand.
-
-
-
You now have your tubes removed and ready to be replaced.
-





To reassemble your device, follow these instructions in reverse order.

Team

Baylor, Team 8-12, Williams Fall 2014 Member of Baylor, Team 8-12, Williams Fall 2014
BU-WILLIAMS-F14S8G12
3 Members
25 Guides authored
