Introduction
You may have issues getting your BOSS CE-300 SuperChorus to power on. You may be able to fix the issue within 10 minutes by replacing a fuse. The only tools needed are a Phillips #2 screwdriver and a plastic pry tool.
What you need
-
-
Remove the following screws with a Phillips #2 screwdriver:
-
Two 7.5 mm
-
Two 10 mm
 Ask FixBot
-
-
-
-
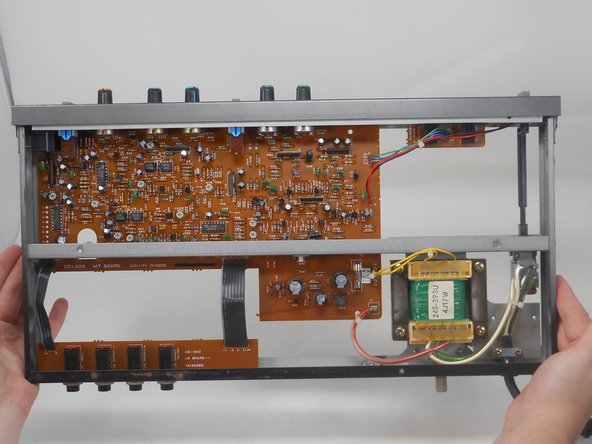
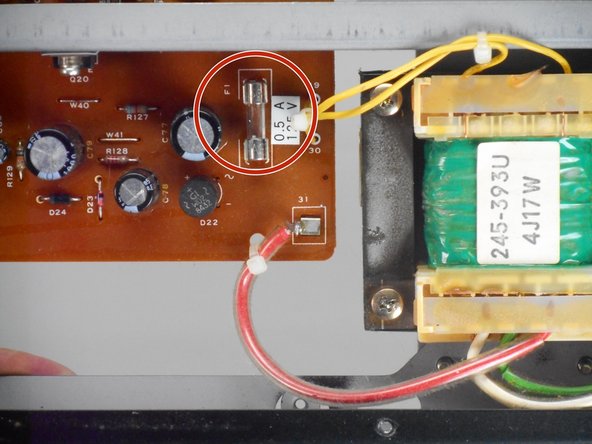
Once the bottom plate is removed, you have clear access to the fuse shown.
-
-
-
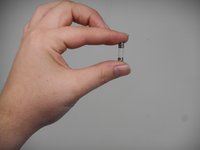
Use an opening tool to carefully remove the fuse.
-
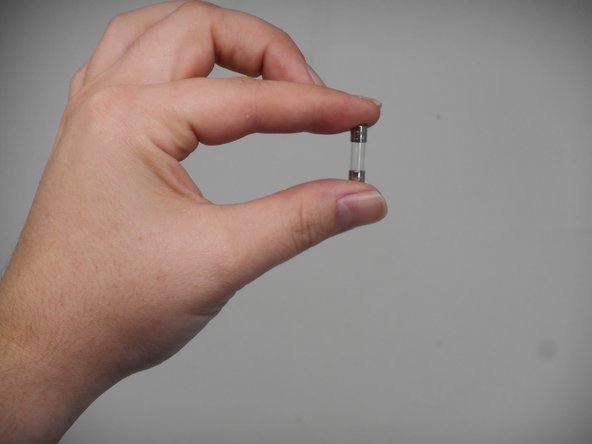
You may visually inspect the fuse and compare it to a replacement 0.5A fuse.
-


To reassemble your device, follow the above steps in reverse order.
Take your e-waste to an R2 or e-Stewards certified recycler.
Repair didn’t go as planned? Try some basic troubleshooting or ask our Answers community for help.
Team

University of Memphis, Team 1-2, Sneed Fall 2024 Member of University of Memphis, Team 1-2, Sneed Fall 2024
UM-SNEED-F24S1G2
4 Members
9 Guides authored