
Bose Soundlink Flex Radiator Replacement

Monica Silva and one other contributor
Last updated on Jun 25, 2024
Views: 1.2K
View statistics:
- Past 24 Hours:
- 4
- Past 7 Days:
- 34
- Past 30 Days:
- 148
- All Time:
- 1,239
Comments: 1
1 comment on steps.
Completed: 1 2
1 person has marked this guide "completed." Will you be next?
2 people have marked this guide "completed." Including you — great job!
Favorites: 0 1
No one has favorited (and subscribed to) this guide. Will you be the first?
1 person has favorited (and subscribed to) this guide — and that's you!
Introduction
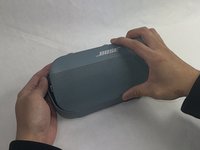
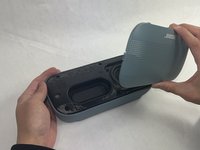
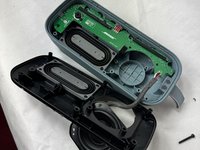
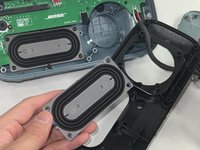
Go to step 1 ↓The radiator on the Bose Soundlink Flex is what allows the speaker to have bass in the music. It works by using sound pressure to create deep pitches in music otherwise known as baselines. If the speaker seems to have little to no bass all of a sudden and the device is clean this may mean that the radiator is damaged and needs replacing. The radiator has two parts: one is attached next to the motherboard and the other is attached to the black back panel. Follow this guide to see how to replace the radiators.
What you need
Parts
Tools


-
-
-
-
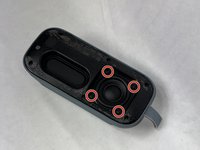
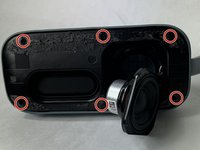
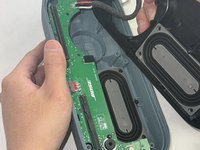
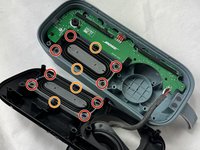
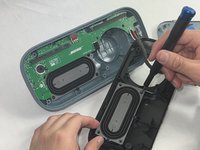
Remove the four 2.3 mm screws holding the driver in place using a TR8 Torx screwdriver.
-
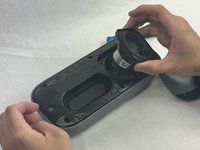
Lift the driver out, being cautious of the wires still connected to the device.
-
-
-
-
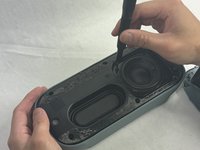
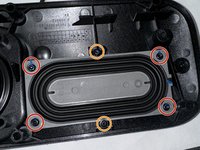
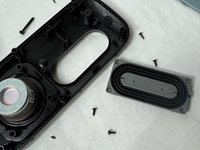
Remove the four 2.3 mm corner screws using a TR8 Torx screwdriver.
-
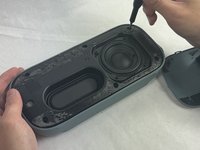
Remove the two 1.7 mm screws using a TR6 Torx screwdriver.
-
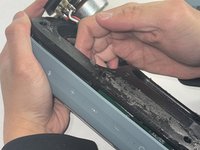
Follow this step for both radiators.
-
-

 Ask FixBot












To reassemble your device, follow these instructions in reverse order.
Cancel: I did not complete this guide.
One other person completed this guide.

Team

UMass Dartmouth, Team 4-1, Shaddix Spring 2024 Member of UMass Dartmouth, Team 4-1, Shaddix Spring 2024
UMASSD-SHADDIX-S24S4G1
3 Members
72 Guides authored
