
Bose Soundlink Flex Driver Replacement

Kalvin Lee and 2 other contributors
Last updated on Jun 25, 2024
Views: 2.2K
View statistics:
- Past 24 Hours:
- 5
- Past 7 Days:
- 44
- Past 30 Days:
- 156
- All Time:
- 2,185
Comments: 0
No one has left comments on this guide. Will you be first?
Go to guide commentsCompleted: 0 1
No one has marked this guide "completed." Will you be the first?
1 person has marked this guide "completed." It's you — great job!
Favorites: 0 1
No one has favorited (and subscribed to) this guide. Will you be the first?
1 person has favorited (and subscribed to) this guide — and that's you!
Introduction
Go to step 1 ↓A common issue with the Bose Soundlink Flex is its speaker. Over time, wear and tear degrade the quality of the sound the speaker produces. This guide will provide the necessary steps in replacing this component. If the speaker is in good condition, but the audio is not playing, be sure to check the Bluetooth connnection and reboot if necessary. If the Bluetooth is not working, be sure the speaker is turned on and in pair mode by going into the device settings on the device you wish to pair.
What you need
Parts
Tools


-
-
-
-
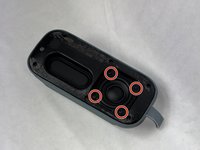
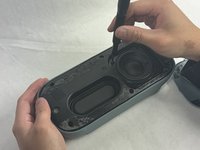
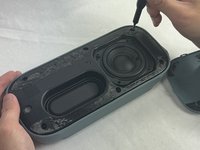
Remove the four 2.3 mm screws holding the driver in place using a TR8 Torx screwdriver.
-
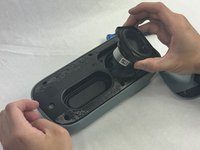
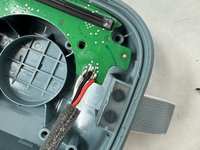
Lift the driver out, being cautious of the wires still connected to the device.
-
-
-
-
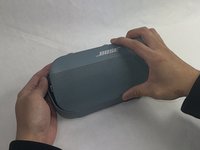
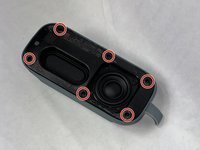
Remove the six 2.3 mm screws around the edge with a TR8 Torx screwdriver.
-
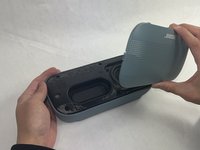
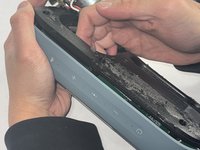
Pull the back panel off exposing the motherboard.
-
-

 Ask FixBot








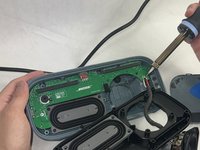
To reassemble your device, follow these instructions in reverse order.

Team

UMass Dartmouth, Team 4-1, Shaddix Spring 2024 Member of UMass Dartmouth, Team 4-1, Shaddix Spring 2024
UMASSD-SHADDIX-S24S4G1
3 Members
72 Guides authored
