Free Shipping on Domestic Orders $75+

Bosch Pro Animal BSGL5ZOO2 Motor Replacement

What you need

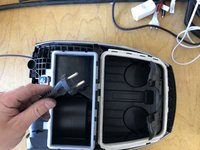
  1. Bosch Pro Animal BSGL5ZOO2 Motor Replacement, Remove hose: step 1, image 1 of 2 Bosch Pro Animal BSGL5ZOO2 Motor Replacement, Remove hose: step 1, image 2 of 2
    • Disconnect the power plug from the mains.

    • Remove the hose by pressing the two catches on the sides.

    Ask FixBot
    Add Comment

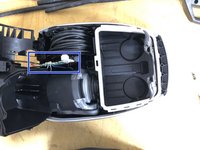
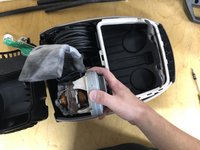
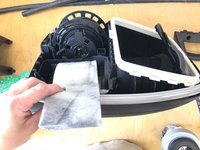
  2. Bosch Pro Animal BSGL5ZOO2 Motor Replacement, Remove dust bag and filter: step 2, image 1 of 3 Bosch Pro Animal BSGL5ZOO2 Motor Replacement, Remove dust bag and filter: step 2, image 2 of 3 Bosch Pro Animal BSGL5ZOO2 Motor Replacement, Remove dust bag and filter: step 2, image 3 of 3
    • Remove residue bag G8.

    • Remove HEPA high efficiency hygiene filter 579496 VZ154HFB

    • Remove motor protection filter 578863 VZ01MSF

    Ask FixBot

    Add Comment

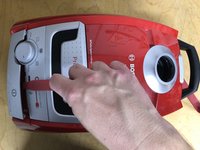
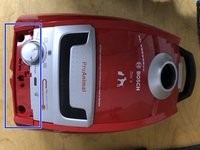
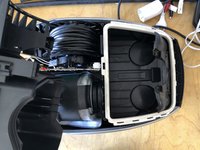
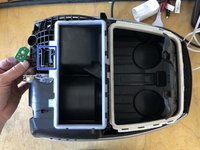
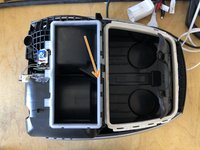
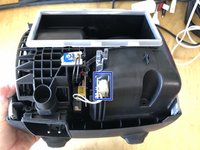
  3. Bosch Pro Animal BSGL5ZOO2 Motor Replacement, Remove Start-button: step 3, image 1 of 2 Bosch Pro Animal BSGL5ZOO2 Motor Replacement, Remove Start-button: step 3, image 2 of 2
    • Use the spudger to lever the start button upwards from the front and remove it.

    Ask FixBot
    Add Comment

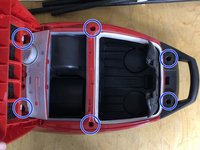
  4. Bosch Pro Animal BSGL5ZOO2 Motor Replacement, Remove screws: step 4, image 1 of 2 Bosch Pro Animal BSGL5ZOO2 Motor Replacement, Remove screws: step 4, image 2 of 2
    • Loosen the 6 screws with the screwdriver.

    • Remove front grip.

    Ask FixBot
    Add Comment

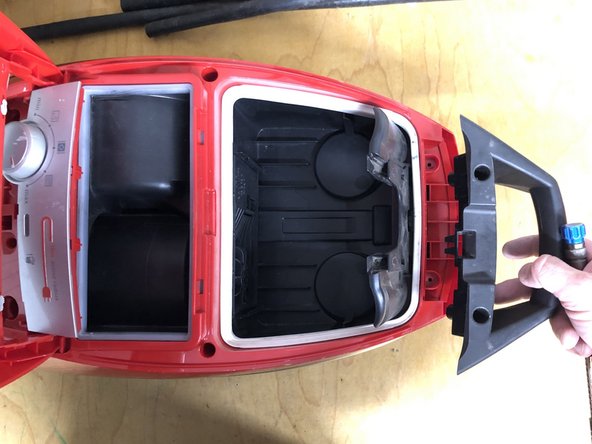
  5. Bosch Pro Animal BSGL5ZOO2 Motor Replacement, Remove top side of housing: step 5, image 1 of 2 Bosch Pro Animal BSGL5ZOO2 Motor Replacement, Remove top side of housing: step 5, image 2 of 2
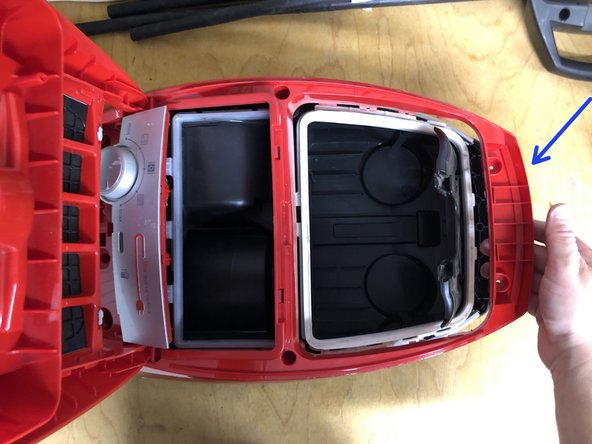
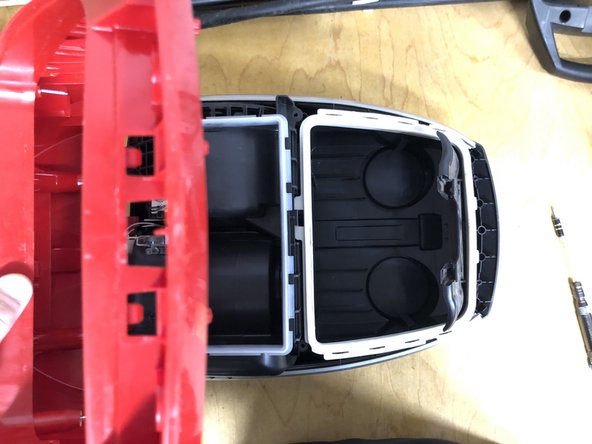
    • Lift the top of the housing from the handle side

    • Remove the top of the housing towards the rear.

    Ask FixBot
    Add Comment

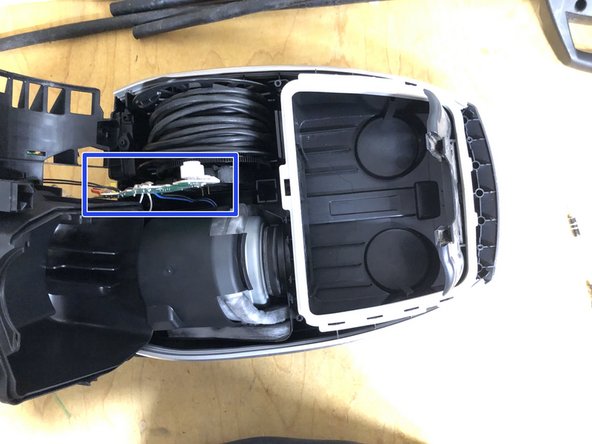
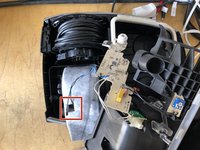
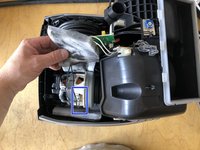
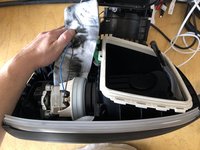
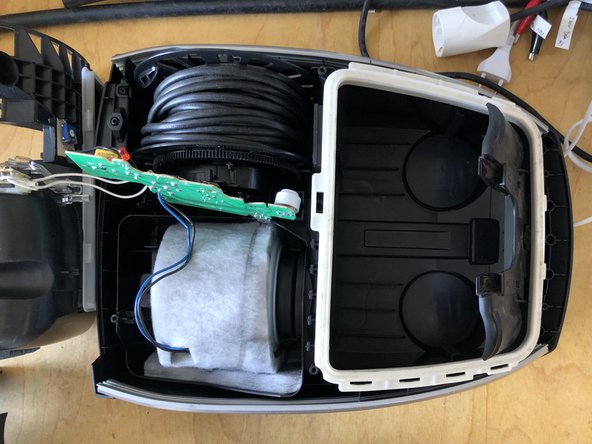
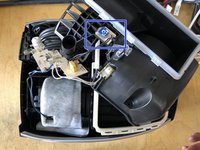
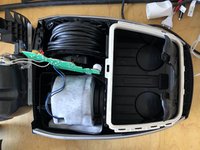
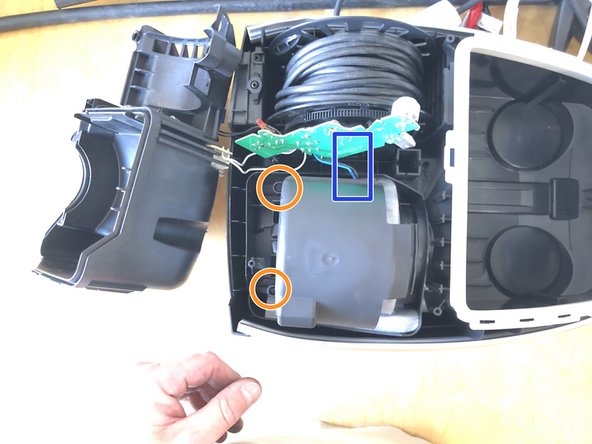
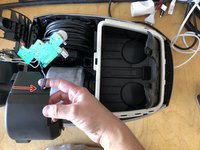
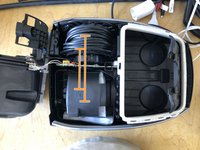
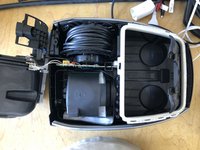
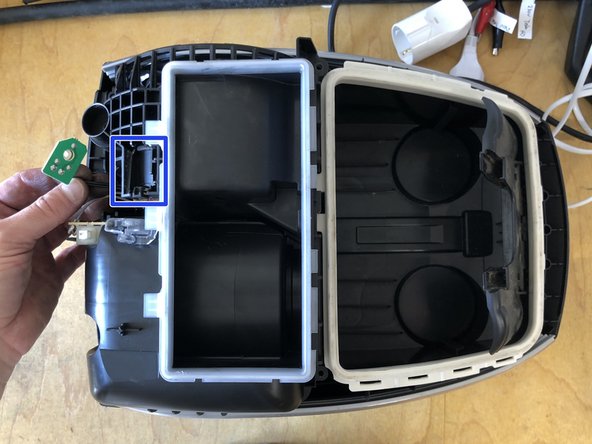
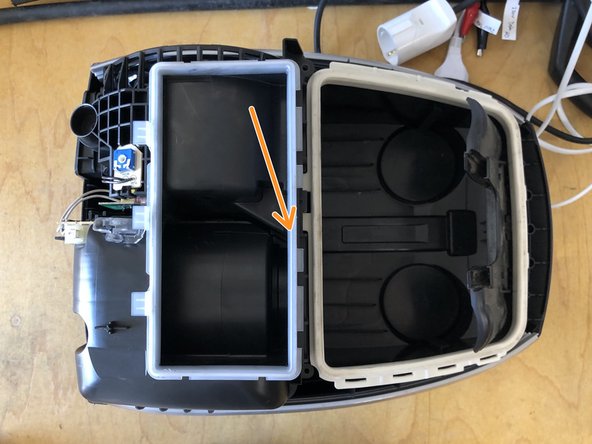
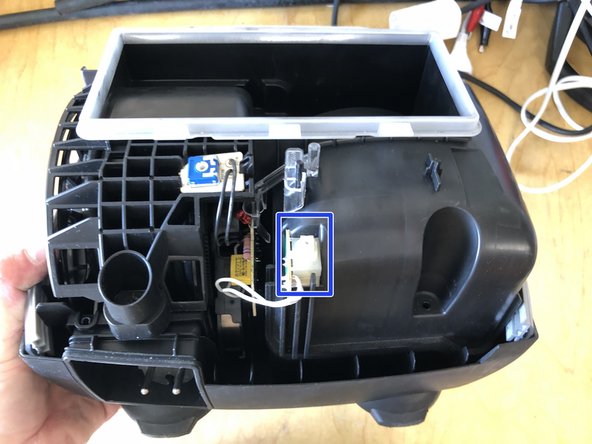
  6. Bosch Pro Animal BSGL5ZOO2 Motor Replacement, Remove motor cover: step 6, image 1 of 3 Bosch Pro Animal BSGL5ZOO2 Motor Replacement, Remove motor cover: step 6, image 2 of 3 Bosch Pro Animal BSGL5ZOO2 Motor Replacement, Remove motor cover: step 6, image 3 of 3
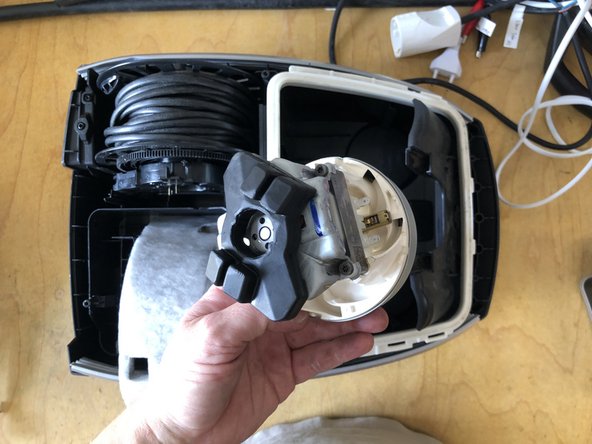
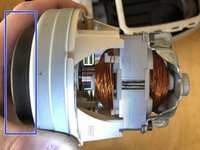
    • Remove motor cover towards the back.

    • Carefully remove the circuit board from the guides of the cable drum.

    • The motor is now accessible.

    Ask FixBot
    Add Comment

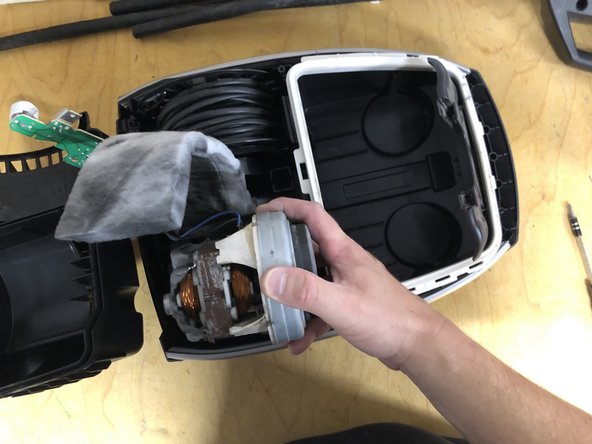
  7. Bosch Pro Animal BSGL5ZOO2 Motor Replacement, Removing the Motor: step 7, image 1 of 1
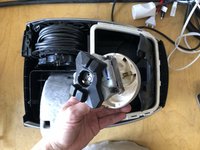
    • Attention: Unplug the device from the power outlet!!

    • Removing the Motor

    • Disconnect the cables / terminals from the motor.

    • Dispose of the motor (scrap metal).

    Ask FixBot
    Add Comment

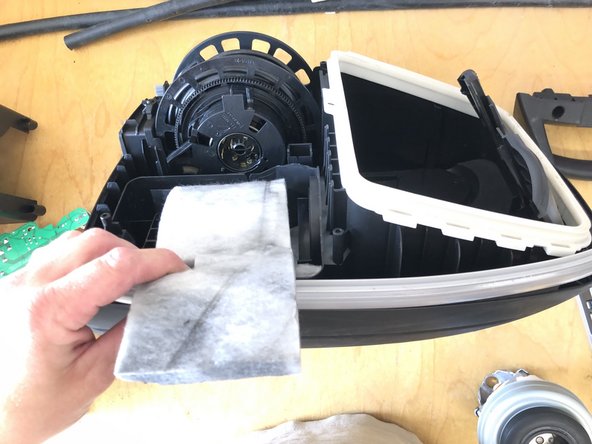
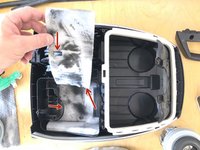
  8. Bosch Pro Animal BSGL5ZOO2 Motor Replacement, Inserting the Protective Fleece: step 8, image 1 of 2 Bosch Pro Animal BSGL5ZOO2 Motor Replacement, Inserting the Protective Fleece: step 8, image 2 of 2
    • Insert the protective fleece the right way around and with the cutouts properly aligned.

    Ask FixBot

    Add Comment

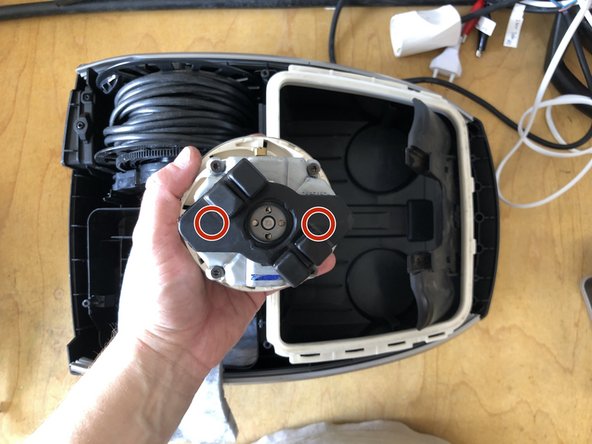
  9. Bosch Pro Animal BSGL5ZOO2 Motor Replacement, Preparing the Motor for Installation: step 9, image 1 of 3 Bosch Pro Animal BSGL5ZOO2 Motor Replacement, Preparing the Motor for Installation: step 9, image 2 of 3 Bosch Pro Animal BSGL5ZOO2 Motor Replacement, Preparing the Motor for Installation: step 9, image 3 of 3
    • Unpack the new motor.

    • Checking the Fit of the Blower Seal

    • Insert the rubber mounts into the round cutouts.

    • Press the rubber mounts and the blower seal firmly into place.

    Ask FixBot

    Add Comment

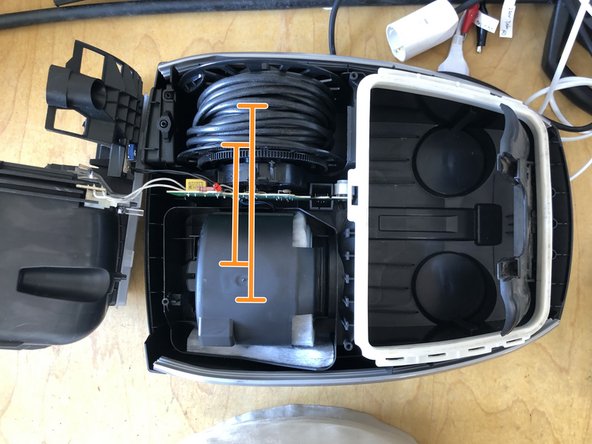
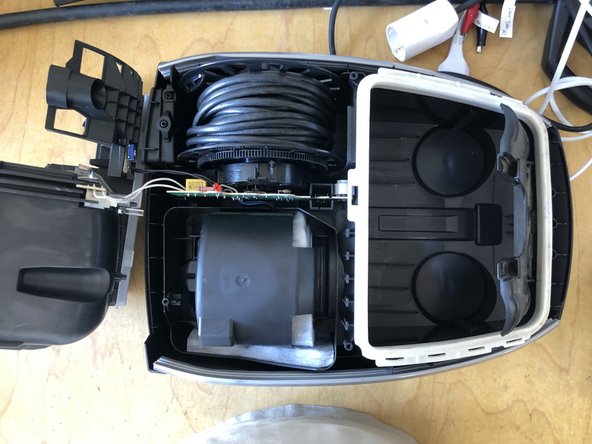
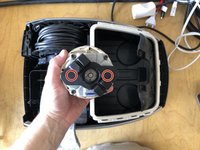
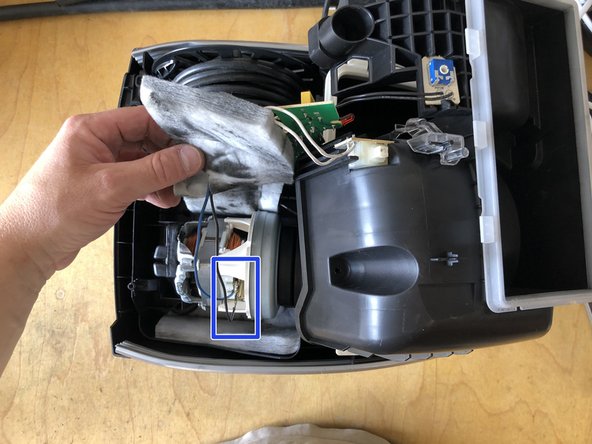
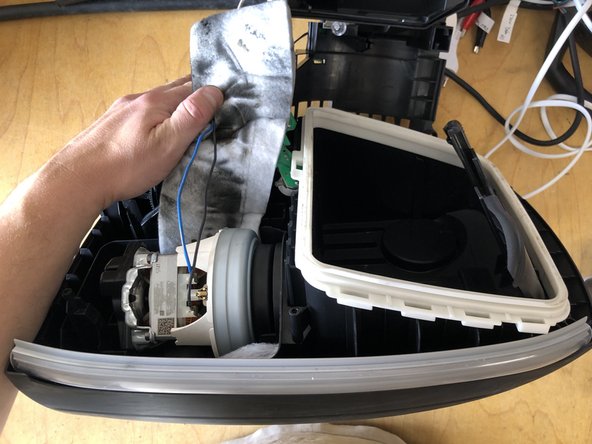
  10. Bosch Pro Animal BSGL5ZOO2 Motor Replacement, Installing the Motor: step 10, image 1 of 1
    • Place and insert the motor with the rubber mount into the guide.

    • "Check that the motor is seated properly in the mount and in the housing.

    Ask FixBot
    Add Comment
  11. Bosch Pro Animal BSGL5ZOO2 Motor Replacement, Connecting the Motor: step 11, image 1 of 3 Bosch Pro Animal BSGL5ZOO2 Motor Replacement, Connecting the Motor: step 11, image 2 of 3 Bosch Pro Animal BSGL5ZOO2 Motor Replacement, Connecting the Motor: step 11, image 3 of 3
    • Guide the cables through the cutouts in the fleece.

    • Firmly push the cables / spade connectors onto the terminals (there is no fixed assignment of the poles).

    Ask FixBot

    Add Comment

  12. Bosch Pro Animal BSGL5ZOO2 Motor Replacement, Preparing to Install the Control Board: step 12, image 1 of 2 Bosch Pro Animal BSGL5ZOO2 Motor Replacement, Preparing to Install the Control Board: step 12, image 2 of 2
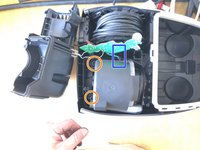
    • Release the rotary dial's board from the holder (pull back the clip).

    • Place the control board on the fleece, in front of the guide rails.

    Ask FixBot

    Add Comment

  13. Bosch Pro Animal BSGL5ZOO2 Motor Replacement, Installing the Motor Cover: step 13, image 1 of 2 Bosch Pro Animal BSGL5ZOO2 Motor Replacement, Installing the Motor Cover: step 13, image 2 of 2
    • Place the motor cables into the cable guide of the motor cover.

    • Place the motor cables into the cable guide of the partition wall.

    • Move the motor cover downwards in the guides.

    Ask FixBot

    Add Comment

  14. Bosch Pro Animal BSGL5ZOO2 Motor Replacement, Installing the Control Board: step 14, image 1 of 3 Bosch Pro Animal BSGL5ZOO2 Motor Replacement, Installing the Control Board: step 14, image 2 of 3 Bosch Pro Animal BSGL5ZOO2 Motor Replacement, Installing the Control Board: step 14, image 3 of 3
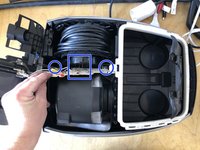
    • Slide the control board into the guides.

    • While doing so, make sure that the terminals of the cable reel are inserted cleanly into the rails of the control board.

    • Check the correct seating of the circuit board."

    Ask FixBot

    Add Comment

  15. Bosch Pro Animal BSGL5ZOO2 Motor Replacement, Installing the Cover: step 15, image 1 of 3 Bosch Pro Animal BSGL5ZOO2 Motor Replacement, Installing the Cover: step 15, image 2 of 3 Bosch Pro Animal BSGL5ZOO2 Motor Replacement, Installing the Cover: step 15, image 3 of 3
    • Place the cover on.

    • Clip the rotary dial's board into the holder.

    • Snap the cover into the holders by pressing it downwards.

    Ask FixBot

    Add Comment

  16. Bosch Pro Animal BSGL5ZOO2 Motor Replacement, Check Functionality (Optional): step 16, image 1 of 2 Bosch Pro Animal BSGL5ZOO2 Motor Replacement, Check Functionality (Optional): step 16, image 2 of 2
    • If you feel confident enough, you can test the vacuum cleaner for the first time now.

    • Caution, if you are not sure which parts you can safely touch while they are under voltage, then skip this step and only test the device after it is fully assembled!

    • Plug in the power plug.

    • Press the On/Off switch.

    • The motor should now work as usual.

    Ask FixBot

    Add Comment

Conclusion

To reassemble your device, follow the steps 1 to 6 in reverse order.

Cancel: I did not complete this guide.

One other person completed this guide.

Special thanks to these translators:

de en

100%

hainzy is helping us fix the world! Want to contribute?
Start translating ›

hainzy

Member since: 03/23/23

10,727 Reputation

47 Guides authored

2 Guide Comments

Hallo, sehr toll gemachte Anleitung. Wirklich Respekt vor der Arbeit, die Bilder und deren Bearbeitung. Dickes Danke

Benjamin Hoffmann - Reply Share

Danke für das Lob, es freut mich wenn die Anleitungen bei der Reparatur helfen.
Um die Anleitung noch populärer zu machen kannst du sie am Ende als "geschafft" markieren.
Liebe Grüße
hainzy

hainzy - Reply Share

Add Comment

View Statistics:

Past 24 Hours: 2

Past 7 Days: 15

Past 30 Days: 78

All Time: 1,308