
Blu Studio Selfie Rear Facing Camera Replacement

Stacy Kam and 4 other contributors
Last updated on May 24, 2016
Views: 744
View statistics:
- Past 24 Hours:
- 4
- Past 7 Days:
- 25
- Past 30 Days:
- 97
- All Time:
- 744
Comments: 1
1 comment on steps.
Completed: 2 3
2 people have marked this guide "completed." Will you be next?
3 people have marked this guide "completed." Including you — great job!
Favorites: 0 1
No one has favorited (and subscribed to) this guide. Will you be the first?
1 person has favorited (and subscribed to) this guide — and that's you!
Action Shots
Be an action hero! This guide needs images that better demonstrate how to perform specific actions.
Incorrect Tools
Help make this guide better by using the correct tools in images and/or text.
Introduction
Go to step 1 ↓Use this guide to replace the rear-facing camera in the Blu Studio Selfie.
What you need
Tools
-
-
Tweezers4.9


-
-
-
Turn the front of the phone away from you.
-
Run your fingers along the sides of the phone to identify where the case can be pulled apart.
 Ask FixBot
-
-
-
Insert the flat end of your plastic opening into the crevice you found along the side of the phone.
-
Gently apply pressure until you feel the back case pop free of the phone.
-
Continue the previous two steps around the rest of the phone until the case is fully removed.
-
-
-
-
-
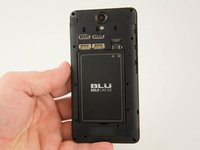
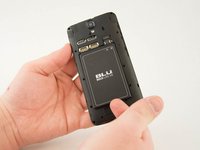
Identify the crevice at the bottom of the battery.
-
Gently lift the battery free of the phone.
-
-
-
-
-
-
Insert the spudger between the midframe and the display assembly.
-
Gently pry up the midframe.
-
-
-
After the rest of the midframe is detached, from the phone place the flat end of the spudger beneath the clip.
-
Gently lift up on the clip until it comes free.
-
Remove the midframe from the phone.
-
-
-
-
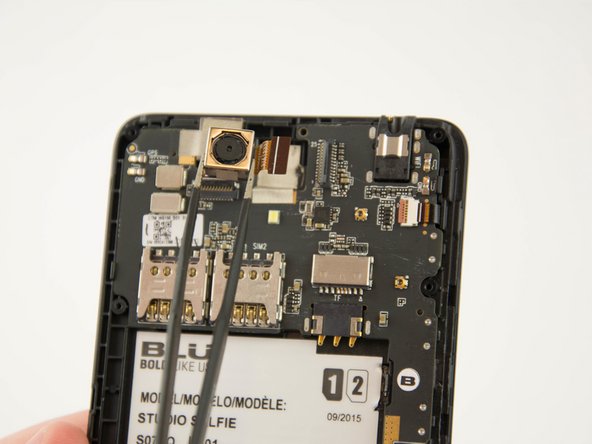
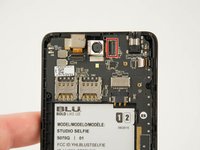
Flip up the retaining flap on the camera cable ZIF connector.
-
Pull the camera's ribbon cable straight out of its socket.
-
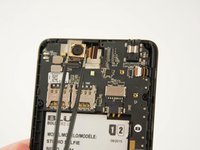
Gently remove the rear facing camera.
-
-




To reassemble your device, follow these instructions in reverse order.
Cancel: I did not complete this guide.
2 other people completed this guide.

Team

USF Tampa, Team 10-1, Remmell Spring 2016 Member of USF Tampa, Team 10-1, Remmell Spring 2016
USFT-REMMELL-S16S10G1
4 Members
72 Guides authored
