
Free Shipping on Domestic Orders $75+

Blu L120 Screen Assembly Replacement

What you need

  1. Blu L120 Screen Assembly Replacement, Remove back panel: step 1, image 1 of 3 Blu L120 Screen Assembly Replacement, Remove back panel: step 1, image 2 of 3 Blu L120 Screen Assembly Replacement, Remove back panel: step 1, image 3 of 3
    • Remove the cover by lifting the notch towards the bottom of the phone. Use your fingernail to lift it up.

    Ask FixBot

    Add Comment

  2. Blu L120 Screen Assembly Replacement, Screw Removal: step 2, image 1 of 3 Blu L120 Screen Assembly Replacement, Screw Removal: step 2, image 2 of 3 Blu L120 Screen Assembly Replacement, Screw Removal: step 2, image 3 of 3
    • Remove these nine screws with a small phillips screwdriver. They are all the same size.

    • There is a small screw hidden under the warranty sticker. You may either remove or poke through it .

    Ask FixBot

    Add Comment

  3. Blu L120 Screen Assembly Replacement, Rear Panel  removal: step 3, image 1 of 3 Blu L120 Screen Assembly Replacement, Rear Panel  removal: step 3, image 2 of 3 Blu L120 Screen Assembly Replacement, Rear Panel  removal: step 3, image 3 of 3
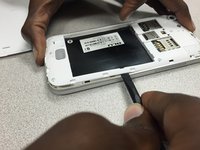
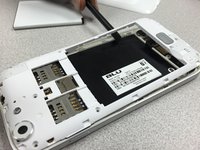
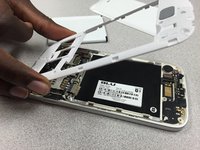
    • Use the pry tool to gently separate the panel from the frame, starting from the bottom left corner and continue along the edge of the phone.

    • *WARNING* by doing this, you will void the manufacturers warranty.

    Ask FixBot

    Add Comment

  4. Blu L120 Screen Assembly Replacement, Separate back panel from frame: step 4, image 1 of 3 Blu L120 Screen Assembly Replacement, Separate back panel from frame: step 4, image 2 of 3 Blu L120 Screen Assembly Replacement, Separate back panel from frame: step 4, image 3 of 3
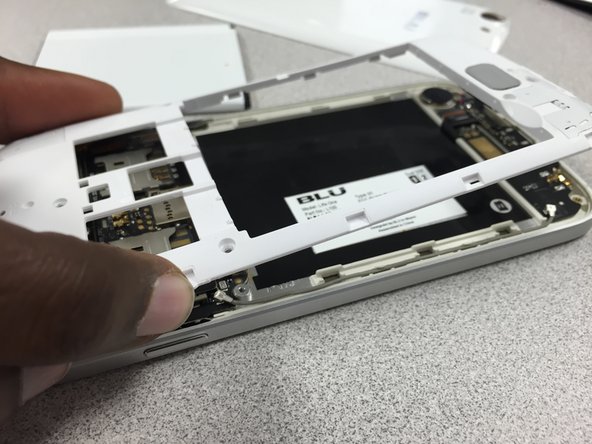
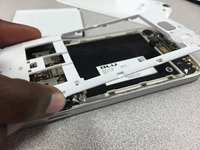
    • Continue using the pry tool around the back panel of the phone to separate both pieces.

    • Once you have gone around the entire frame, use both hands to pull it apart.

    Ask FixBot

    Add Comment

  5. Blu L120 Screen Assembly Replacement, Camera Removal: step 5, image 1 of 3 Blu L120 Screen Assembly Replacement, Camera Removal: step 5, image 2 of 3 Blu L120 Screen Assembly Replacement, Camera Removal: step 5, image 3 of 3
    Tool used on this step:
    Tweezers
    $4.99
    Buy
    • Use the pry tool to disconnect the camera from the device.

    • Gently lift the camera up and use the tweezers to remove it from the phone.

    • Reinstall the camera. Then follow the guide in reverse to put the phone back together.

    Ask FixBot

    Add Comment

  6. Blu L120 Screen Assembly Replacement, Motherboard: step 6, image 1 of 3 Blu L120 Screen Assembly Replacement, Motherboard: step 6, image 2 of 3 Blu L120 Screen Assembly Replacement, Motherboard: step 6, image 3 of 3
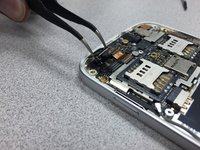
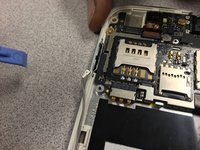
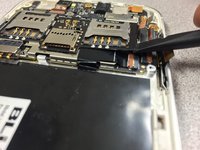
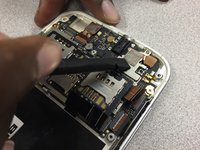
    • Remove these three screws using 00 Philips screwdriver. Note the smaller screw circled in orange.

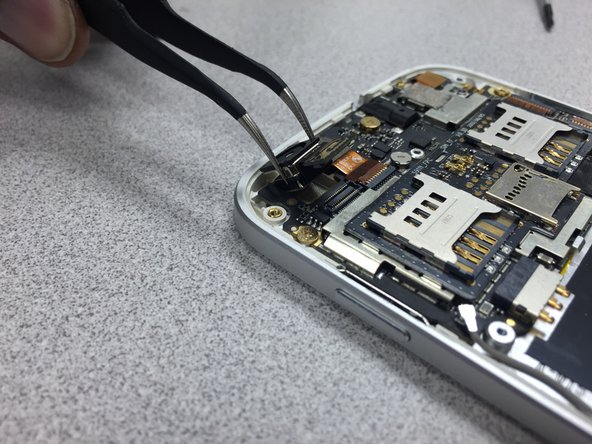
    • Then gently pry up on the metal antenna connector at the end of the grey wire. Move the wire out of the way.

    Ask FixBot

    Add Comment

  7. Blu L120 Screen Assembly Replacement: step 7, image 1 of 2 Blu L120 Screen Assembly Replacement: step 7, image 2 of 2
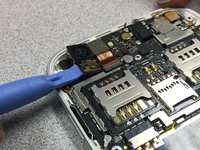
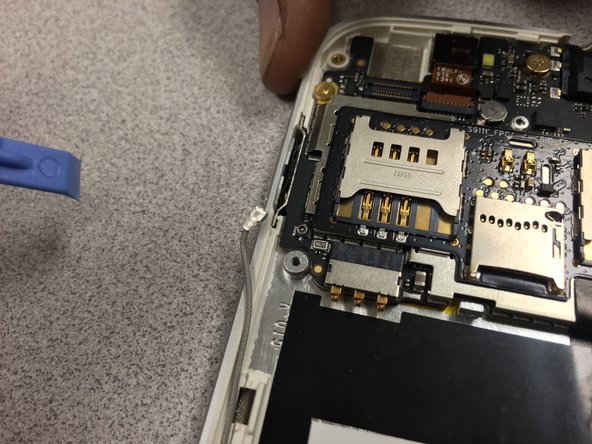
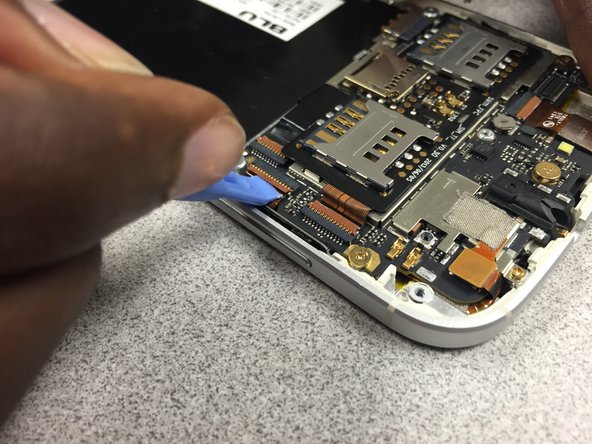
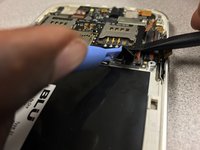
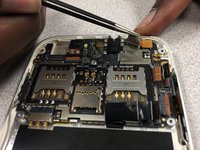
    • Next you must disconnect these three cables.

    • Use your pry tool to lift up on the brown tab to release the ribbon cable.

    Ask FixBot

    Add Comment

  8. Blu L120 Screen Assembly Replacement: step 8, image 1 of 3 Blu L120 Screen Assembly Replacement: step 8, image 2 of 3 Blu L120 Screen Assembly Replacement: step 8, image 3 of 3
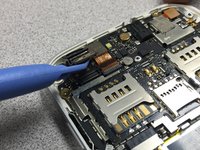
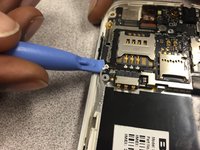
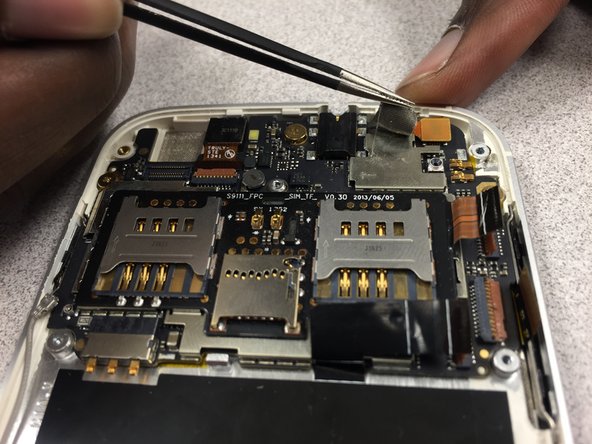
    • For the last ribbon cable, use a spudger to gently pry up on the board under the right sim card slot.

    • Next, take your pry tool to lift up on the brown tab holding down the ribbon cable.

    • The cable is now free to be pulled back out of its' slot.

    Ask FixBot

    Add Comment

  9. Blu L120 Screen Assembly Replacement: step 9, image 1 of 3 Blu L120 Screen Assembly Replacement: step 9, image 2 of 3 Blu L120 Screen Assembly Replacement: step 9, image 3 of 3
    Tool used on this step:
    Tweezers
    $4.99
    Buy
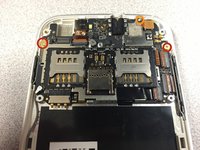
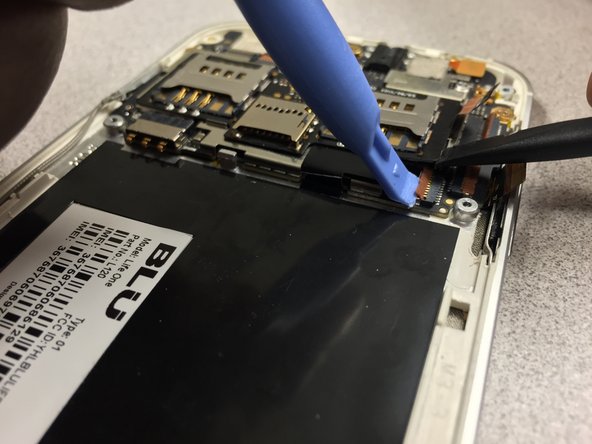
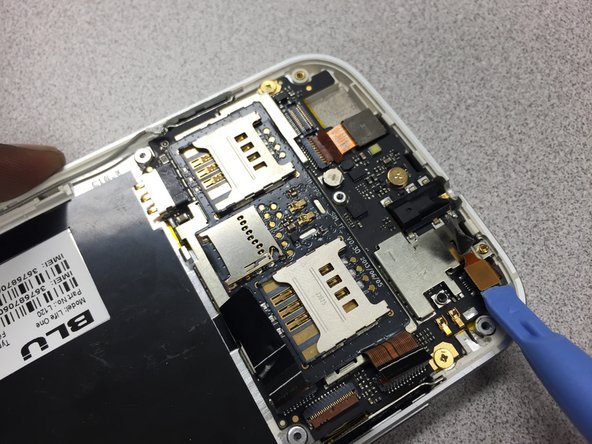
    • Using a spudger, peel up on the mesh tape then use your tweezers to peel the rest of it up.

    Ask FixBot

    Add Comment

  10. Blu L120 Screen Assembly Replacement: step 10, image 1 of 3 Blu L120 Screen Assembly Replacement: step 10, image 2 of 3 Blu L120 Screen Assembly Replacement: step 10, image 3 of 3
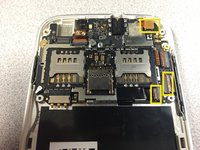
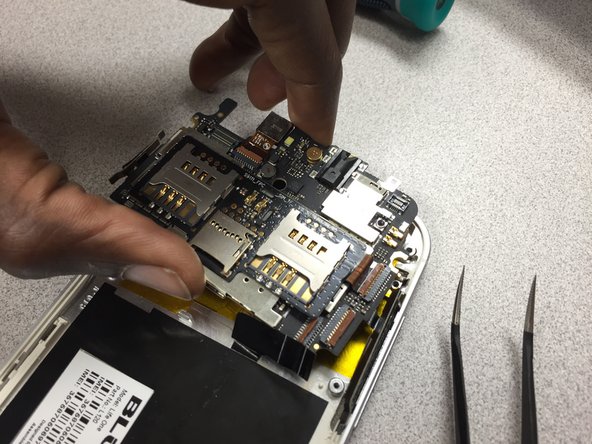
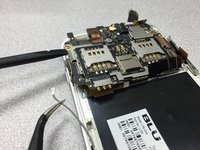
    • Now that the motherboard is free to be pried up, be sure that no cables are in the way or can be snagged when removing the motherboard.

    • Just lift up and away.

    • Follow the instructions in reverse to put the phone back together.

    Ask FixBot

    Add Comment

  11. Blu L120 Screen Assembly Replacement, Screen Assembly: step 11, image 1 of 2 Blu L120 Screen Assembly Replacement, Screen Assembly: step 11, image 2 of 2
    Tool used on this step:
    Tweezers
    $4.99
    Buy
    • Using your tweezers, peel back the yellow film to free the cable from the screen.

    Ask FixBot

    Add Comment

  12. Blu L120 Screen Assembly Replacement: step 12, image 1 of 2 Blu L120 Screen Assembly Replacement: step 12, image 2 of 2
    • We used the iOpener tool, heated it up, and placed it on top of the phone for a few seconds to loosen up the glue.

    Ask FixBot

    Add Comment

  13. Blu L120 Screen Assembly Replacement: step 13, image 1 of 3 Blu L120 Screen Assembly Replacement: step 13, image 2 of 3 Blu L120 Screen Assembly Replacement: step 13, image 3 of 3
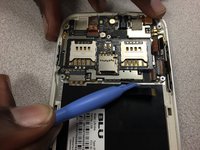
    • Once the screen has been heated and the glue is tacky, put a plastic opening tool between the glass screen and the frame. Start lifting the glass away around the whole frame.

    Ask FixBot

    Add Comment

  14. Blu L120 Screen Assembly Replacement: step 14, image 1 of 3 Blu L120 Screen Assembly Replacement: step 14, image 2 of 3 Blu L120 Screen Assembly Replacement: step 14, image 3 of 3
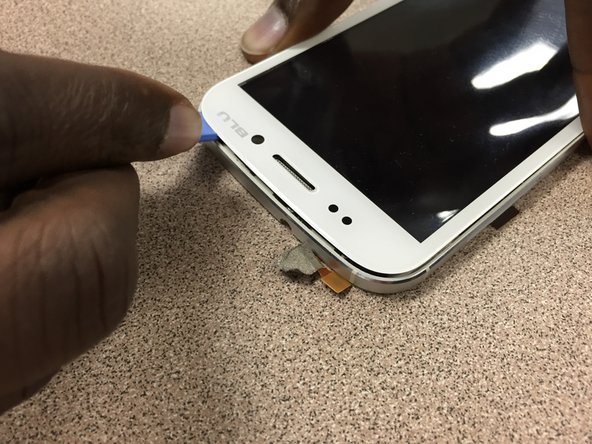
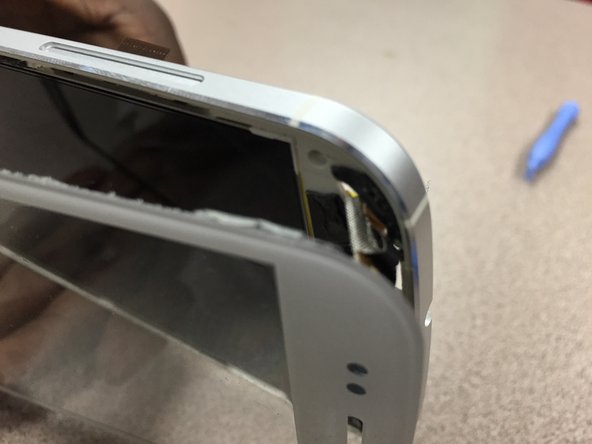
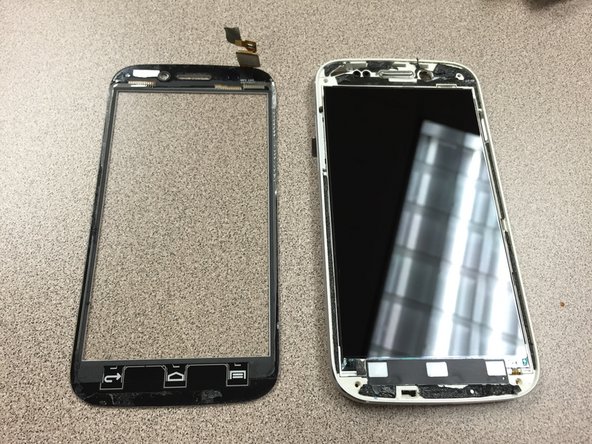
    • When finished separating the glass from the frame with the pry tool, grab both the frame and glass with both hands and separate both pieces. CAUTION, there is a ribbon cable that needs to be removed from the back of the phone before full separation.

    • As you can see, the LCD still needs a bit more work to come apart.

    Ask FixBot

    Add Comment

  15. Blu L120 Screen Assembly Replacement: step 15, image 1 of 3 Blu L120 Screen Assembly Replacement: step 15, image 2 of 3 Blu L120 Screen Assembly Replacement: step 15, image 3 of 3
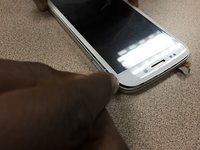
    • Take a spudger and gently push the cable through the cutout on the frame to separate the glass.

    Ask FixBot

    Add Comment

  16. Blu L120 Screen Assembly Replacement: step 16, image 1 of 2 Blu L120 Screen Assembly Replacement: step 16, image 2 of 2
    • Congratulations! Your device is now ready for a new glass panel!

    Ask FixBot

    Add Comment

Conclusion

To reassemble your device, follow these instructions in reverse order.

Cancel: I did not complete this guide.

2 other people completed this guide.

Julio

Member since: 10/25/14

695 Reputation

6 Guides authored

Team

Gateway, Team 1-5, Johnson Fall 2014 Member of Gateway, Team 1-5, Johnson Fall 2014

GCC-JOHNSON-F14S1G5

3 Members

6 Guides authored

0 Guide Comments

Add Comment

View Statistics:

Past 24 Hours: 0

Past 7 Days: 5

Past 30 Days: 25

All Time: 2,030