
Blu G90 Pro Battery, Power/USB board Replacement

Derek Clayton and one other contributor
Last updated on Aug 6, 2024
Views: 1.3K
View statistics:
- Past 24 Hours:
- 4
- Past 7 Days:
- 20
- Past 30 Days:
- 126
- All Time:
- 1,292
Comments: 2
2 guide comments.
Go to guide commentsCompleted: 6 7
6 people have marked this guide "completed." Will you be next?
7 people have marked this guide "completed." Including you — great job!
Favorites: 1 2
1 person has favorited (and subscribed to) this guide. Will you be next?
2 people have favorited (and subscribed to) this guide — including you!
Community-Contributed Guide
An awesome member of our community made this guide. It was not created by iFixit staff.
Introduction
Go to step 1 ↓Battery, Power/USB board, and back cover replacement guide. I made this because none seemed to exist for this model and my charging port/USB stopped working. Quick note, the G90 Pro was not designed to run on only the power port (or be powered by usb only), the circuit pulls from the battery. I replaced both in this guide since I was in the neighborhood.
What you need
Tools
-
Spudger4.9
-


-
-
-
The G90 Pro has a glued-on back cover. I removed this with a razor, a small suction cup, and guitar picks. There is a thin layer of glue that goes around the perimeter.
 Ask FixBot
-
-
-
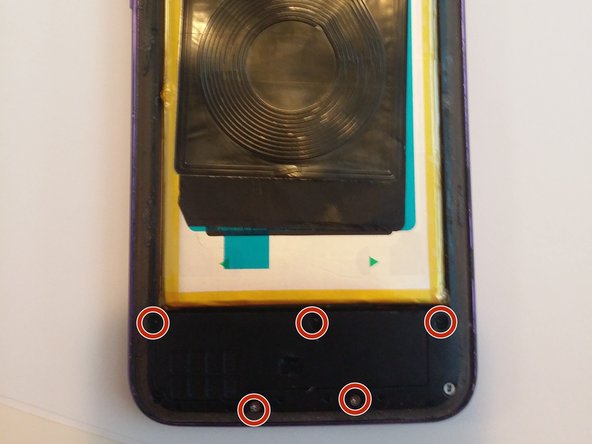
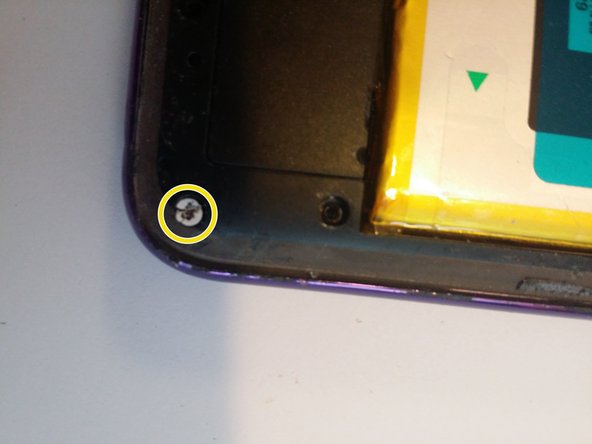
Remove all screws. These screws secure the mid-frame to the housing. The mid frame consists of three black plastic pieces: the first is the mid-frame main piece, it is the largest and goes around the battery, up around like a frame. The second protects the charging port/usb board. The third protects the motherboard above the camera.
-
-
-
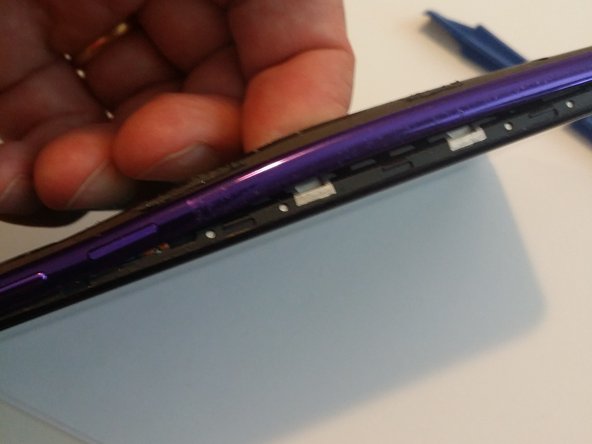
Now we can pry the midframe out. I used a spudger and jammed it in-between the silver front piece and and the black piece next to the battery (don't damage the battery) and lifted it up. Then I created some space and used the spudger and guitar picks around the perimeter until it popped-off.
-
-
-
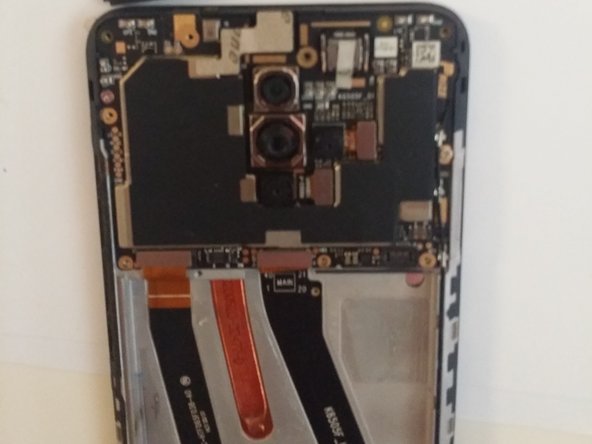
The battery connection is the right metal tab. The flap directly below the camera goes from the motherboard to the charging board/usb on the bottom. I believe the one on the left goes to the screen. I disconnected them all before moving forward.
-
-
-
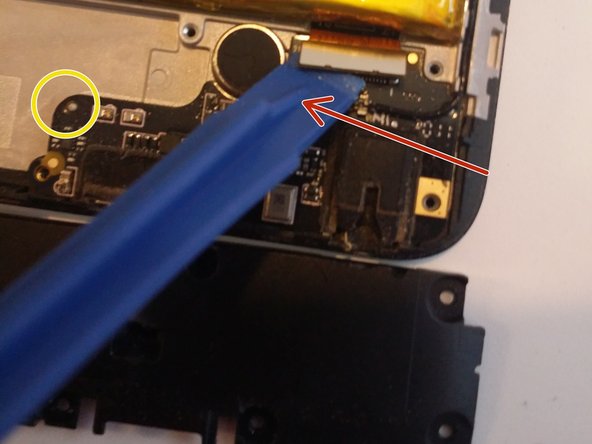
I removed both covers, the one on top seems to protect the motherboard/camera area, the one on the bottom protects the charging port/usb. Go ahead and lift up that gold flap and unplug the pigtail connector (under spudger in pic), then gently lift out the board. There's two little bumps for alignment of the board.
-
-
-
-
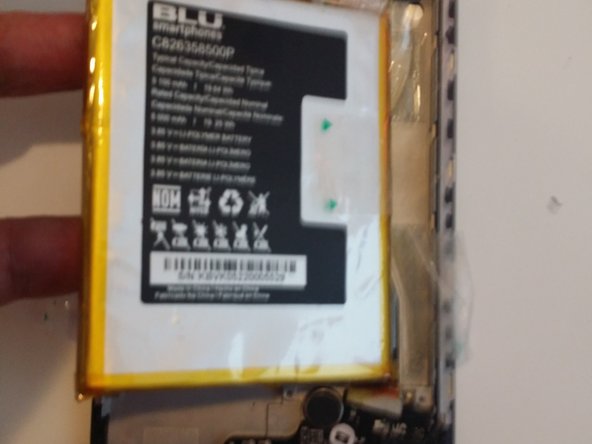
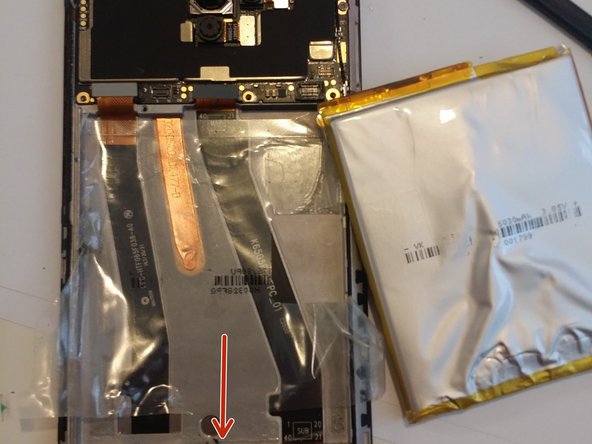
The battery is glued to a piece of sticky plastic. There are green arrows on the plastic piece, pull those outward to expose the battery. I used a spudger to gently pry the battery out under the bottom center so as not to damage the thin cables that are below that run under the battery on the right/left sides. Pry point is the red arrow.
-
-
-
When replacing the board, don't forget to reattach pigtail connection (connection and anchor points indicated in yellow) and the connection of the board to the mainboard (Yellow arrow).
-
-












To reassemble your device, follow these instructions in reverse order.
Cancel: I did not complete this guide.
6 other people completed this guide.

2 Guide Comments
The round glass over the cover is damaged can I fix it?
