Introduction
This guide shows how to replace the rear camera on a BlackBerry Torch 9800. The rear camera is used for taking photos and videos, and a faulty camera can prevent these features from working properly. BlackBerry devices were known for combining messaging and multimedia features, making the camera an important part of the phone's functionality.
Use this guide if the camera is not working, does not focus, or displays a black screen.
Before starting, please power off the phone and remove the battery.
What you need
-
-
-
Remove the back cover.
-
Remove the battery.
-
Use a T7 Torx screwdriver to remove the four screws.
 Ask FixBot
-
-
-
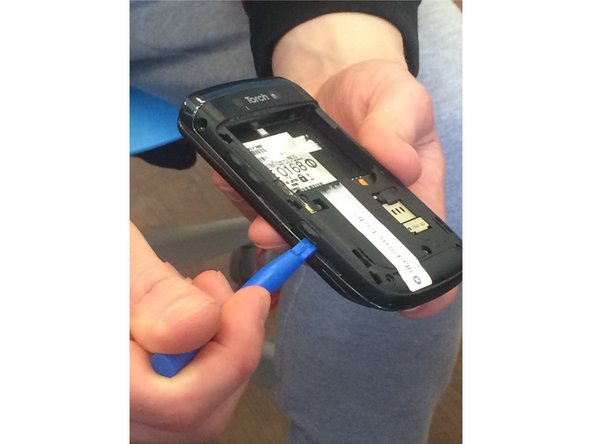
Use the iFixit opening tool to pry off the side trim.
-
When the trim is loose:
-
Push the top section backward.
-
Push the bottom section forward.
-
Remove the trim.
-
-
-
-
Use a T7 Torx screwdriver to remove the two screws.
-
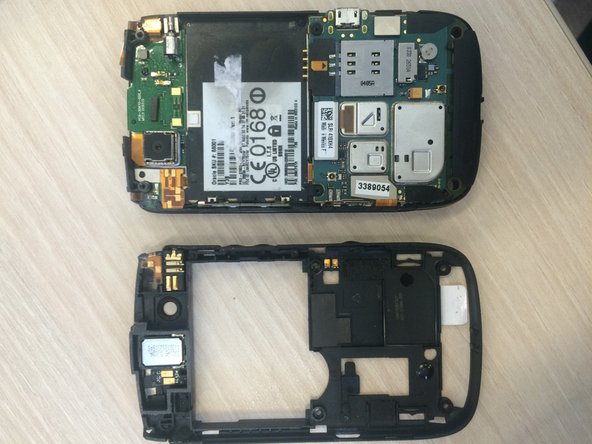
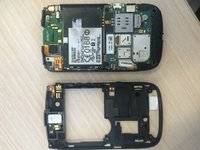
Use the iFixit opening tool to remove the back panel.
-
-
-
Use a spudger to lift the camera module from its slot.
-
Wiggle the camera gently from the left and right sides.
-
-




To reassemble your device, follow these steps in reverse order. Ensure the camera module is properly aligned and all screws are securely tightened before replacing the back cover and battery.
Cancel: I did not complete this guide.
One other person completed this guide.

