
Blackberry PRIV Rear Casing Replacement

Benjamin Olvera and one other contributor
Last updated on Dec 30, 2024
Views: 405
View statistics:
- Past 24 Hours:
- 1
- Past 7 Days:
- 9
- Past 30 Days:
- 57
- All Time:
- 405
Comments: 0
No one has left comments on this guide. Will you be first?
Go to guide commentsCompleted: 0 1
No one has marked this guide "completed." Will you be the first?
1 person has marked this guide "completed." It's you — great job!
Favorites: 1 2
1 person has favorited (and subscribed to) this guide. Will you be next?
2 people have favorited (and subscribed to) this guide — including you!
Introduction
Go to step 1 ↓Use this guide to replace the damaged rear casing on your BlackBerry Priv phone. The rear casing protects internal hardware from physical damage. A cracked casing can expose sensitive parts to dust, moisture, and impacts, affecting performance and potentially damaging buttons or ports if left unchecked. In step 2 of this guide, if you don’t have a SIM eject tool, you can use the end of a paperclip which is just as effective.
What you need
Tools


-
-
-
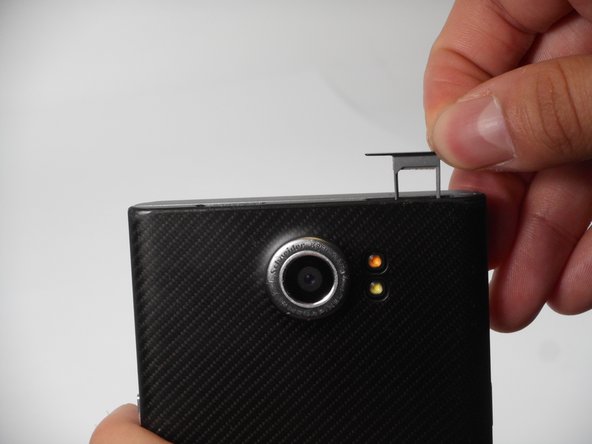
Look for the two small holes at the top of your device.
-
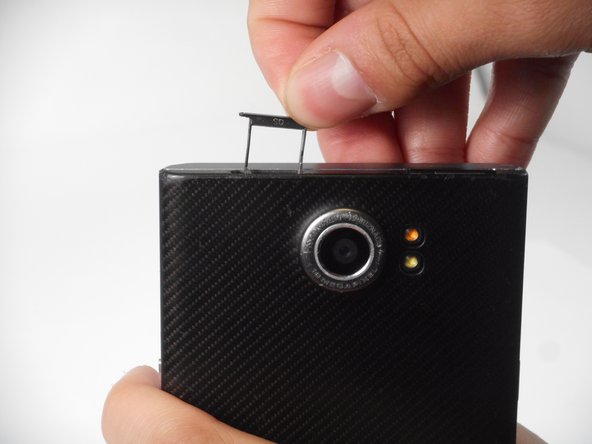
Use a SIM eject tool to push down into the holes which lifts the SIM and SD trays.
-
Pull the trays up and out of the device.
 Ask FixBot
-
-
-
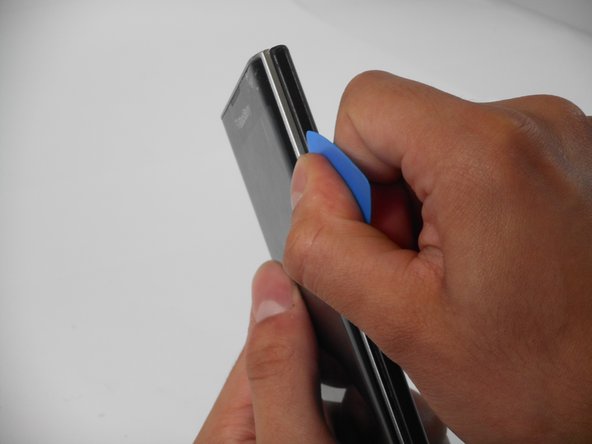
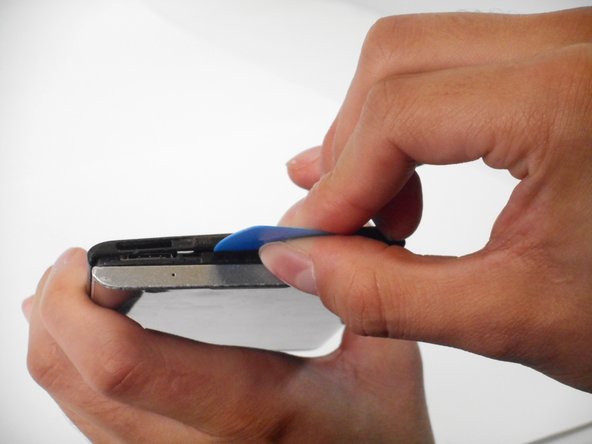
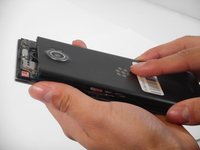
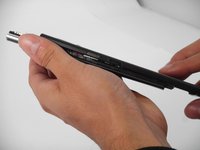
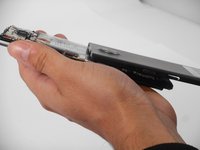
Insert an opening pick in the seam between the rear casing and chassis. Apply downward pressure to pry the casing upward.
-
-
-





To reassemble your device, follow the above steps in reverse order.
Take your e-waste to an R2 or e-Stewards certified recycler.
Repair didn’t go as planned? Try some basic troubleshooting or ask our Answers community for help.

Team

University of Memphis, Team 1-4, Sneed Fall 2024 Member of University of Memphis, Team 1-4, Sneed Fall 2024
UM-SNEED-F24S1G4
4 Members
60 Guides authored
