Free Shipping on Domestic Orders $75+

Blackberry PRIV Display Assembly Replacement

What you need

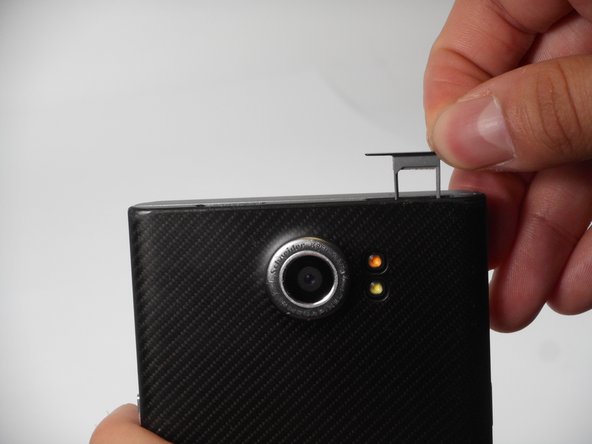
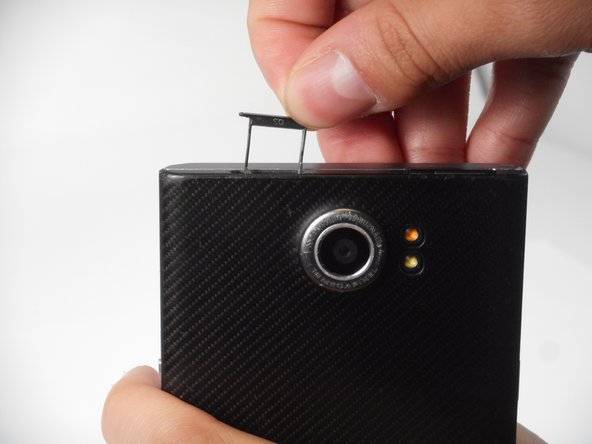
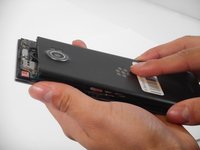
  1. Blackberry PRIV Display Assembly Replacement, Rear Casing: step 1, image 1 of 3 Blackberry PRIV Display Assembly Replacement, Rear Casing: step 1, image 2 of 3 Blackberry PRIV Display Assembly Replacement, Rear Casing: step 1, image 3 of 3
    • Look for the two small holes at the top of your device.

    • Use a SIM eject tool to push down into the holes which lifts the SIM and SD trays.

    • Pull the trays up and out of the device.

    Ask FixBot

    Add Comment

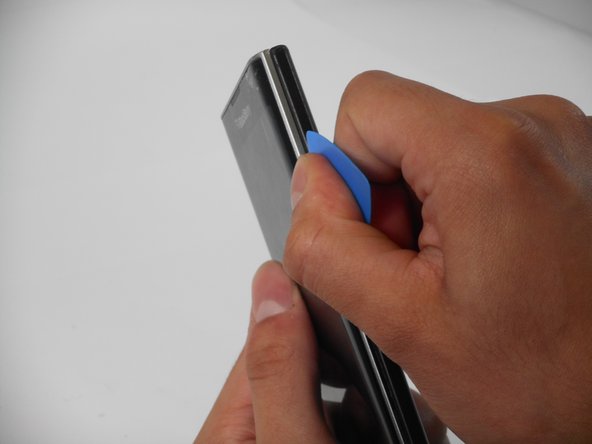
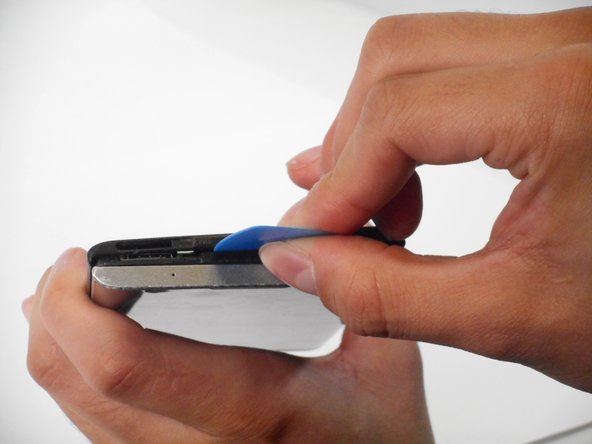
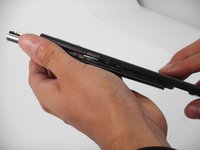
  2. Blackberry PRIV Display Assembly Replacement: step 2, image 1 of 3 Blackberry PRIV Display Assembly Replacement: step 2, image 2 of 3 Blackberry PRIV Display Assembly Replacement: step 2, image 3 of 3
    • Insert an opening pick in the seam between the rear casing and chassis. Apply downward pressure to pry the casing upward.

    • Follow this procedure for only the right, left, and top side of the casing.

    Ask FixBot

    Add Comment

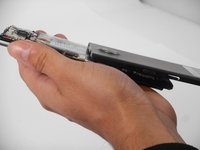
  3. Blackberry PRIV Display Assembly Replacement: step 3, image 1 of 3 Blackberry PRIV Display Assembly Replacement: step 3, image 2 of 3 Blackberry PRIV Display Assembly Replacement: step 3, image 3 of 3
    • Remove the rear casing by sliding the case down and out.

    Ask FixBot

    Add Comment

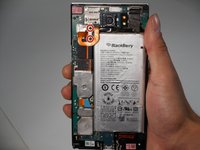
  4. Blackberry PRIV Display Assembly Replacement, Battery: step 4, image 1 of 2 Blackberry PRIV Display Assembly Replacement, Battery: step 4, image 2 of 2
    • Remove the two 3.3 mm T4 Torx screws that secure the battery connector.

    • There may be a plastic protector covering the circuit board and battery. Remove the plastic protector to begin.

    Ask FixBot

    Add Comment

  5. Blackberry PRIV Display Assembly Replacement: step 5, image 1 of 2 Blackberry PRIV Display Assembly Replacement: step 5, image 2 of 2
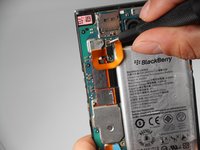
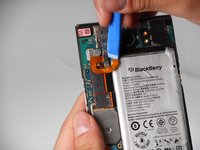
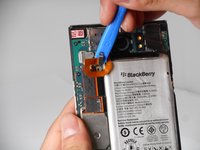
    • Use an opening tool to lift and disconnect the battery connector.

    Ask FixBot

    Add Comment

  6. Blackberry PRIV Display Assembly Replacement: step 6, image 1 of 3 Blackberry PRIV Display Assembly Replacement: step 6, image 2 of 3 Blackberry PRIV Display Assembly Replacement: step 6, image 3 of 3
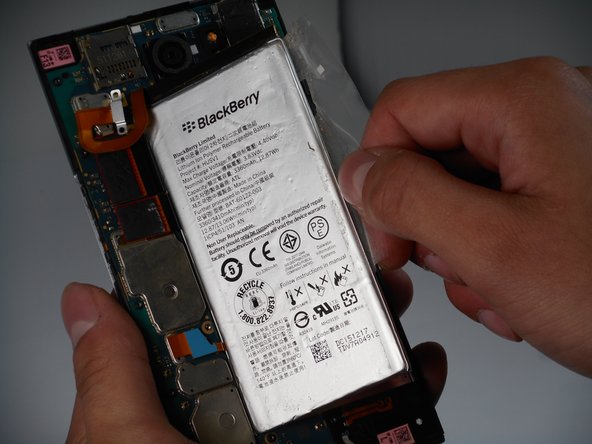
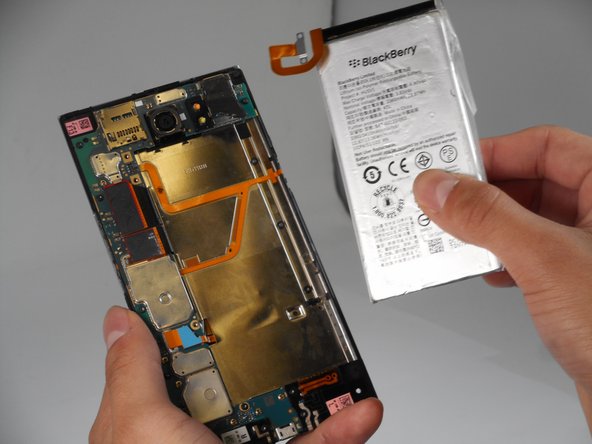
    • Pull on the plastic tab to remove the battery from the device.

    • For easier removal, use a blow dryer to warm the battery glue.

    • Be careful to not overheat the battery or puncture the battery as lithium batteries are dangerous.

    Ask FixBot

    Add Comment

  7. Blackberry PRIV Display Assembly Replacement, Rear-Facing Camera: step 7, image 1 of 1
    • Remove the seven 3.3 mm T4 Torx screws that secure the motherboard.

    Ask FixBot

    Add Comment

  8. Blackberry PRIV Display Assembly Replacement: step 8, image 1 of 3 Blackberry PRIV Display Assembly Replacement: step 8, image 2 of 3 Blackberry PRIV Display Assembly Replacement: step 8, image 3 of 3
    • Remove the two 3.3 mm T4 Torx screws that secure the speaker casing.

    • Lift and remove the speaker casing.

    Ask FixBot

    Add Comment

  9. Blackberry PRIV Display Assembly Replacement: step 9, image 1 of 3 Blackberry PRIV Display Assembly Replacement: step 9, image 2 of 3 Blackberry PRIV Display Assembly Replacement: step 9, image 3 of 3
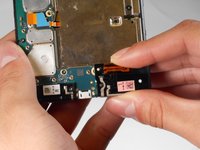
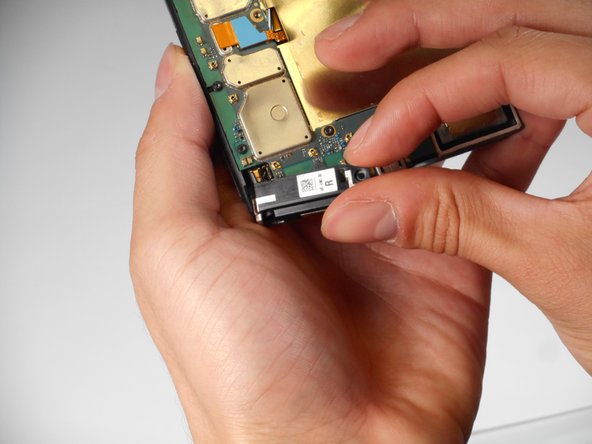
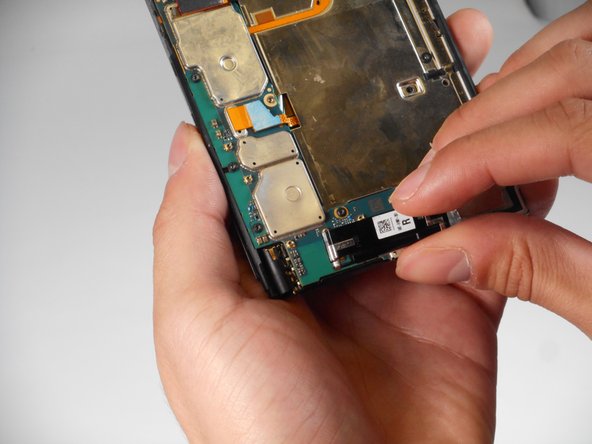
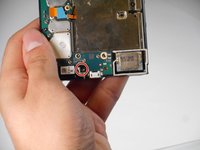
    • Remove the one 3.3 mm T4 Torx screw that secures the headphone jack.

    • Lift and remove the headphone jack.

    Ask FixBot

    Add Comment

  10. Blackberry PRIV Display Assembly Replacement: step 10, image 1 of 3 Blackberry PRIV Display Assembly Replacement: step 10, image 2 of 3 Blackberry PRIV Display Assembly Replacement: step 10, image 3 of 3
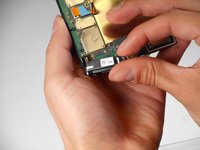
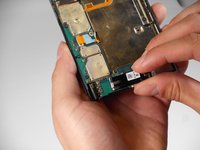
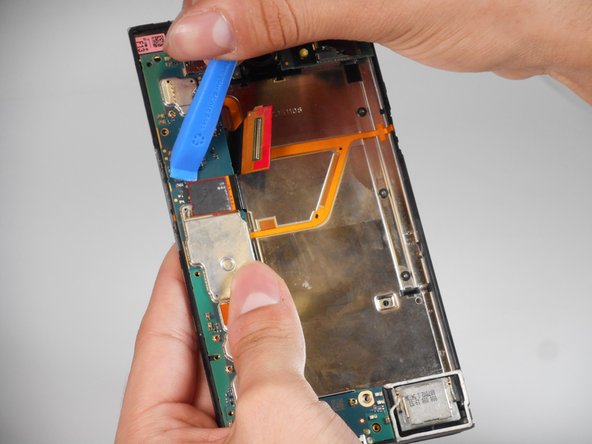
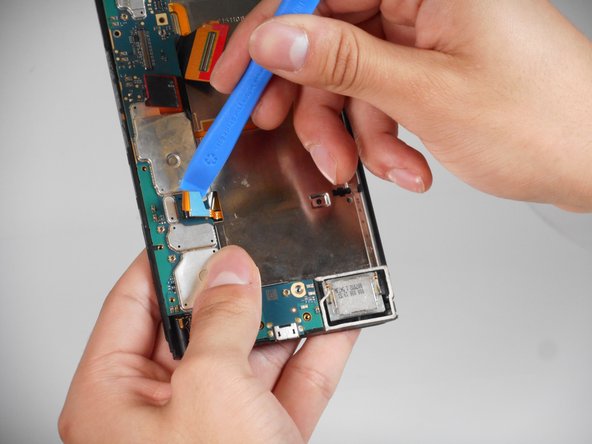
    • Use an opening tool to lift and disconnect the three press connectors.

    Ask FixBot

    Add Comment

  11. Blackberry PRIV Display Assembly Replacement: step 11, image 1 of 3 Blackberry PRIV Display Assembly Replacement: step 11, image 2 of 3 Blackberry PRIV Display Assembly Replacement: step 11, image 3 of 3
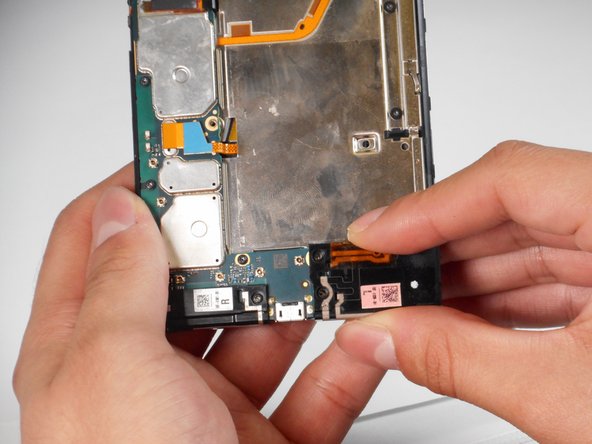
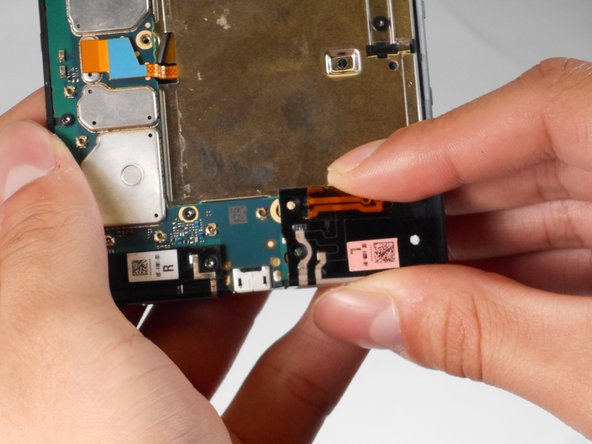
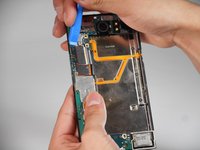
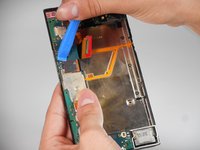
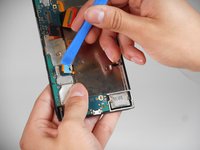
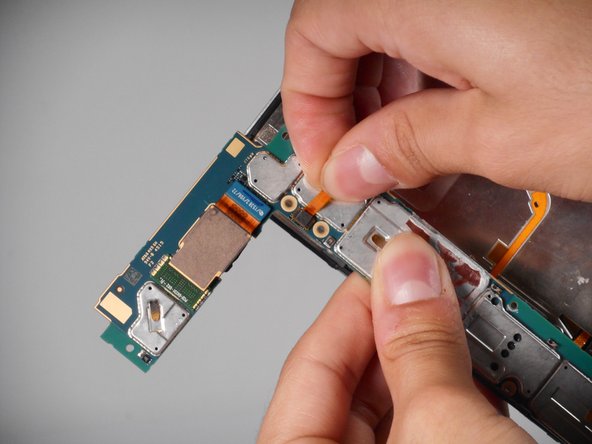
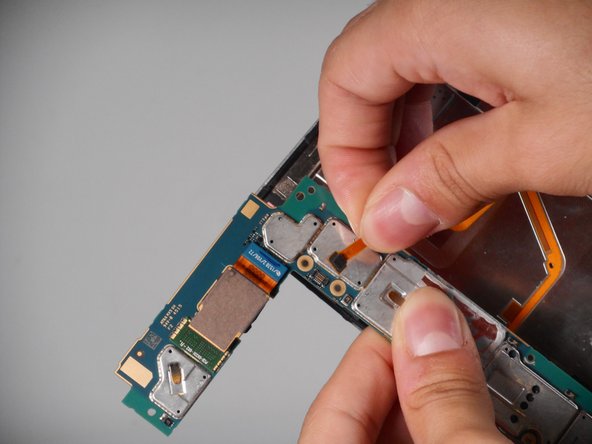
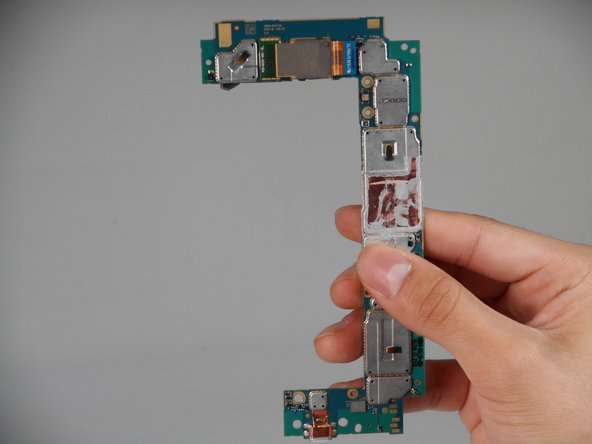
    • Lift the motherboard from the device.

    • Do not pull the circuit board with too much force as there is a strip connected under.

    • Using two fingers, pinch the on the strip as close to the connector as possible.

    • Lift and disconnect the connector from the motherboard.

    Ask FixBot

    Add Comment

  12. Blackberry PRIV Display Assembly Replacement: step 12, image 1 of 3 Blackberry PRIV Display Assembly Replacement: step 12, image 2 of 3 Blackberry PRIV Display Assembly Replacement: step 12, image 3 of 3
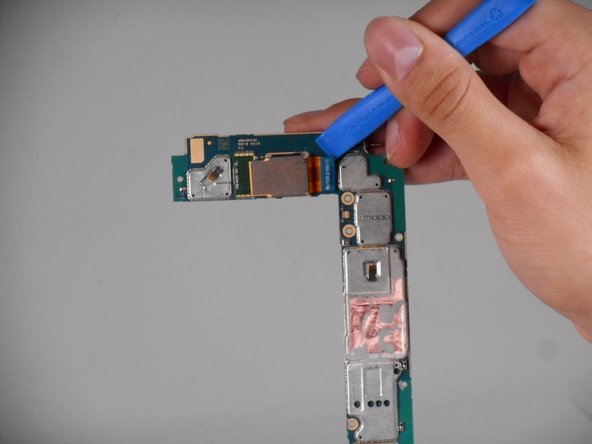
    • Turn the motherboard around.

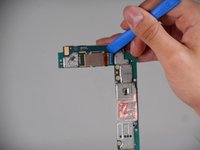
    • Use an opening tool to lift and disconnect the camera connector.

    Ask FixBot

    Add Comment

  13. Blackberry PRIV Display Assembly Replacement: step 13, image 1 of 2 Blackberry PRIV Display Assembly Replacement: step 13, image 2 of 2
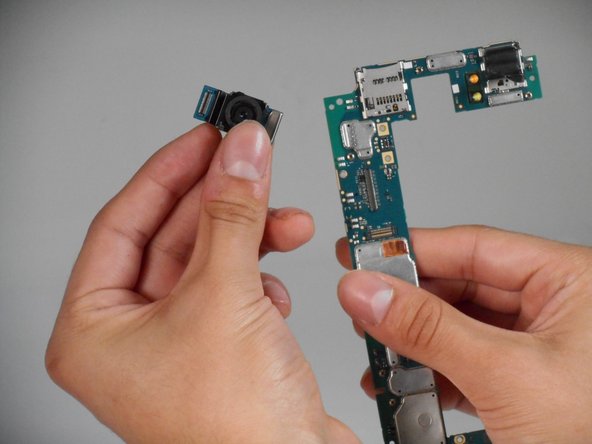
    • Lift and remove the camera from the circuit board.

    Ask FixBot

    Add Comment

  14. Blackberry PRIV Display Assembly Replacement, Display Assembly: step 14, image 1 of 2 Blackberry PRIV Display Assembly Replacement, Display Assembly: step 14, image 2 of 2
    • Remove the headphone jack.

    Ask FixBot

    Add Comment

  15. Blackberry PRIV Display Assembly Replacement: step 15, image 1 of 2 Blackberry PRIV Display Assembly Replacement: step 15, image 2 of 2
    • Remove the eight 1.7 mm T4 Torx screws that secure the keyboard to the screen.

    • When reassembling, make sure to use these same 1.7 mm screws because not doing so can impede the keyboard's sliding ability.

    Ask FixBot

    Add Comment

  16. Blackberry PRIV Display Assembly Replacement: step 16, image 1 of 3 Blackberry PRIV Display Assembly Replacement: step 16, image 2 of 3 Blackberry PRIV Display Assembly Replacement: step 16, image 3 of 3
    • Carefully lift the keyboard from the screen.

    • Make sure when lifting the keyboard, the screen connectors come out of the keyboard's metal slit because not doing so can cause damage.

    Ask FixBot

    Add Comment

Conclusion

To reassemble your device, follow the above steps in reverse order.
Take your e-waste to an R2 or e-Stewards certified recycler.
Repair didn’t go as planned? Try some basic troubleshooting or ask our Answers community for help.

Cancel: I did not complete this guide.

Benjamin Olvera

Member since: 09/25/24

563 Reputation

5 Guides authored

0 Guide Comments

Add Comment

View Statistics:

Past 24 Hours: 1

Past 7 Days: 2

Past 30 Days: 57

All Time: 540