
Blackberry Curve 8320 Front Panel Replacement

Christopher Aiello and 10 other contributors
Last updated on Dec 15, 2022
Views: 3.3K
View statistics:
- Past 24 Hours:
- 3
- Past 7 Days:
- 19
- Past 30 Days:
- 91
- All Time:
- 3,263
Comments: 0
No one has left comments on this guide. Will you be first?
Go to guide commentsCompleted: 1 2
1 person has marked this guide "completed." Will you be next?
2 people have marked this guide "completed." Including you — great job!
Favorites: 2 3
2 people have favorited (and subscribed to) this guide. Will you be next?
3 people have favorited (and subscribed to) this guide — including you!
Introduction
Go to step 1 ↓The purpose of this guide is to provide instructions for the Blackberry Curve 8320 front panel replacement.
Specifically, this guide will show you how to:
- Remove the battery
- Remove the front cover
- Replace the front panel
To repair this device there are no specific skills required however, when removing parts and reassembling the device it is important to handle the device with care. This device is an older model phone and therefore it is essential to follow the instructions carefully in order to ensure the longevity of the device.
What you need
Tools


-
-
-
Hold the phone with the back facing you.
-
Press the silver tab down and remove the cover.
 Ask FixBot
-
-
-
-
-
Use a plastic opening tool to gently pry the bottom cover loose.
-
Pull the cover from the front of the phone after the back is loose.
-
-
-
-
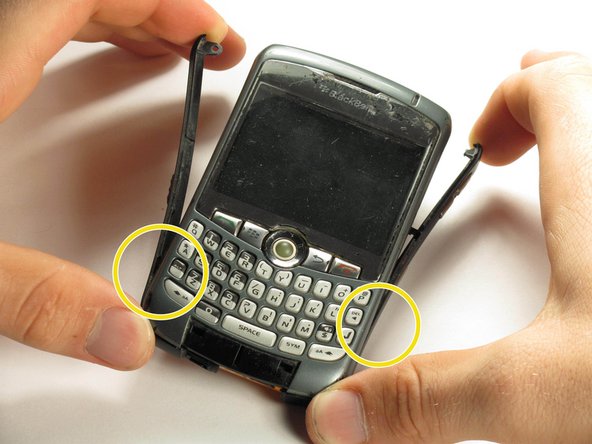
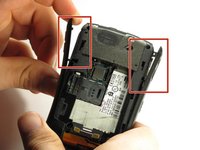
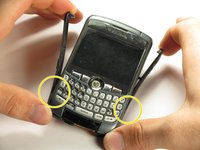
Gently pry off the side casings from the top.
-
You will not need to remove the sides on the bottom.
-
-
-
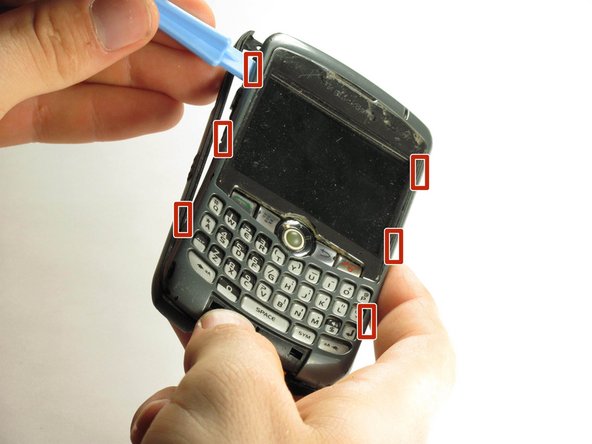
Use a plastic opening tool to detach the securing clips holding the the front panel in place.
-
-



To reassemble your device, follow these instructions in reverse order.
Cancel: I did not complete this guide.
One other person completed this guide.
Team

Cal Poly, Team 3-6, Regan Fall 2011 Member of Cal Poly, Team 3-6, Regan Fall 2011
CPSU-REGAN-F11S3G6
5 Members
96 Guides authored
