Introduction
This guide details how to remove and replace the phone's LCD screen if it has broken.
What you need
-
-
With the back of the device facing you, press down on the button while sliding the battery casing away from the speaker to remove it.
 Ask FixBot
-
-
-
Use a plastic opening tool or fingernails to unclip the two hinges of the speaker covering and remove it.
-
-
-
Remove the battery by pushing against it from the right and then pulling towards you.
-
-
-
Remove the four screws indicated in the picture with a #T6 Torx Bit screwdriver and set them aside.
-
-
-
-
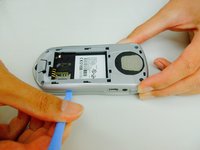
Use a plastic opening tool or your fingernails to remove the plastic backing.
-
Start with the seam indicated in the picture and slide the plastic opening tool until the case is seperated.
-
-
-
Unscrew the four screws indicated in the picture with #T6 Torx Bit screwdriver.
-
Place the four screws released from the phone in a plastic bag.
-
-
-
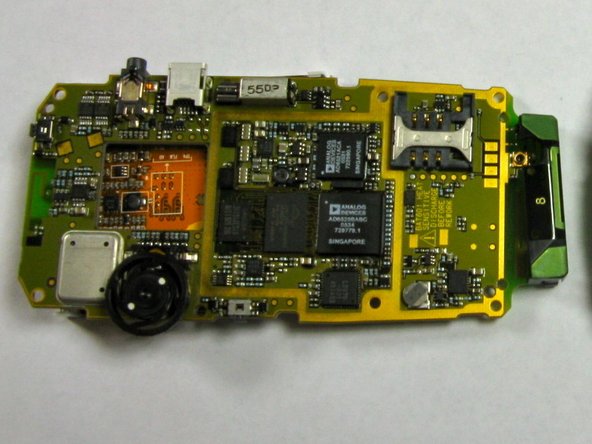
The black battery casing and logic board can now be separated for the following steps.
-
-
-
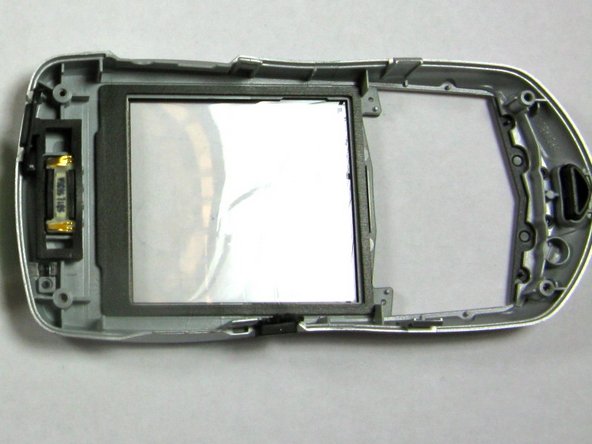
The silver piece is not attached to the logic board in any way, and can be taken off by lifting it up with plastic opening tools.
-
-
-
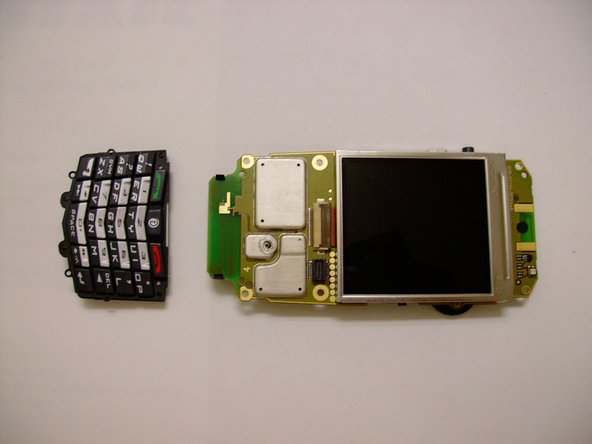
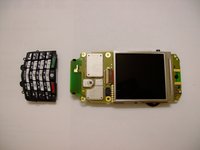
Use a plastic opening tool to lift up the two black clips indicated in the picture.
-
The keyboard will detach once the clips are unfastened.
-
-
-
With the screen facing you, you will be able to see a small grey plastic clip.
-
Use a plastic opening tool to unfasten the clip as shown.
-
-
-
Flip the logic board over to the other side.
-
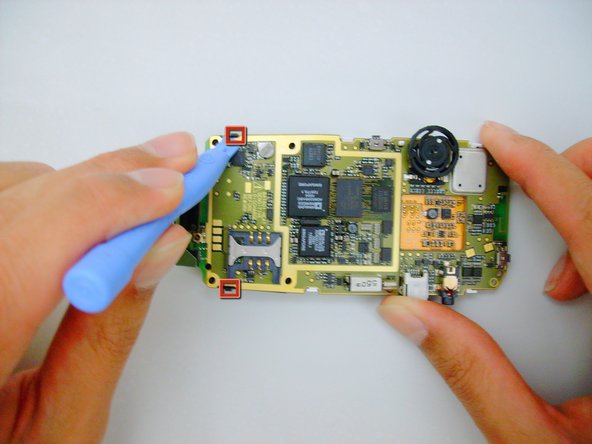
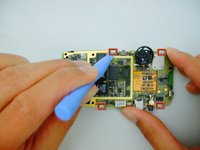
Use a plastic opening tool unclip the top two clips shown in red, and then the bottom two clips. This releases the screen.
-
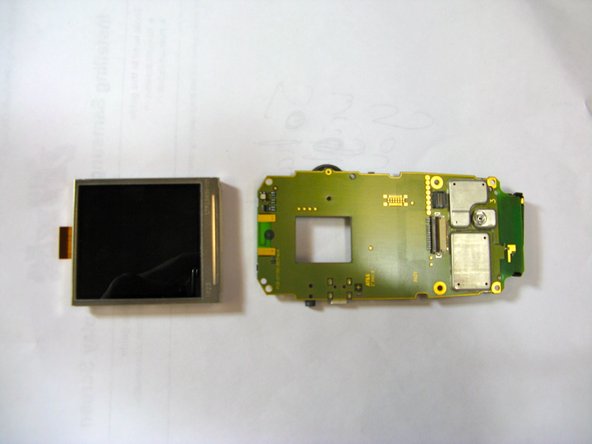
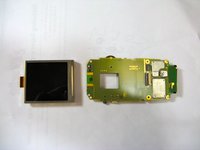
Flip logic board over and remove screen.
-
-
-
After removing the original screen, keep the logic board facing you the way it was.
-
Take the new screen and slip the flexible piece of connecting circuitry under the grey plastic flap that you pried up in step 10.
-
Push it gently but firmly until it does not move any further to the left, then close the grey flap.
-
After this, the screen can be pushed down and clicked back into place.
-
To reassemble the phone, reverse instructions.
-








Team

Cal Poly, Team 9-17, Regan Fall 2009 Member of Cal Poly, Team 9-17, Regan Fall 2009
CPSU-REGAN-F09S9G17
4 Members
21 Guides authored
