
BlackBerry Z30 Battery Replacement

Last updated on Mar 5, 2018
Views: 24K
View statistics:
- Past 24 Hours:
- 2
- Past 7 Days:
- 20
- Past 30 Days:
- 109
- All Time:
- 24,449
Comments: 10
10 guide comments.
Go to guide commentsCompleted: 10 11
10 people have marked this guide "completed." Will you be next?
11 people have marked this guide "completed." Including you — great job!
Favorites: 1 2
1 person has favorited (and subscribed to) this guide. Will you be next?
2 people have favorited (and subscribed to) this guide — including you!
Action Shots
Be an action hero! This guide needs images that better demonstrate how to perform specific actions.
Markup Mishap
This guide needs better markups. Help out by correcting or making some markup annotations.
Community-Contributed Guide
An awesome member of our community made this guide. It was not created by iFixit staff.
Introduction
Go to step 1 ↓Replace the internal Battery of this device
What you need
Tools
-
Spudger4.9


-
-
-
Remove the battery cover by grabbing the notch under the bottom speakers and lifting.
 Ask FixBot
-
-
-
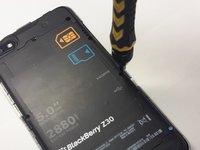
Remove the SIM card and the Media SD card by pushing on them.
-
-
-
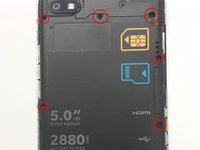
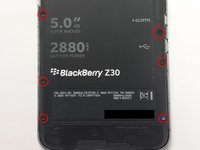
Locate and unscrew all 10 T5 screws around the back cover
-
-
-
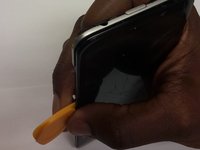
Use Plastic opening tools to separate the LCD from the Main body
-
-
-
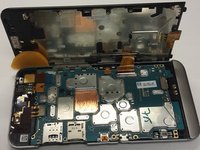
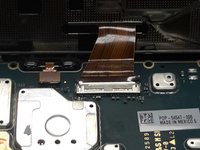
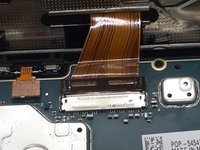
Use a plastic tool to carefully switch up the LCD ribbon holder
-
Detach the LCD from the main board
-
-
-
-
-
With a plastic tool, untie the system board by detaching the ribbons attached to it
-
The battery ribbon is on the bottom right
-
-
-
-
Power Button /Audio Jack
-
Flash
-
Rear Facing Camera
-
-
-
Once all Ribbons untied, gently wiggle the system board out of the frame
-
-
-
-
-
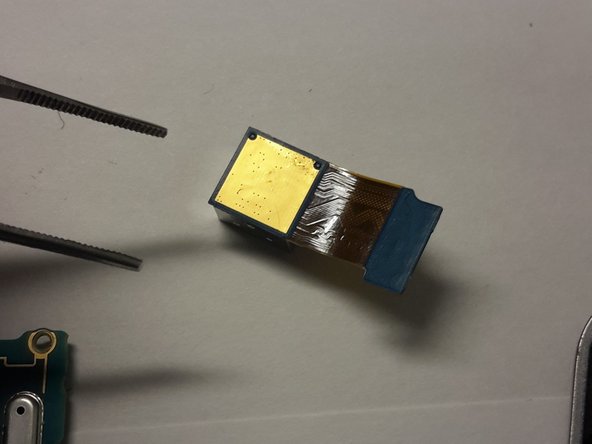
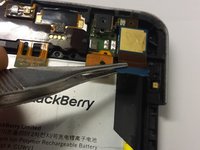
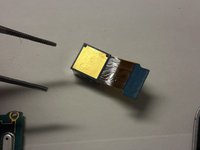
Use a pair of pliers to remove the rear facing camera
-
-









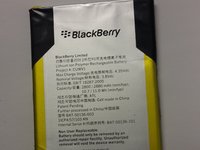
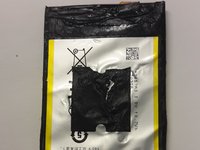
To reassemble your device, follow these instructions in reverse order.
Cancel: I did not complete this guide.
10 other people completed this guide.

10 Guide Comments
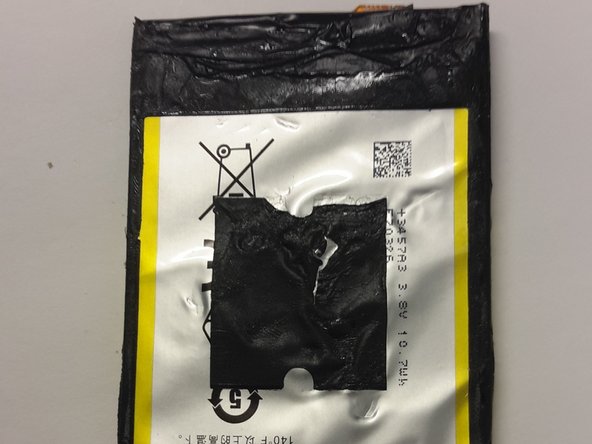
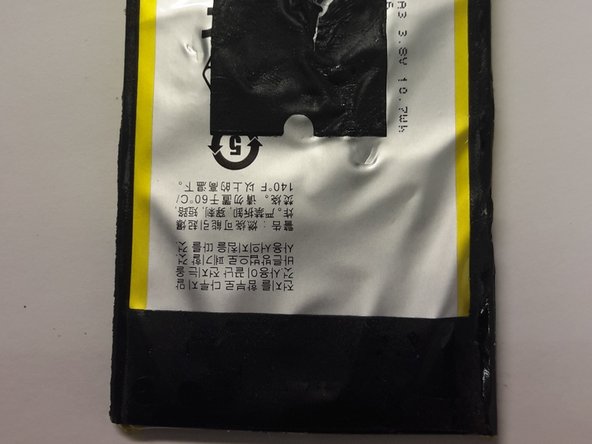
Good guide, but one caveat - when removing the battery, the adhesive is pretty much directly attached to the NFC "plate" (a flexible square membrane with a pair of contacts on the bottom left side of the battery). If you try to extract the battery, you will have difficulty not destroying this membrane. Do not use a wedge - you must slowly remove the battery, preferably using a heat gun to loosen the glue.
Or get a battery already glued into a back plate.
