Free Shipping on Domestic Orders $75+

BlackBerry Torch 9860 Handset Disassembly

What you need

  1. BlackBerry Torch 9860 Handset Disassembly, BlackBerry Torch 9860: step 1, image 1 of 2 BlackBerry Torch 9860 Handset Disassembly, BlackBerry Torch 9860: step 1, image 2 of 2
    • Depress the battery cover release button and remove the battery cover

    • Remove the battery from the phone before continuing.

    • Slide the yellow button toward the battery to eject the SIM card

    • Remove the MicroSD card from the SD slot (if present)

    Ask FixBot

    Add Comment

  2. BlackBerry Torch 9860 Handset Disassembly: step 2, image 1 of 2 BlackBerry Torch 9860 Handset Disassembly: step 2, image 2 of 2
    • There will be a silver bezel around the edge (the dog ate mine!)

    • Insert pry tool near the padlock icon and gently work your way around the bezel to pry it off and reveal the screws.

    Ask FixBot

    Add Comment

  3. BlackBerry Torch 9860 Handset Disassembly: step 3, image 1 of 2 BlackBerry Torch 9860 Handset Disassembly: step 3, image 2 of 2
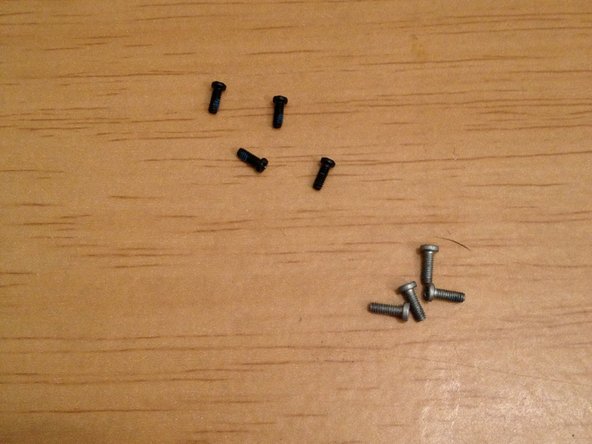
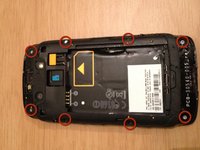
    • Grab your T5 Torx screwdriver, and remove all 8 screws

    • Be careful when taking out screws. The silver ones go in the corners, black ones in the middle

    Ask FixBot

    Add Comment

  4. BlackBerry Torch 9860 Handset Disassembly: step 4, image 1 of 2 BlackBerry Torch 9860 Handset Disassembly: step 4, image 2 of 2
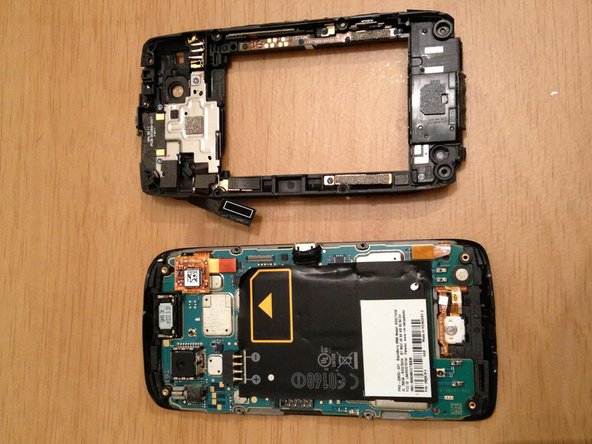
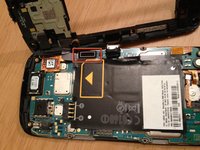
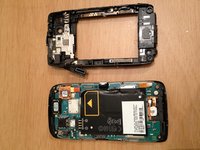
    • With the 8 screws removed, you can gently pry the back cover off. Be gentle, as it is still connected by a ribbon cable

    • Gently pry ribbon cable off, and then you will have the back cover fully removed

    Ask FixBot

    Add Comment

  5. BlackBerry Torch 9860 Handset Disassembly: step 5, image 1 of 3 BlackBerry Torch 9860 Handset Disassembly: step 5, image 2 of 3 BlackBerry Torch 9860 Handset Disassembly: step 5, image 3 of 3
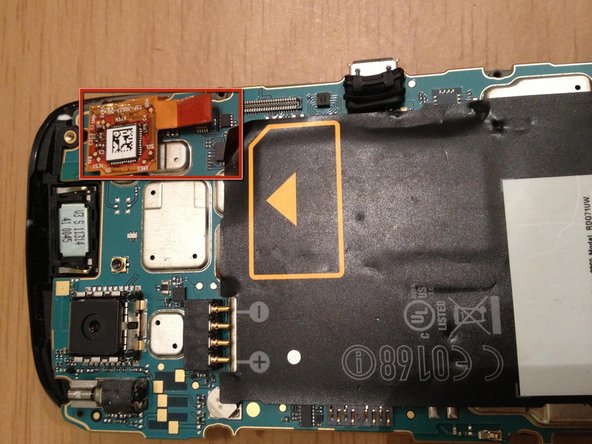
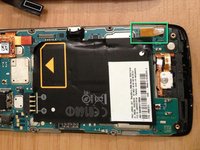
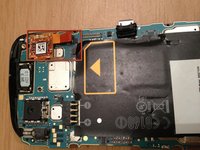
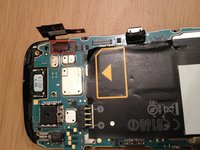
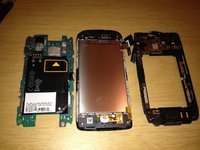
    • The next step is to remove the board.

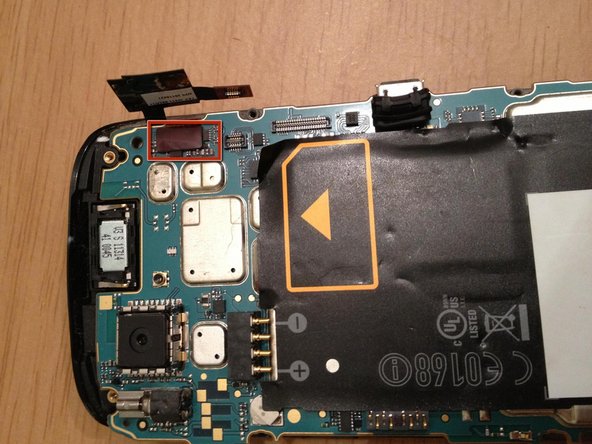
    • There are 3 ribbon cables connected to it

    • Disconnect the first ribbon cable

    • When you remove the second ribbon cable it will reveal the third ribbon cable

    Ask FixBot

    Add Comment

  6. BlackBerry Torch 9860 Handset Disassembly: step 6, image 1 of 3 BlackBerry Torch 9860 Handset Disassembly: step 6, image 2 of 3 BlackBerry Torch 9860 Handset Disassembly: step 6, image 3 of 3
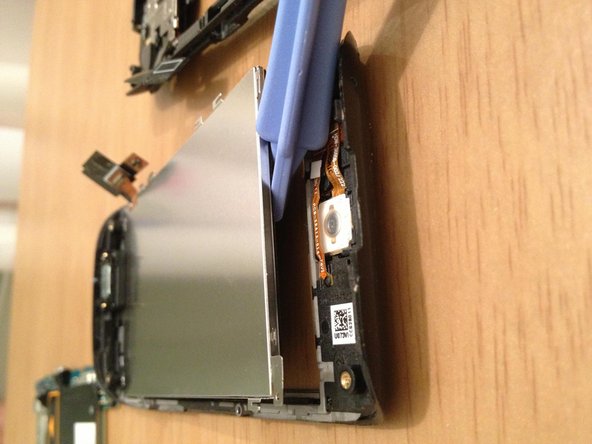
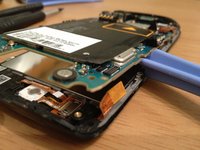
    • With the 3 ribbon cables disconnected you can gently pry the board up and away from phone

    • With the board removed, you can then simply lift out the LCD display

    Ask FixBot

    Add Comment

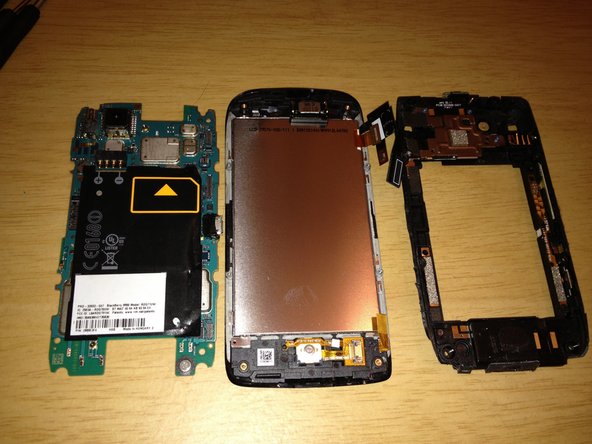
  7. BlackBerry Torch 9860 Handset Disassembly: step 7, image 1 of 1
    • Once the LCD is removed, the handset disassembled.

    Ask FixBot

    Add Comment

Conclusion

To reassemble your device, follow these instructions in reverse order.

Cancel: I did not complete this guide.

7 other people completed this guide.

daniel

Member since: 12/22/11

380 Reputation

2 Guides authored

0 Guide Comments

Add Comment

View Statistics:

Past 24 Hours: 0

Past 7 Days: 6

Past 30 Days: 29

All Time: 7,579