Free Shipping on Domestic Orders $75+

BlackBerry 7290 Motherboard Replacement

What you need

  1. BlackBerry 7290 Motherboard Replacement, Battery: step 1, image 1 of 3 BlackBerry 7290 Motherboard Replacement, Battery: step 1, image 2 of 3 BlackBerry 7290 Motherboard Replacement, Battery: step 1, image 3 of 3
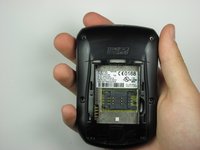
    • Apply pressure to the lock button on the back of the device.

    • Slide the battery cover down towards the bottom of the device, revealing the battery compartment.

    Ask FixBot

    Add Comment

  2. BlackBerry 7290 Motherboard Replacement: step 2, image 1 of 3 BlackBerry 7290 Motherboard Replacement: step 2, image 2 of 3 BlackBerry 7290 Motherboard Replacement: step 2, image 3 of 3
    • Locate groove along the right side of the battery compartment.

    • Remove battery by prying between the battery and the groove.

    Ask FixBot

    Add Comment

  3. BlackBerry 7290 Motherboard Replacement, SIM Card: step 3, image 1 of 1
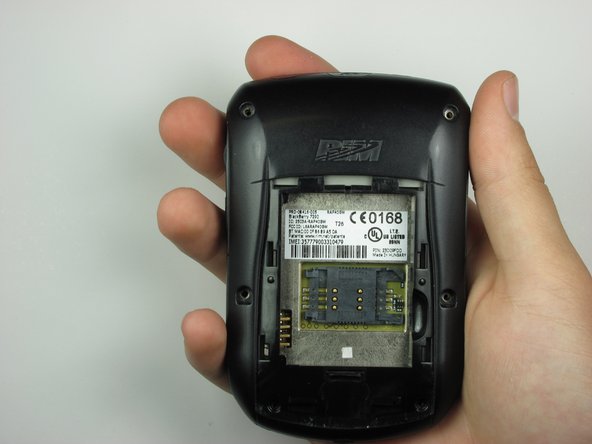
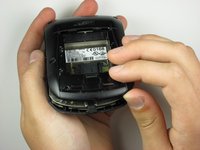
    • Slide the SIM card holder to the left to unlock the SIM card.

    Ask FixBot

    Add Comment

  4. BlackBerry 7290 Motherboard Replacement: step 4, image 1 of 2 BlackBerry 7290 Motherboard Replacement: step 4, image 2 of 2
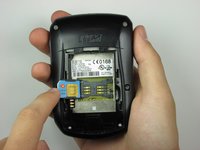
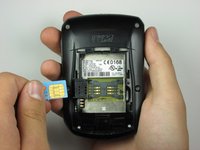
    • Lift the SIM card holder up.

    • Gently remove the SIM card from the SIM card holder by sliding the card along the railing.

    Ask FixBot

    Add Comment

  5. BlackBerry 7290 Motherboard Replacement, Side Button: step 5, image 1 of 1
    • Locate the four screws along the perimeter of the back casing.

    • Remove the four top screws using a T-6 torx screwdriver.

    • The top four screws are .413 inches.

    Ask FixBot

    Add Comment

  6. BlackBerry 7290 Motherboard Replacement: step 6, image 1 of 2 BlackBerry 7290 Motherboard Replacement: step 6, image 2 of 2
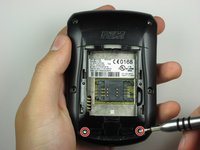
    • Locate two screws within the lower edge of the inner compartment.

    • Remove the two bottom screws using a T-6 torx screwdriver.

    • The bottom two screws are .2 inches in length.

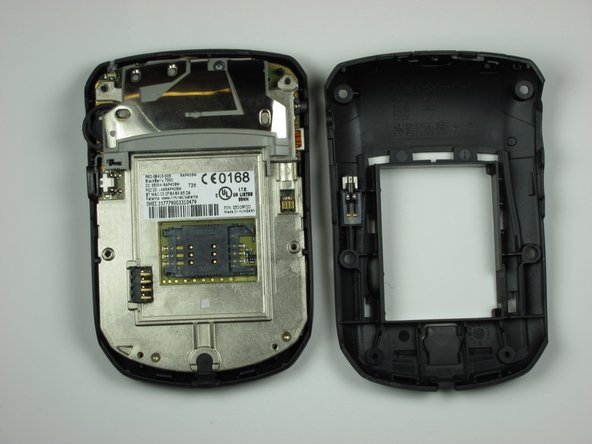
    • The second picture displays the device after the six screws have been removed.

    Ask FixBot

    Add Comment

  7. BlackBerry 7290 Motherboard Replacement: step 7, image 1 of 1
    • Use the plastic opening tool to apply pressure on the two clips that are located at the bottom of the phone.

    Ask FixBot

    Add Comment

  8. BlackBerry 7290 Motherboard Replacement: step 8, image 1 of 3 BlackBerry 7290 Motherboard Replacement: step 8, image 2 of 3 BlackBerry 7290 Motherboard Replacement: step 8, image 3 of 3
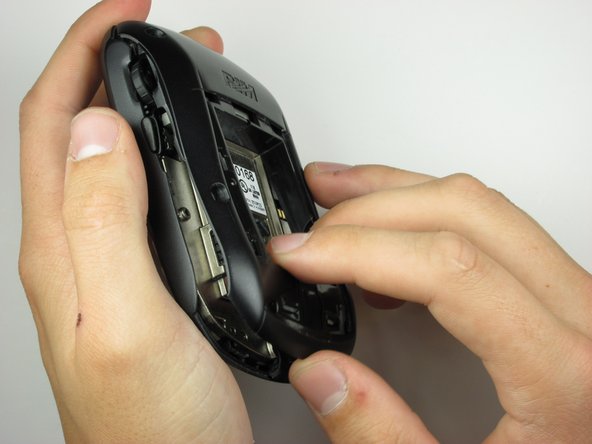
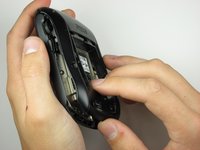
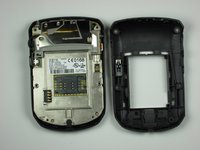
    • Remove the back casing from the phone by lifting the unhooked portion, then slide the casing towards the top of the device.

    • Make sure all clips holding the case together are unhooked, so no damage is caused to the case.

    Ask FixBot

    Add Comment

  9. BlackBerry 7290 Motherboard Replacement: step 9, image 1 of 2 BlackBerry 7290 Motherboard Replacement: step 9, image 2 of 2
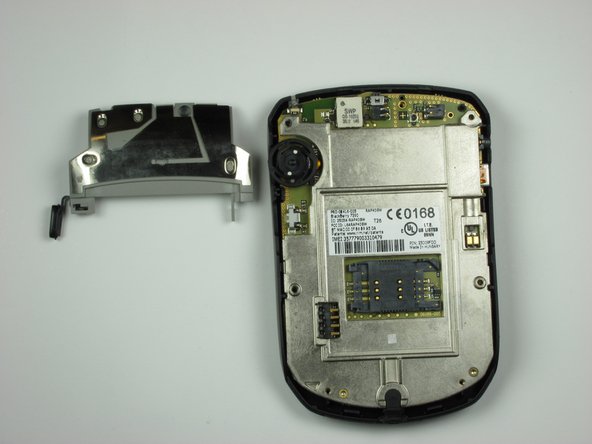
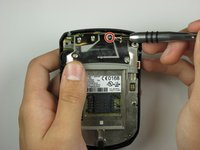
    • Locate on the backside of the phone, a screw towards the top of the device.

    • Using a T-6 screwdriver, remove the screw.

    • After the screw has been removed, carefully lift the side button brace to reveal the side button.

    Ask FixBot

    Add Comment

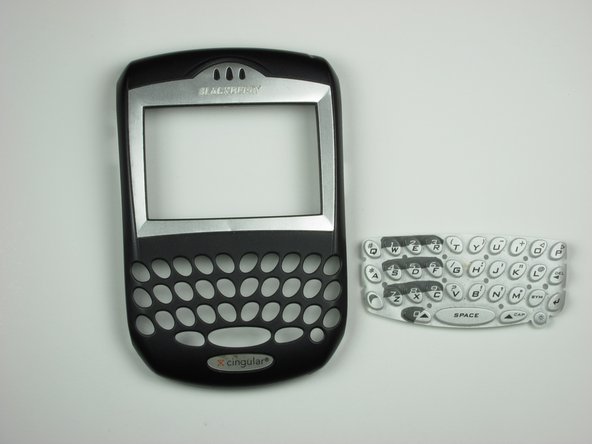
  10. BlackBerry 7290 Motherboard Replacement, Keypad: step 10, image 1 of 1
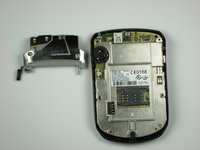
    • To remove the phone's internals, start by loosening one side by pulling gently.

    Ask FixBot

    Add Comment

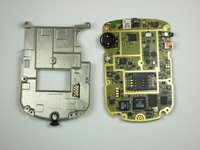
  11. BlackBerry 7290 Motherboard Replacement: step 11, image 1 of 1
    • With one side loosened, simply lift the phone internals to separate from the front casing.

    Ask FixBot

    Add Comment

  12. BlackBerry 7290 Motherboard Replacement: step 12, image 1 of 1
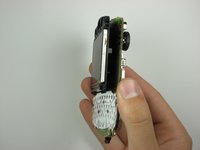
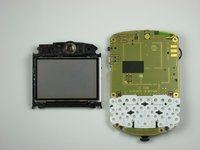
    • Turn the internals over to reveal the LCD display.

    Ask FixBot

    Add Comment

  13. BlackBerry 7290 Motherboard Replacement: step 13, image 1 of 2 BlackBerry 7290 Motherboard Replacement: step 13, image 2 of 2
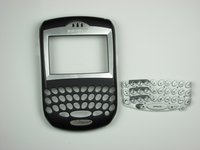
    • Peel off the rubber keypad buttons from the face plate.

    Ask FixBot

    Add Comment

  14. BlackBerry 7290 Motherboard Replacement, LCD: step 14, image 1 of 1
    • Locate a hook on the right side of the internals below the volume wheel.

    • Use a plastic opening tool to gently pry the hook, separating the LCD display from the logic board mounting plate.

    Ask FixBot

    Add Comment

  15. BlackBerry 7290 Motherboard Replacement: step 15, image 1 of 2 BlackBerry 7290 Motherboard Replacement: step 15, image 2 of 2
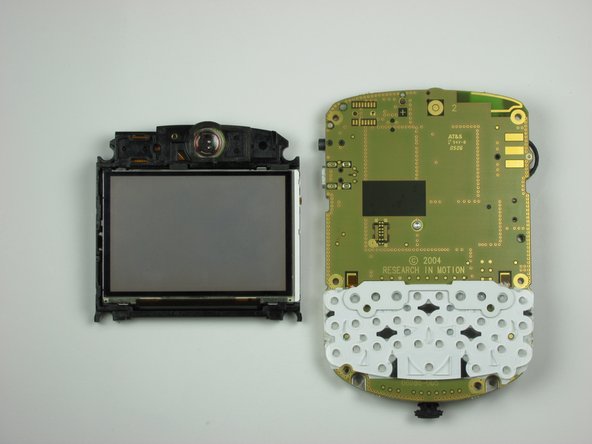
    • With the clip unhooked, gently separate the display from the phone internals by pulling.

    Ask FixBot

    Add Comment

  16. BlackBerry 7290 Motherboard Replacement, Logic Board: step 16, image 1 of 1
    • On the front side of the internals, locate the the three screws that are highlighted in red.

    • Carefully remove screws from the internals, using a T6 torx screwdriver

    • The screw is .2 inches in length.

    Ask FixBot

    Add Comment

  17. BlackBerry 7290 Motherboard Replacement: step 17, image 1 of 2 BlackBerry 7290 Motherboard Replacement: step 17, image 2 of 2
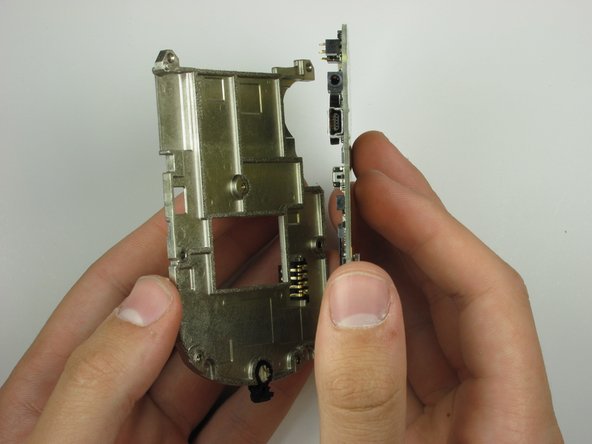
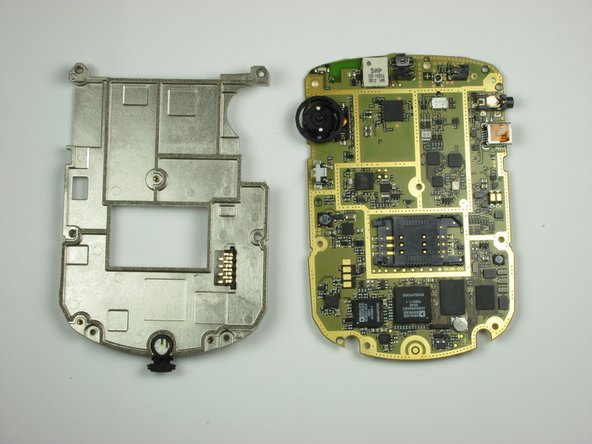
    • Separate the logic board mounting plate from the logic board by lifting with minimal force.

    Ask FixBot

    Add Comment

Conclusion

To reassemble your device, follow these instructions in reverse order.

Cancel: I did not complete this guide.

2 other people completed this guide.

kmathew

Member since: 10/17/09

3 Reputation

5 Guides authored

Team

Cal Poly, Team 19-6, Maness Fall 2009 Member of Cal Poly, Team 19-6, Maness Fall 2009

CPSU-MANESS-F09S19G6

5 Members

15 Guides authored

2 Guide Comments

hi wonder if you can help or give me advice on my device. its not turning on looks like it turns on with the hour glass turning but nothing happens

douwmg - Reply Share
my device doesn't want to switch on its just the hour glass on the screen that turns on the screen but its not turning on?

douwmg - Reply Share
Add Comment

View Statistics:

Past 24 Hours: 2

Past 7 Days: 10

Past 30 Days: 56

All Time: 5,538