
BlackBerry 7290 Keypad Replacement

kmathew and 12 other contributors
Last updated on Oct 30, 2018
Views: 4.5K
View statistics:
- Past 24 Hours:
- 1
- Past 7 Days:
- 20
- Past 30 Days:
- 52
- All Time:
- 4,470
Comments: 0
No one has left comments on this guide. Will you be first?
Go to guide commentsCompleted: 3 4
3 people have marked this guide "completed." Will you be next?
4 people have marked this guide "completed." Including you — great job!
Favorites: 1 2
1 person has favorited (and subscribed to) this guide. Will you be next?
2 people have favorited (and subscribed to) this guide — including you!
Introduction
Go to step 1 ↓Use this guide to replace the keypad buttons of your BlackBerry 7290 .
What you need
Tools
-
-
Spudger4.9
-


-
-
-
Apply pressure to the lock button on the back of the device.
-
Slide the battery cover down towards the bottom of the device, revealing the battery compartment.
 Ask FixBot
-
-
-
Locate groove along the right side of the battery compartment.
-
Remove battery by prying between the battery and the groove.
-
-
-
-
-
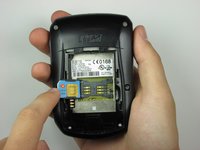
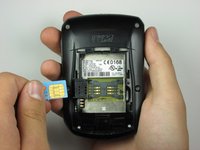
Lift the SIM card holder up.
-
Gently remove the SIM card from the SIM card holder by sliding the card along the railing.
-
-
-
-
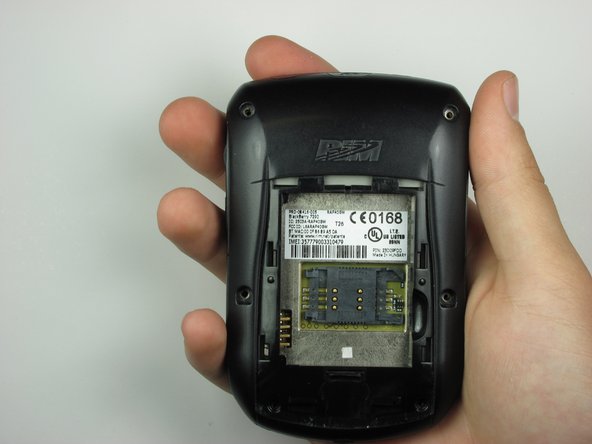
Locate the four screws along the perimeter of the back casing.
-
Remove the four top screws using a T-6 torx screwdriver.
-
-
-
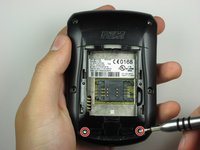
Locate two screws within the lower edge of the inner compartment.
-
Remove the two bottom screws using a T-6 torx screwdriver.
-
-
-
Use the plastic opening tool to apply pressure on the two clips that are located at the bottom of the phone.
-
-
-
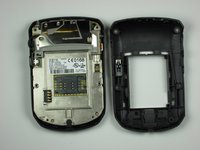
Remove the back casing from the phone by lifting the unhooked portion, then slide the casing towards the top of the device.
-
-
-
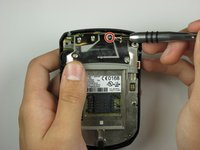
Locate on the backside of the phone, a screw towards the top of the device.
-
Using a T-6 screwdriver, remove the screw.
-
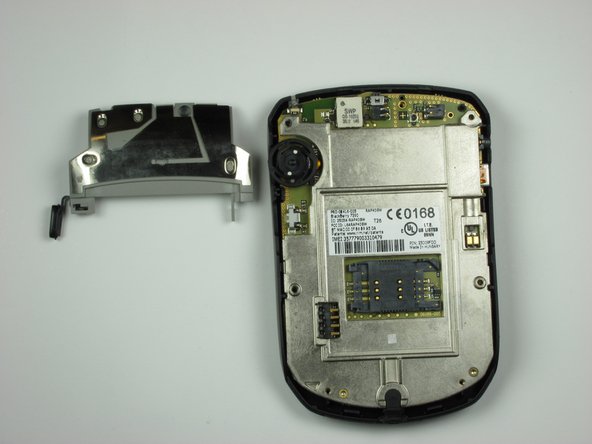
After the screw has been removed, carefully lift the side button brace to reveal the side button.
-
-
-
-
-
-
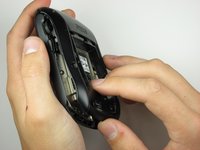
To remove the phone's internals, start by loosening one side by pulling gently.
-
-
-
With one side loosened, simply lift the phone internals to separate from the front casing.
-
-




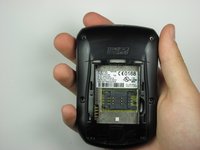


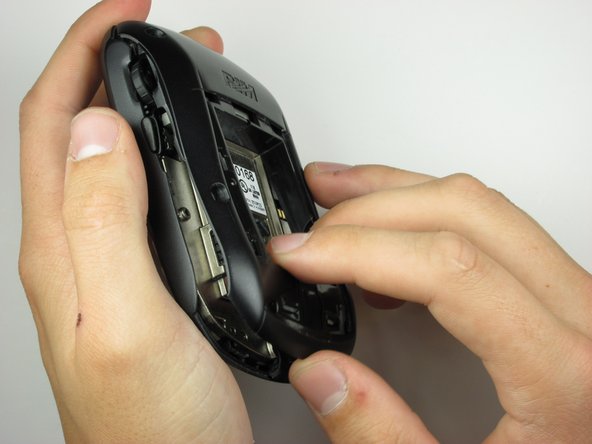
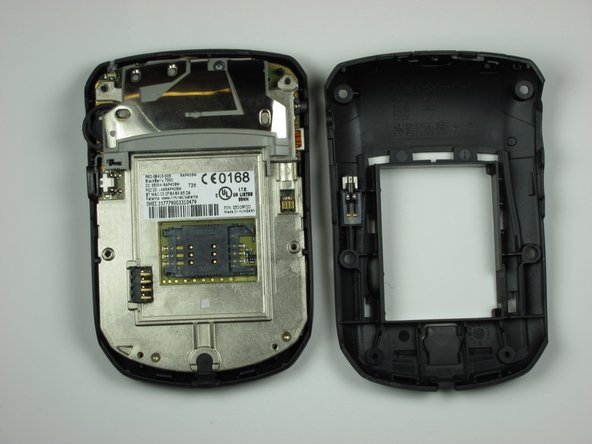
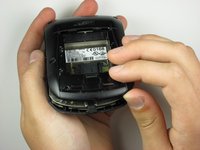

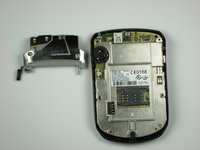


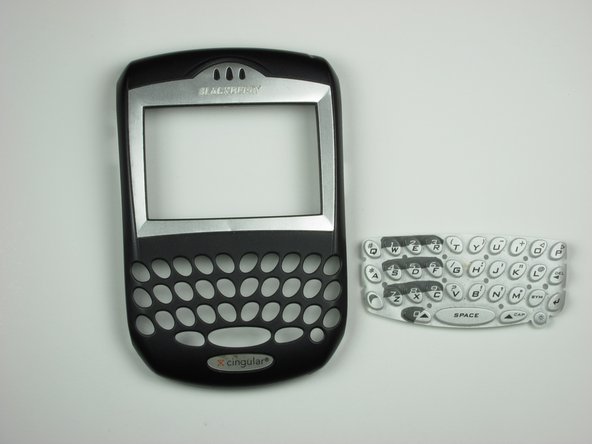
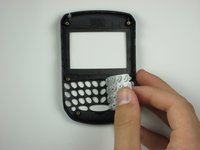
To reassemble your device, follow these instructions in reverse order.
Cancel: I did not complete this guide.
3 other people completed this guide.

Team

Cal Poly, Team 19-6, Maness Fall 2009 Member of Cal Poly, Team 19-6, Maness Fall 2009
CPSU-MANESS-F09S19G6
5 Members
84 Guides authored
