Free Shipping on Domestic Orders $75+

BlackBerry 7280 Microphone Replacement

What you need

  1. BlackBerry 7280 Microphone Replacement, Battery: step 1, image 1 of 3 BlackBerry 7280 Microphone Replacement, Battery: step 1, image 2 of 3 BlackBerry 7280 Microphone Replacement, Battery: step 1, image 3 of 3
    • With your thumb press down on the locking- button on the back of the BlackBerry 7280.

    • Slide the battery cover off the device.

    Ask FixBot

    Add Comment

  2. BlackBerry 7280 Microphone Replacement: step 2, image 1 of 2 BlackBerry 7280 Microphone Replacement: step 2, image 2 of 2
    • Remove the lithium-ion battery from the back of the device using your index finger.

    Ask FixBot

    Add Comment

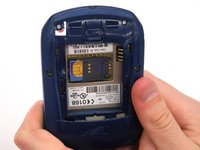
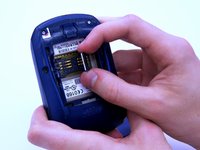
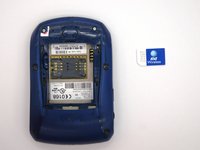
  3. BlackBerry 7280 Microphone Replacement, SIM Card: step 3, image 1 of 3 BlackBerry 7280 Microphone Replacement, SIM Card: step 3, image 2 of 3 BlackBerry 7280 Microphone Replacement, SIM Card: step 3, image 3 of 3
    • Hold the device with both hands.

    • Lift the SIM card holder using your thumb and index finger.

    • Remove the SIM card from the device.

    Ask FixBot

    Add Comment

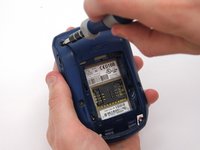
  4. BlackBerry 7280 Microphone Replacement, Back Case: step 4, image 1 of 2 BlackBerry 7280 Microphone Replacement, Back Case: step 4, image 2 of 2
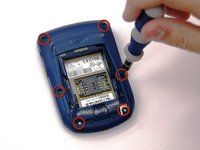
    • Using a Torx T6 screwdriver, remove all six 1/8 inch screws (marked in red) from the back case. Set screws aside.

    • The SIM card has been removed here to prevent damage to the card. This is recommended, but not not required.

    Ask FixBot

    Add Comment

  5. BlackBerry 7280 Microphone Replacement: step 5, image 1 of 2 BlackBerry 7280 Microphone Replacement: step 5, image 2 of 2
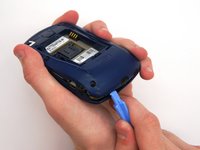
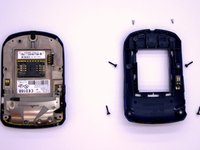
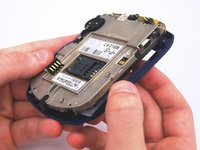
    • Use the plastic opening tool to pry the back case away from the front case.

    Ask FixBot

    Add Comment

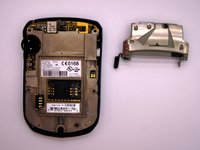
  6. BlackBerry 7280 Microphone Replacement, Front Case: step 6, image 1 of 2 BlackBerry 7280 Microphone Replacement, Front Case: step 6, image 2 of 2
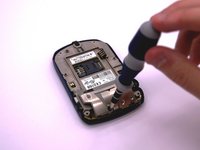
    • Using a Torx T6 screwdriver, remove the lone 1/8 inch screw that holds the upper metal bracket onto the larger metal bracket. Set aside the screw and the bracket.

    Ask FixBot

    Add Comment

  7. BlackBerry 7280 Microphone Replacement: step 7, image 1 of 2 BlackBerry 7280 Microphone Replacement: step 7, image 2 of 2
    • Remove the front plastic case from the metal bracket.

    Ask FixBot

    Add Comment

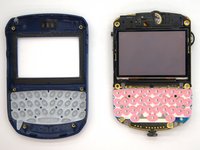
  8. BlackBerry 7280 Microphone Replacement, LCD Screen and Speaker: step 8, image 1 of 2 BlackBerry 7280 Microphone Replacement, LCD Screen and Speaker: step 8, image 2 of 2
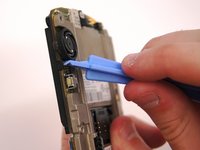
    • Use the plastic opening tool to pry at the edge of the screen near the track-wheel.

    Ask FixBot

    Add Comment

  9. BlackBerry 7280 Microphone Replacement, Logic Board: step 9, image 1 of 1
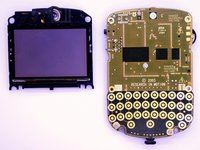
    • Use a Torx T6 screwdriver to remove the 3 1/8 inch screws shown.

    Ask FixBot

    Add Comment

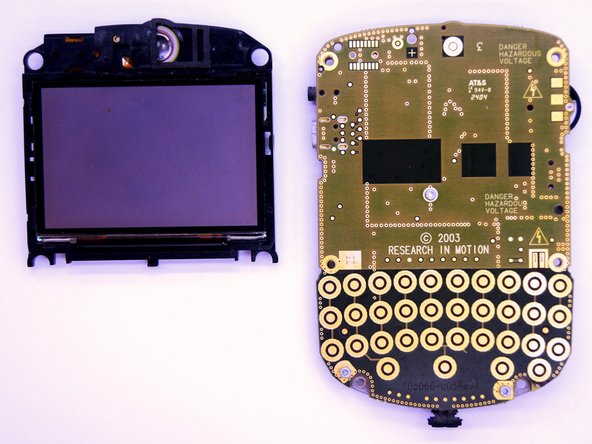
  10. BlackBerry 7280 Microphone Replacement: step 10, image 1 of 1
    • Remove the logic board with your hands.

    Ask FixBot

    Add Comment

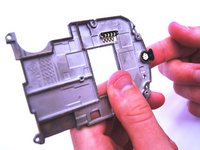
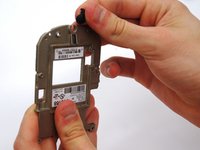
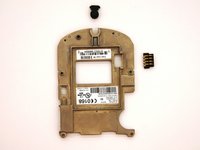
  11. BlackBerry 7280 Microphone Replacement, Microphone: step 11, image 1 of 3 BlackBerry 7280 Microphone Replacement, Microphone: step 11, image 2 of 3 BlackBerry 7280 Microphone Replacement, Microphone: step 11, image 3 of 3
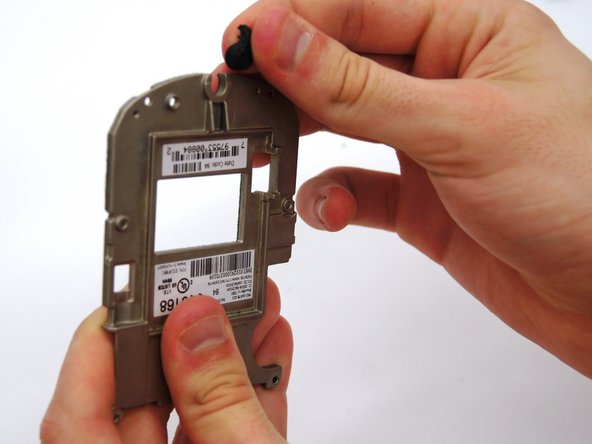
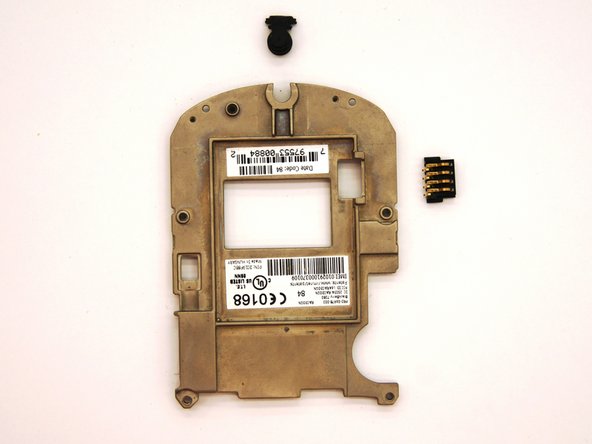
    • Remove the small black rubber microphone by sliding it off of the metal bracket.

    Ask FixBot

    Add Comment

Conclusion

To reassemble your device, follow these instructions in reverse order.

Cancel: I did not complete this guide.

One other person completed this guide.

Andrew Catlin

Member since: 03/11/13

16 Reputation

3 Guides authored

Team

Clemson, Team 12-2, Benson Spring 2013 Member of Clemson, Team 12-2, Benson Spring 2013

CLEM-BENSON-S13S12G2

4 Members

21 Guides authored

1 Guide Comment

Hi ! great tutorial ! do you know the reference name or number of the microphone that this blackberry uses ?

Thank you !

DearTom - Reply Share

Add Comment

View Statistics:

Past 24 Hours: 0

Past 7 Days: 10

Past 30 Days: 34

All Time: 588