Free Shipping on Domestic Orders $75+

BlackBerry 7280 Battery Connector Replacement

What you need

  1. BlackBerry 7280 Battery Connector Replacement, Battery: step 1, image 1 of 3 BlackBerry 7280 Battery Connector Replacement, Battery: step 1, image 2 of 3 BlackBerry 7280 Battery Connector Replacement, Battery: step 1, image 3 of 3
    • With your thumb press down on the locking- button on the back of the BlackBerry 7280.

    • Slide the battery cover off the device.

    Ask FixBot

    Add Comment

  2. BlackBerry 7280 Battery Connector Replacement: step 2, image 1 of 2 BlackBerry 7280 Battery Connector Replacement: step 2, image 2 of 2
    • Remove the lithium-ion battery from the back of the device using your index finger.

    Ask FixBot

    Add Comment

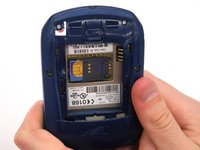
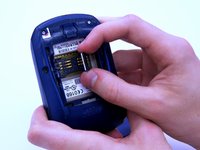
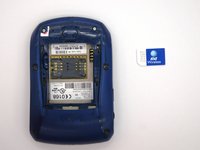
  3. BlackBerry 7280 Battery Connector Replacement, SIM Card: step 3, image 1 of 3 BlackBerry 7280 Battery Connector Replacement, SIM Card: step 3, image 2 of 3 BlackBerry 7280 Battery Connector Replacement, SIM Card: step 3, image 3 of 3
    • Hold the device with both hands.

    • Lift the SIM card holder using your thumb and index finger.

    • Remove the SIM card from the device.

    Ask FixBot

    Add Comment

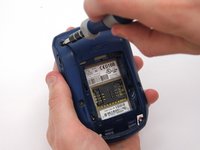
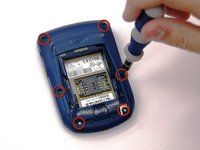
  4. BlackBerry 7280 Battery Connector Replacement, Back Case: step 4, image 1 of 2 BlackBerry 7280 Battery Connector Replacement, Back Case: step 4, image 2 of 2
    • Using a Torx T6 screwdriver, remove all six 1/8 inch screws (marked in red) from the back case. Set screws aside.

    • The SIM card has been removed here to prevent damage to the card. This is recommended, but not not required.

    Ask FixBot

    Add Comment

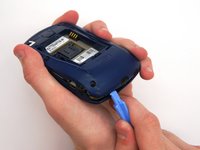
  5. BlackBerry 7280 Battery Connector Replacement: step 5, image 1 of 2 BlackBerry 7280 Battery Connector Replacement: step 5, image 2 of 2
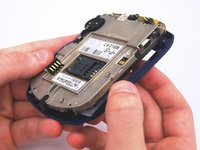
    • Use the plastic opening tool to pry the back case away from the front case.

    Ask FixBot

    Add Comment

  6. BlackBerry 7280 Battery Connector Replacement, Front Case: step 6, image 1 of 2 BlackBerry 7280 Battery Connector Replacement, Front Case: step 6, image 2 of 2
    • Using a Torx T6 screwdriver, remove the lone 1/8 inch screw that holds the upper metal bracket onto the larger metal bracket. Set aside the screw and the bracket.

    Ask FixBot

    Add Comment

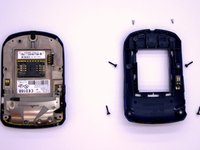
  7. BlackBerry 7280 Battery Connector Replacement: step 7, image 1 of 2 BlackBerry 7280 Battery Connector Replacement: step 7, image 2 of 2
    • Remove the front plastic case from the metal bracket.

    Ask FixBot

    Add Comment

  8. BlackBerry 7280 Battery Connector Replacement, LCD Screen and Speaker: step 8, image 1 of 2 BlackBerry 7280 Battery Connector Replacement, LCD Screen and Speaker: step 8, image 2 of 2
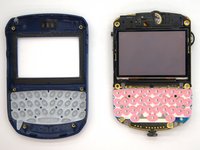
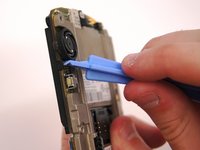
    • Use the plastic opening tool to pry at the edge of the screen near the track-wheel.

    Ask FixBot

    Add Comment

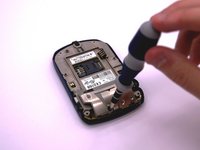
  9. BlackBerry 7280 Battery Connector Replacement, Logic Board: step 9, image 1 of 1
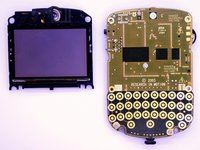
    • Use a Torx T6 screwdriver to remove the 3 1/8 inch screws shown.

    Ask FixBot

    Add Comment

  10. BlackBerry 7280 Battery Connector Replacement: step 10, image 1 of 1
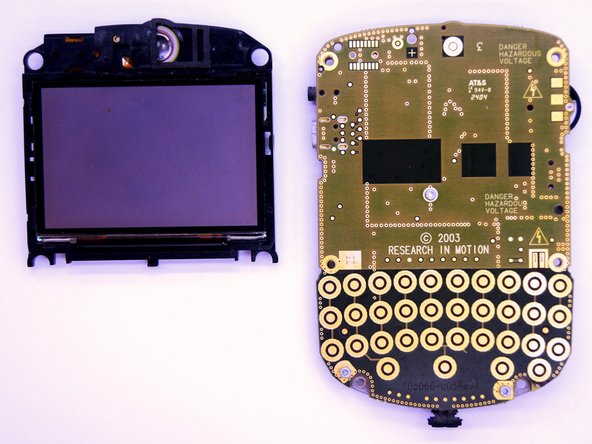
    • Remove the logic board with your hands.

    Ask FixBot

    Add Comment

  11. BlackBerry 7280 Battery Connector Replacement, Battery Connector: step 11, image 1 of 2 BlackBerry 7280 Battery Connector Replacement, Battery Connector: step 11, image 2 of 2
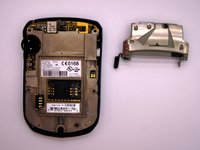
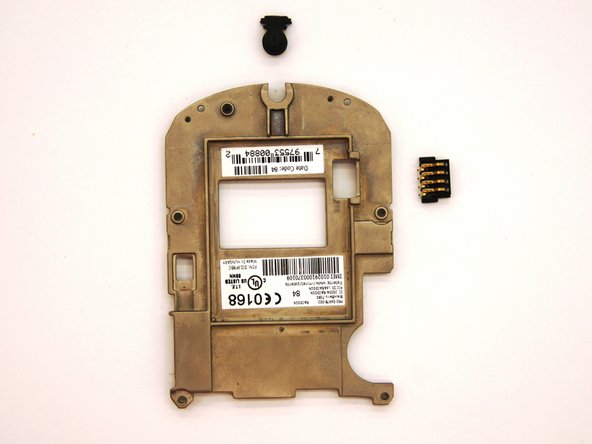
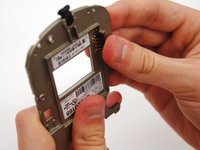
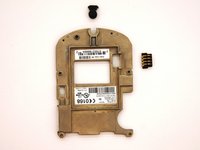
    • To remove the battery connector simply slide it out from the metal bracket using your hand.

    Ask FixBot

    Add Comment

Conclusion

To reassemble your device, follow these instructions in reverse order.

Cancel: I did not complete this guide.

Andrew Catlin

Member since: 03/11/13

16 Reputation

3 Guides authored

Team

Clemson, Team 12-2, Benson Spring 2013 Member of Clemson, Team 12-2, Benson Spring 2013

CLEM-BENSON-S13S12G2

4 Members

21 Guides authored

0 Guide Comments

Add Comment

View Statistics:

Past 24 Hours: 0

Past 7 Days: 5

Past 30 Days: 22

All Time: 567